
The best thing about WordPress and WooCommerce is code and content can be changed to suit — modify and customize your website entirely.
Flexibility is one of the greatest benefits to using WooCommerce to sell online. Plugins, extensions and themes can be used to fulfill requirements, then adjusted and coded to tailor the look and functionality of your site.
However, there are some best practices to follow when making site tweaks, and it’s not always obvious how these changes must be made.
Why best practices?
Many users customize their theme from the default look, changing the link color and also the layout and feel. Most dive straight in and modify code, which is the easiest way to do it. But this leaves the problem of updating in the future, since all modifications are lost when files are overwritten with a new version.
What we want to show you in this tutorial are the best ways to customize your theme, so updating is as painless as possible, and you are in control of customizations.
There are two ways to customize:
- Plugin — minor changes
- Child theme — major alterations
Using a plugin
If you only plan on making minor modifications to the stylesheet or CSS, then the best option is to use a plugin that allows you to add custom styling.
Jetpack for CSS or Sass changes
Our recommendation is to use Jetpack for changes related to CSS or Sass.
Install Jetpack. Once that is done, go to your website > Dashboard > Jetpack > Settings and enable Custom CSS.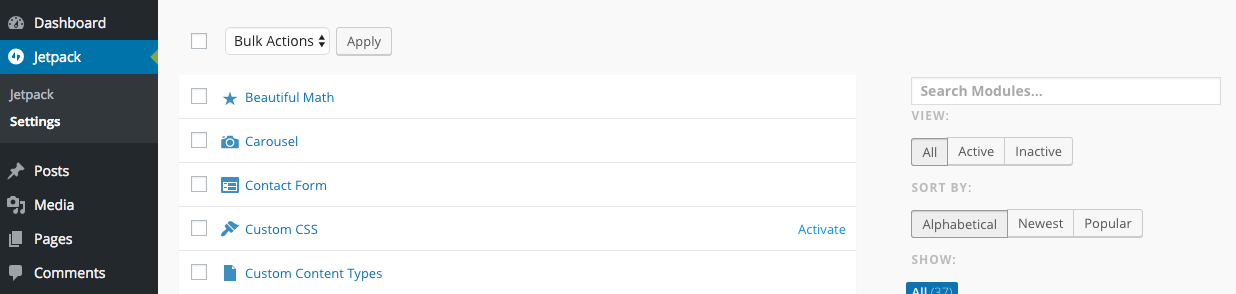
Next, you can go to Appearance > Edit CSS. There you’ll be able to add all your custom CSS styles.
Example
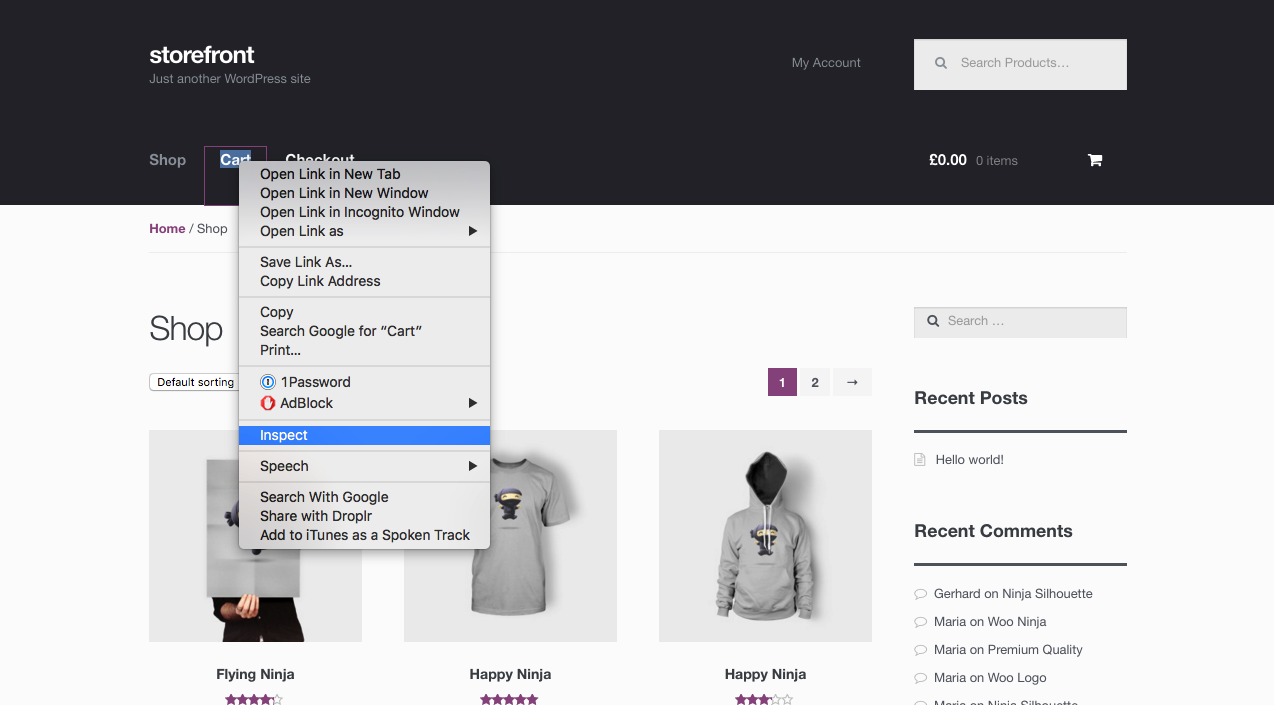
Let’s look at an easy example where we use Chrome Dev Tools to find the navigation link color in the Storefront theme. We inspect the element as follow: right click on the element > inspect, and it will show us what the style for the nav element is called.
We see in the screenshot above that the style for the link color in the navigation:
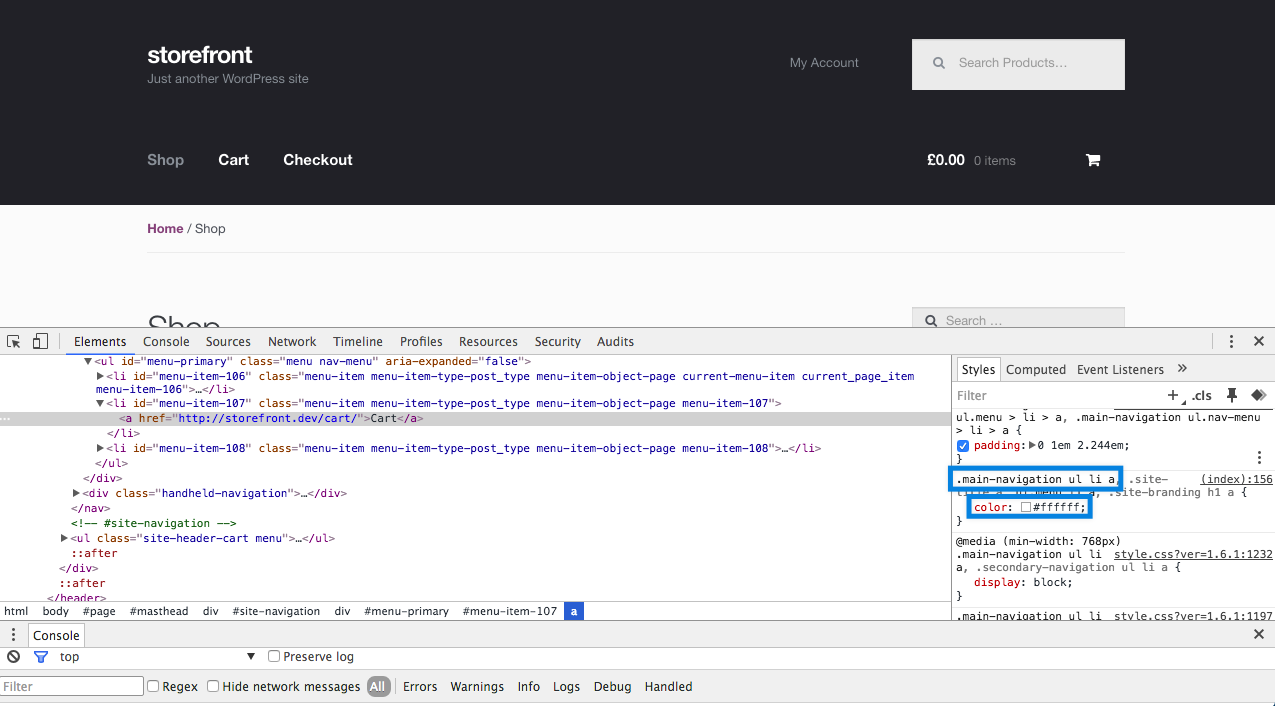
.main-navigation ul li a {
  color: #ffffff;
}
.main-navigation ul li a:hover {
  color: #e6e6e6;
}
Then we paste this into custom.css, we want to change the color so to red, and the hover color to white. We also remove the other styles which we won’t be changing so it ends up looking like this:
.main-navigation ul li a {
  color: red;
}
.main-navigation ul li a:hover {
  color: white;
}
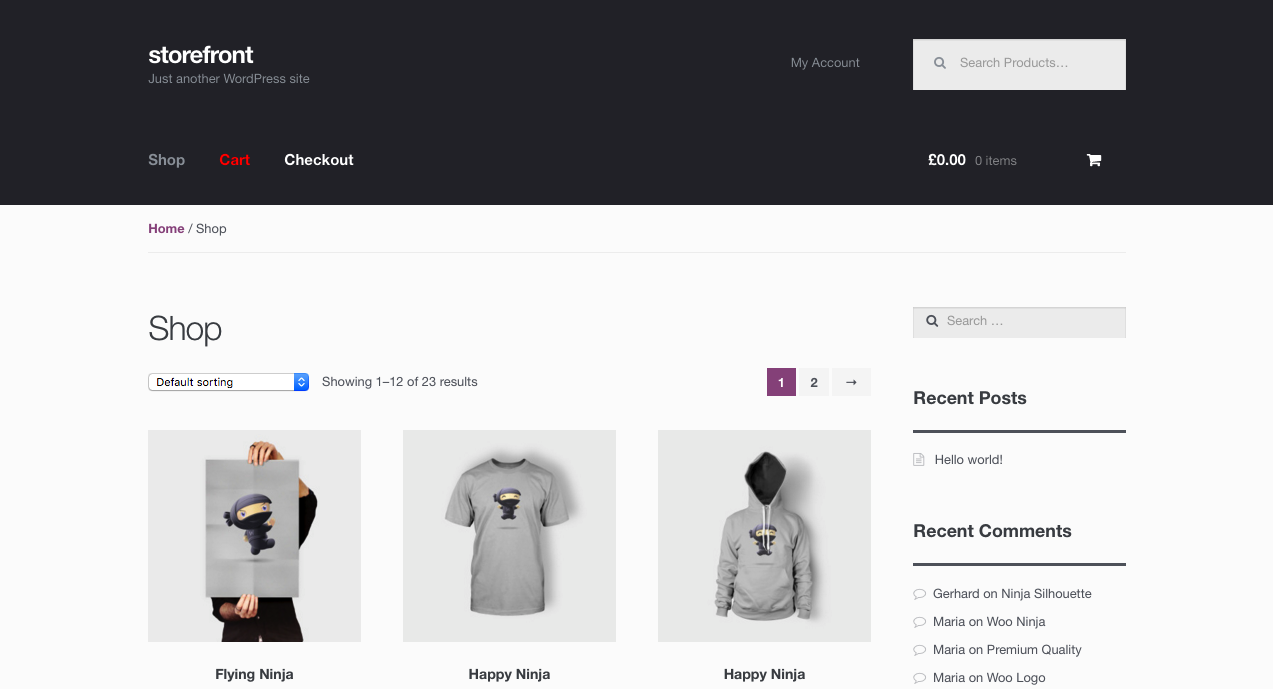
Once you save custom.css and refresh your page you will notice the nav link color is now red, and if you hover over it, it will turn white.
You can also add new styles to your the stylesheet to supplement those already in the theme. If the theme ever gets updated, Jetpack will keep your styles intact. We always do recommend backing up your theme before updating to a newer version, and also check out our upgrade tutorial on how to do it.
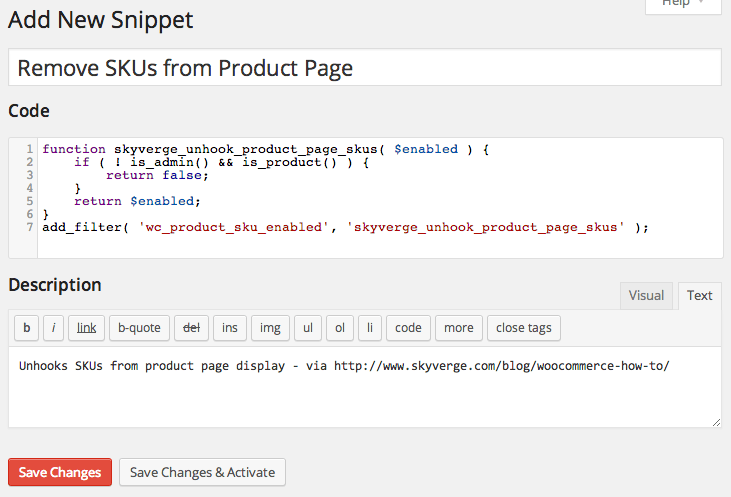
Code Snippets for PHP
The Code Snippets plugin allows you add snippets to your site rather than pasting it in the functions.php file, write a brief description so you know what it does, and activate or deactivate these snippets as needed.
Using a child theme
If you wish to modify the stylesheet or CSS of a popular theme, then the best option is to use a child theme to preserve customizations against future updates.
Using a premium child theme
Many popular themes have child themes that can be installed and activated to modify the look of the parent theme without coding or styling adjustments. A purchases child theme should not be used for custom code but is a way to change the look of a theme through someone else’s design. For example, for our Storefront theme, we have quite an extensive catalog of child themes available.
A child theme like this will not be a great tool for adding custom code, for the same reason as you should avoid adding custom code to the parent theme; if there’s an update to the child theme, all of your custom code will be overridden as well.
Using a custom child theme
Alternatively, you can create the child theme yourself. This would be like adding a layer on top of your parent theme with the only purpose being to give priority to your custom code and avoiding your code being discarded at the next update of our parent theme.
You can create your own child theme using our tutorial; Set up and use a child theme. More on how child themes work also on WordPress.org at Child Themes.
Resources
- Child themes
- How to safely add custom code to WordPress
- WooCommerce customization tips