Subscriptions for products purchased on WooCommerce.com are shown in a tab in your WordPress admin: WP-Admin > WooCommerce > Extensions.
To see and manage your subscriptions here, you’ll need to connect your site to WooCommerce.com. When your site is connected, your extensions will be updated automatically.
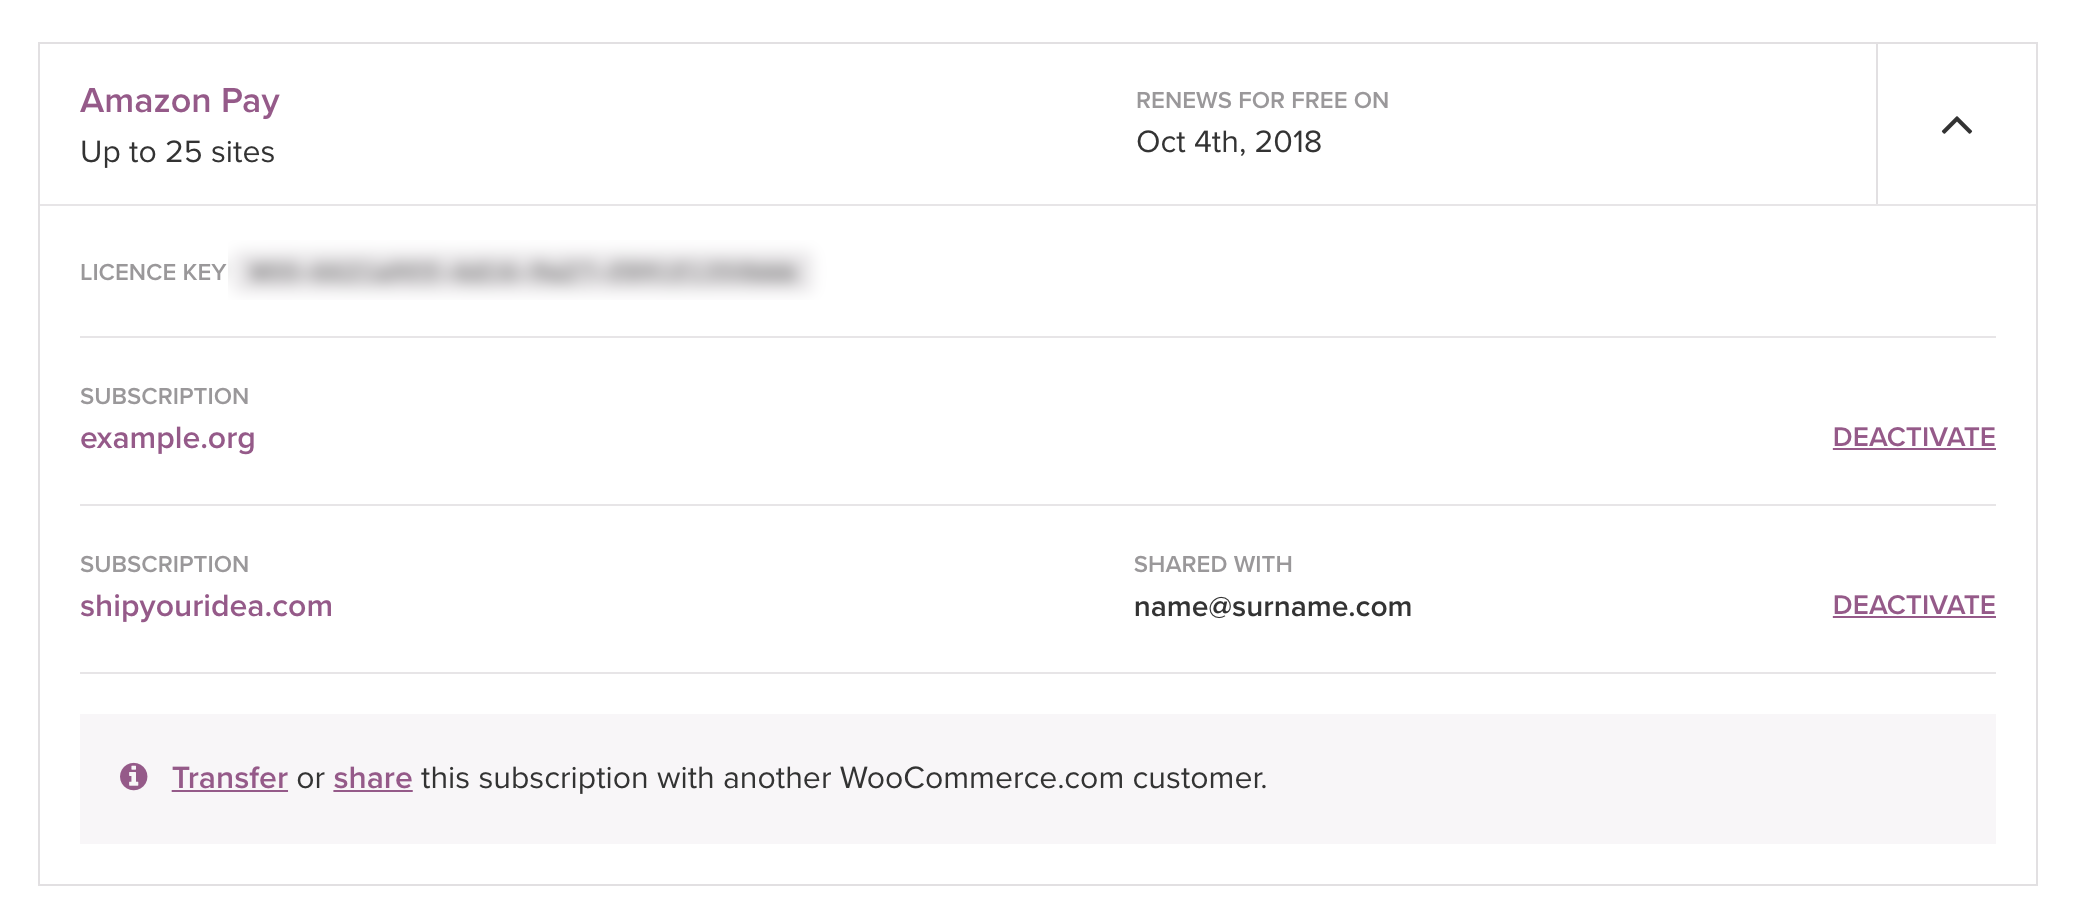
Your subscriptions are also listed in your dashboard on WooCommerce.com. From here you can download extensions, and also transfer and share your subscriptions to other users.
Connect, download and activate product keys
- Sign in to WooCommerce.com
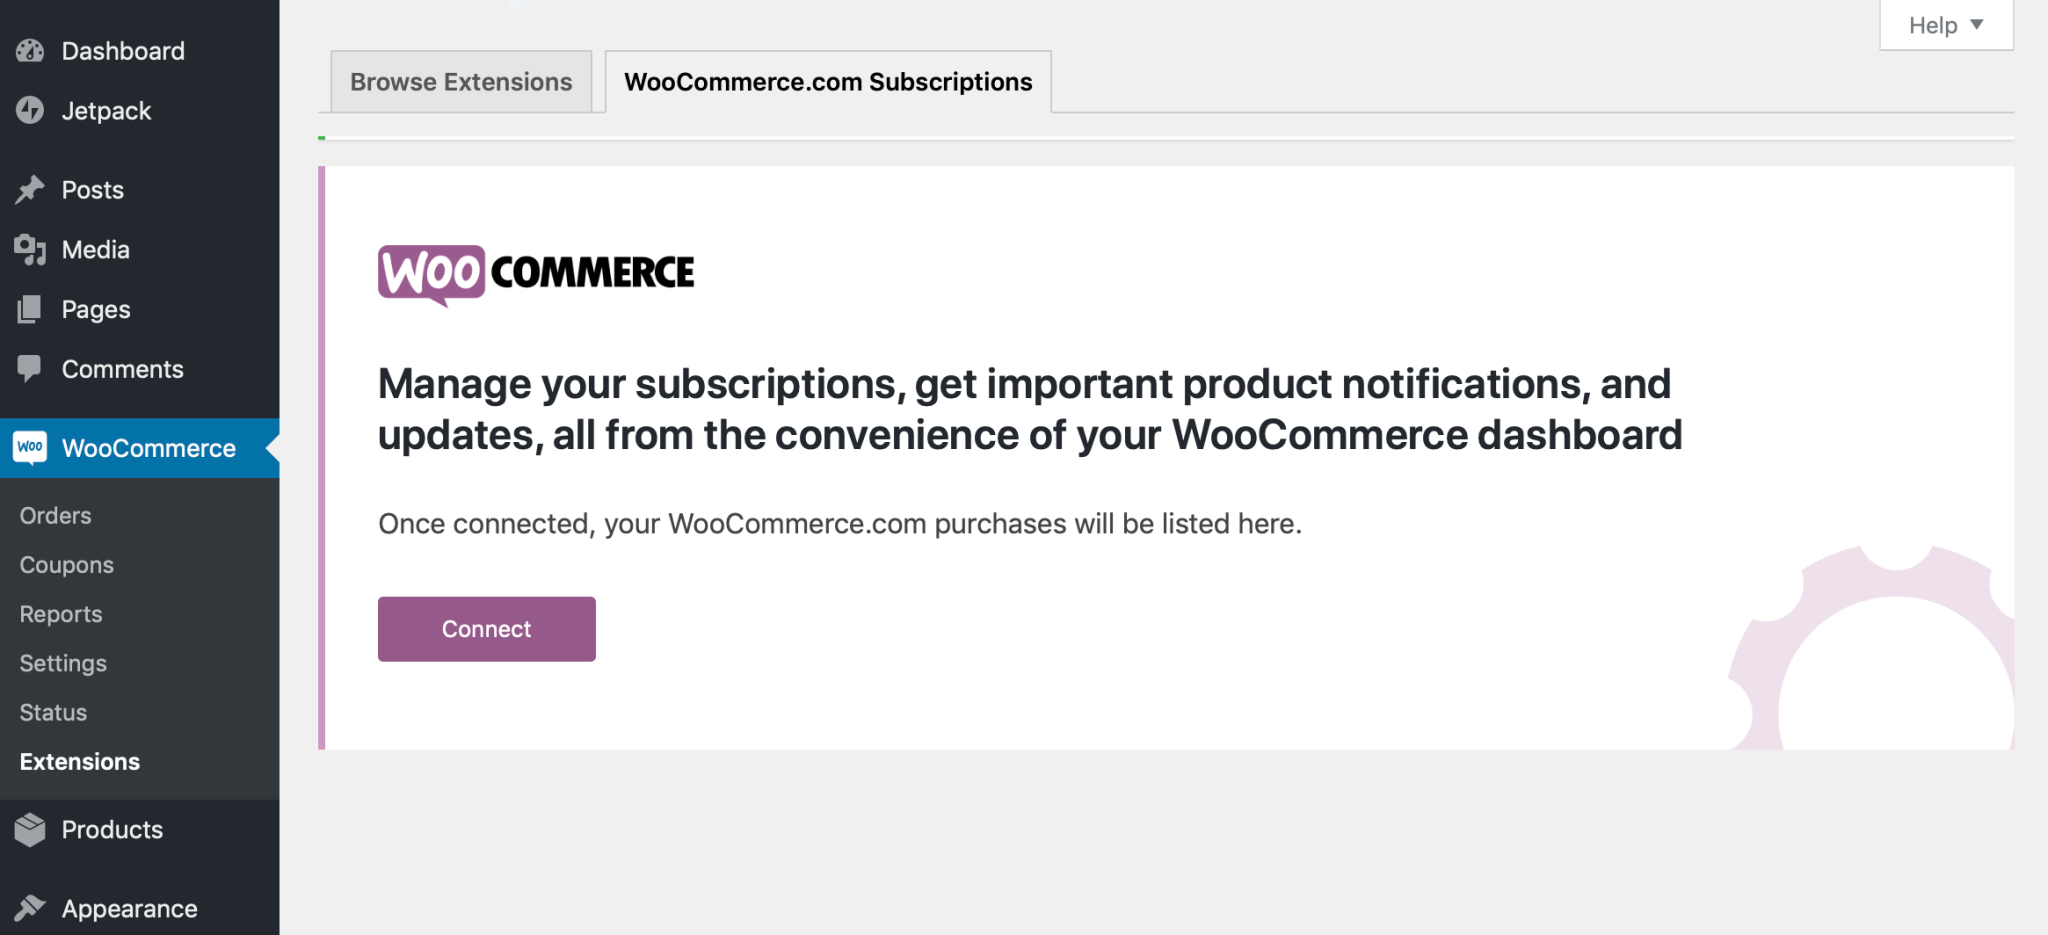
- Go to WP-Admin > WooCommerce > Extensions in your site
- Select the WooCommerce.com Subscriptions tab
- Click Connect

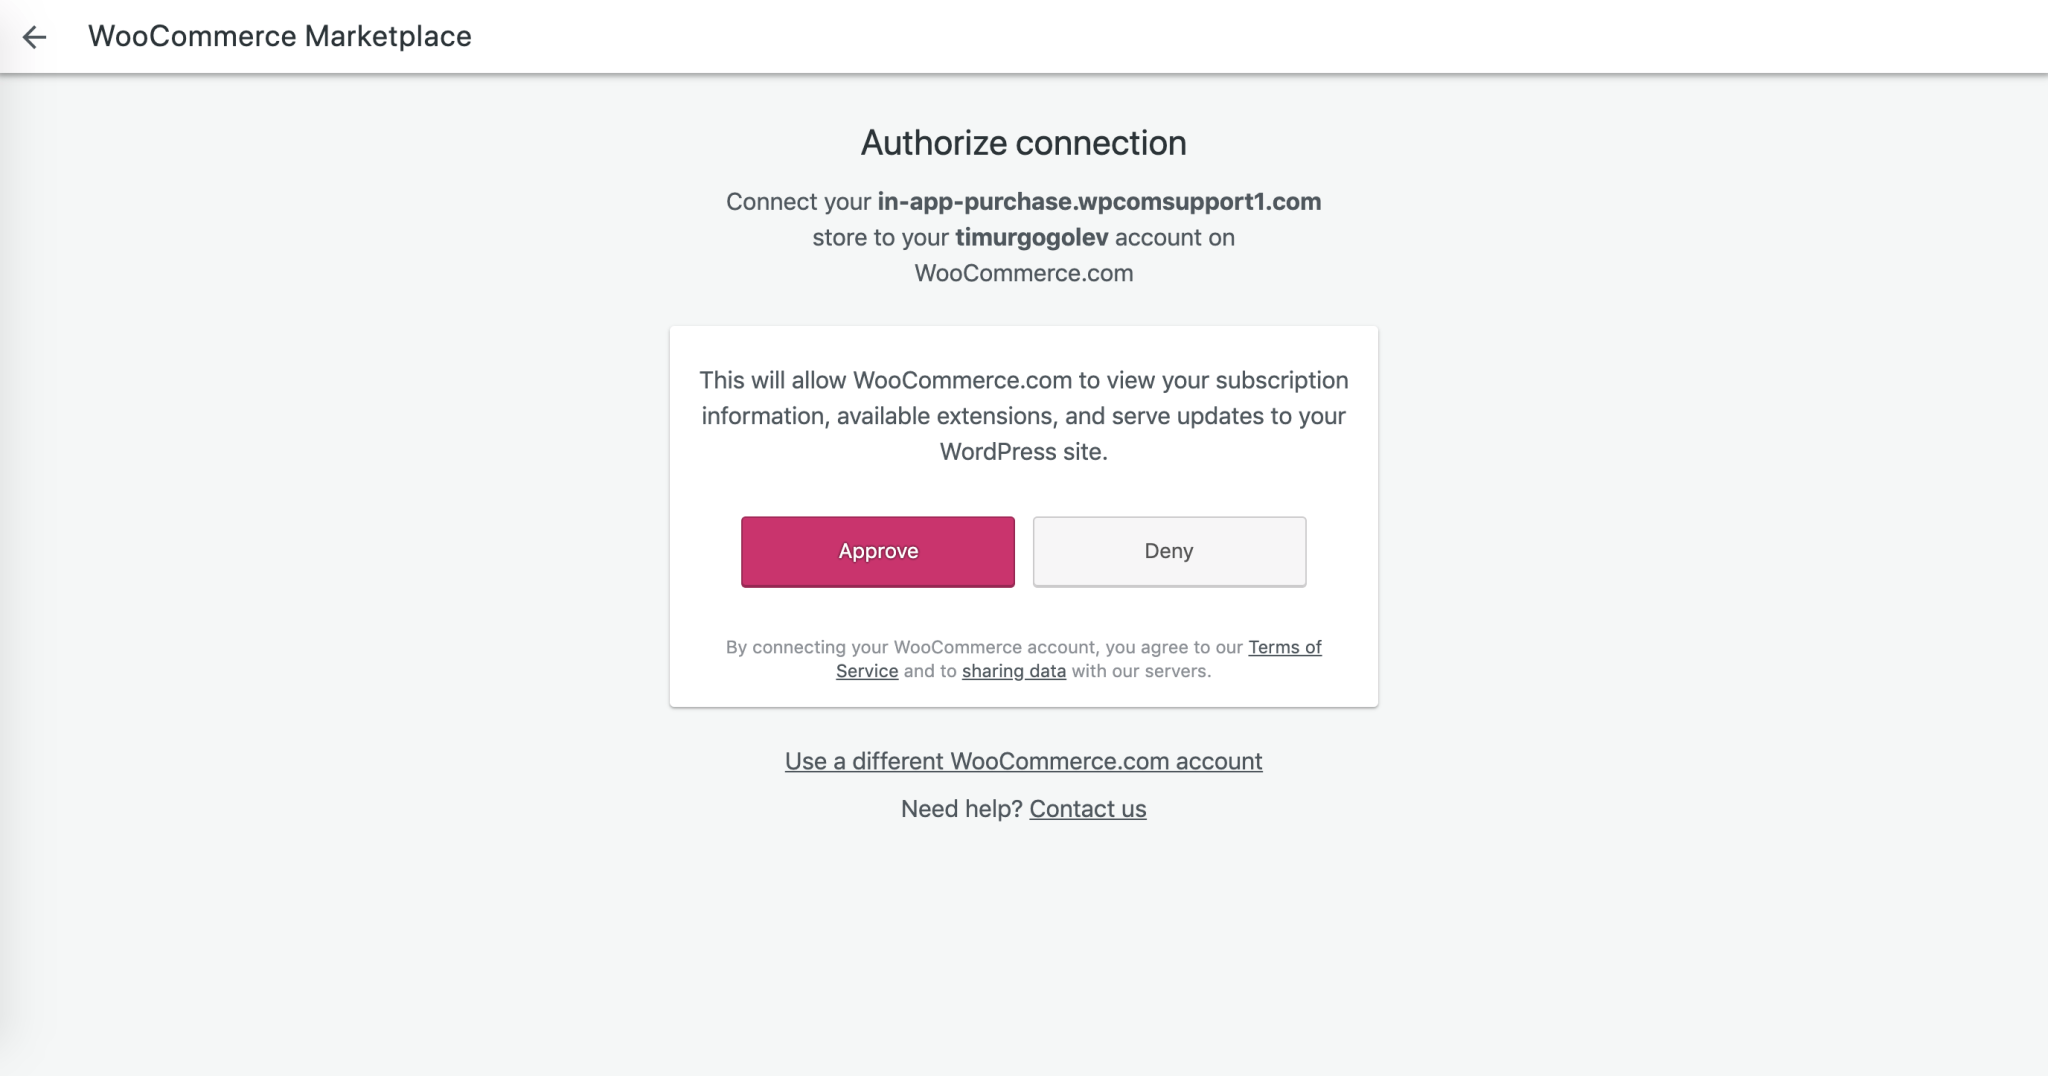
- Click the Approve button to connect your site to your WooCommerce.com account
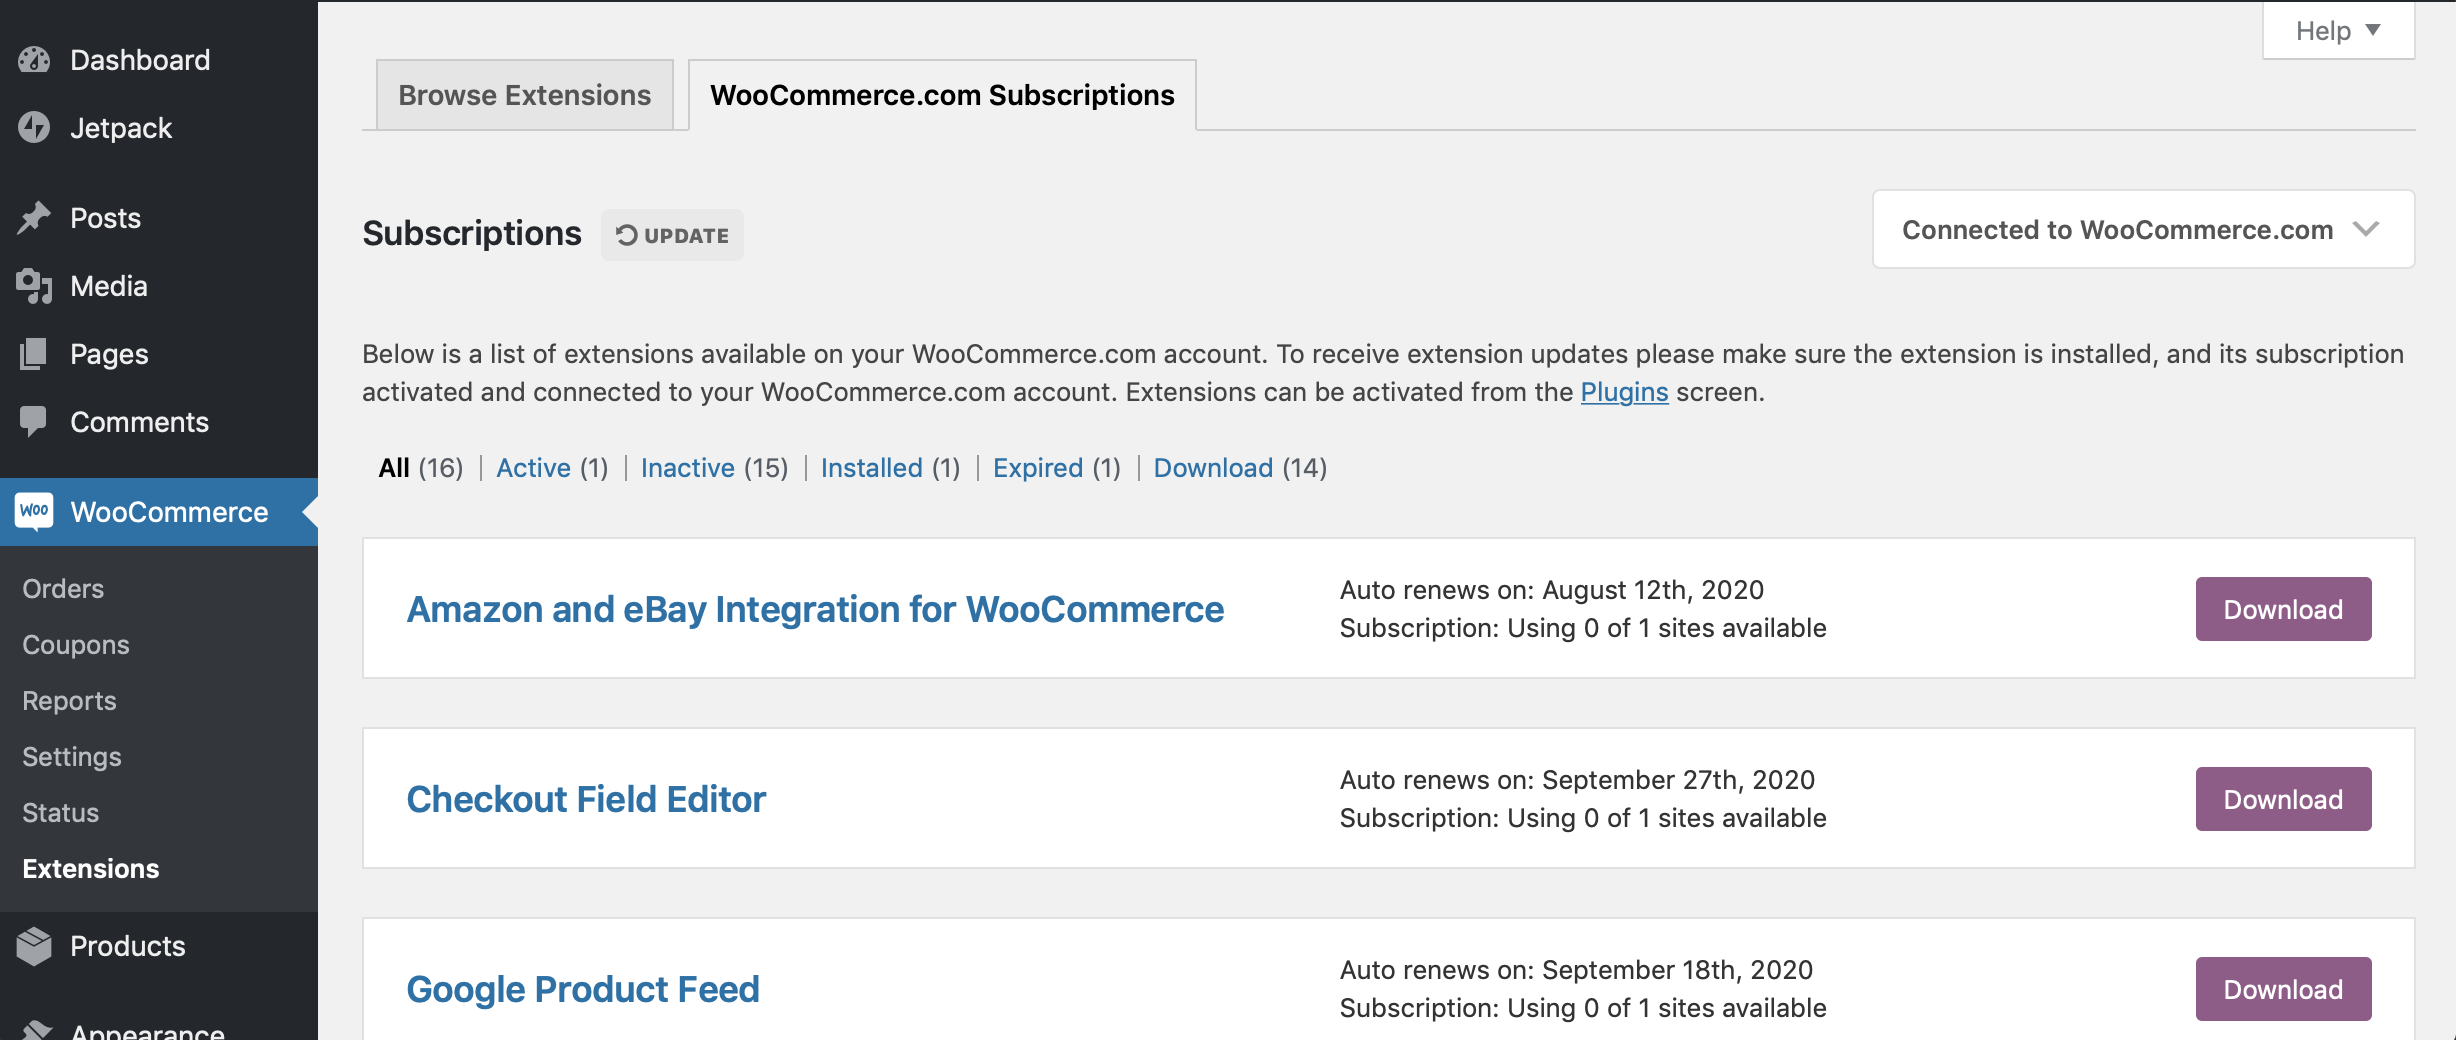
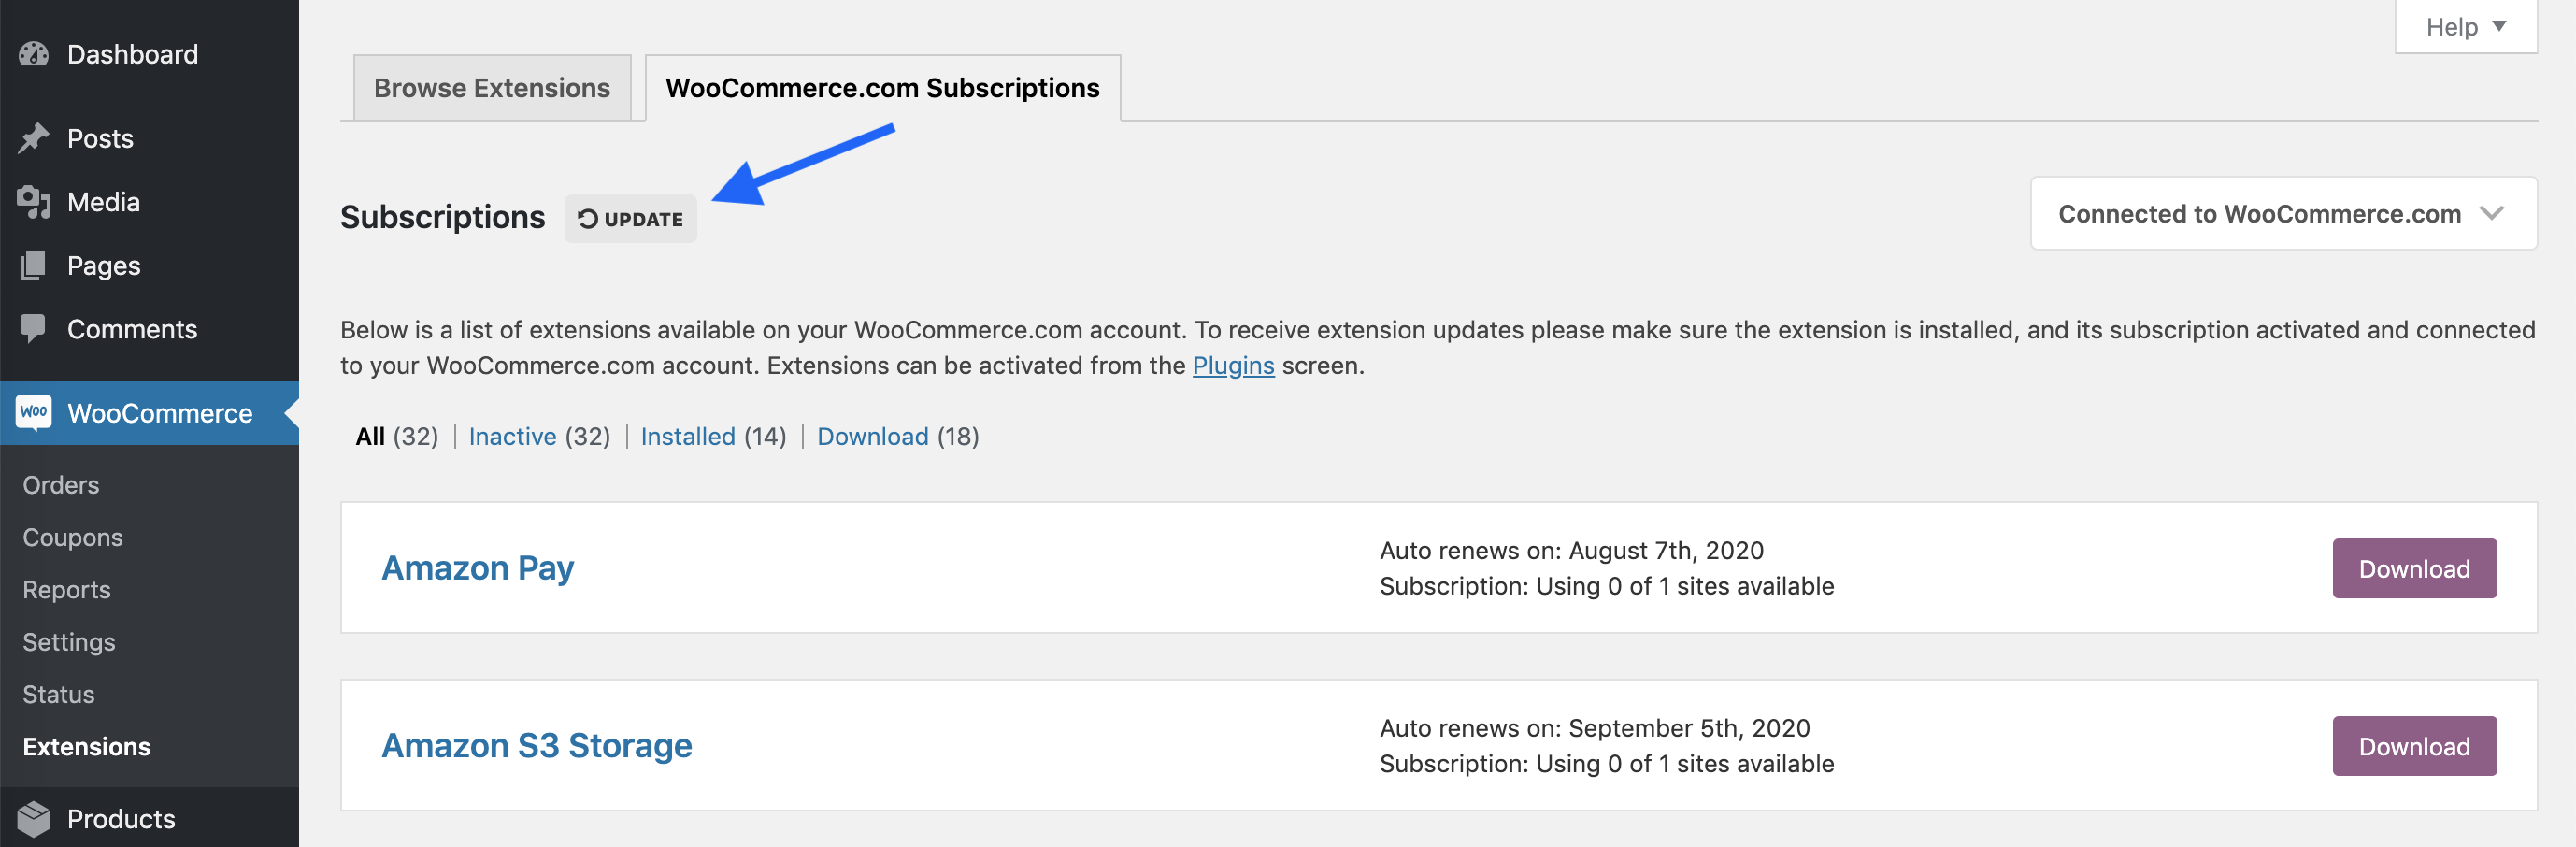
Once your store is connected to your WooCommerce.com account, your subscriptions are shown in the WooCommerce.com Subscriptions tab.
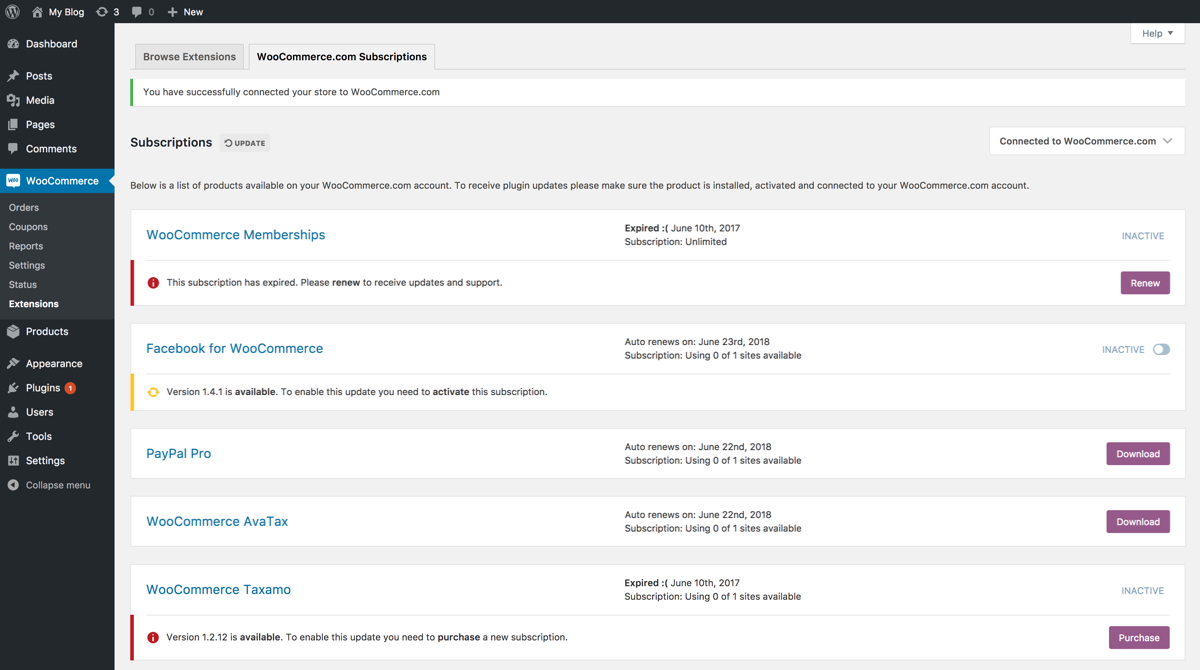
From this screen, you can:
- Download extensions to install them directly from your site.
- Activate/deactivate the subscription on your site.
- Receive updates and support for your connected extensions.
- Enable auto-renew for subscriptions.
- Purchase a new subscription for any extensions that have expired.
Install and activate extensions and themes
Under the Downloads section of your WooCommerce.com dashboard, you can find all the products that you’ve purchased on WooCommerce.com.
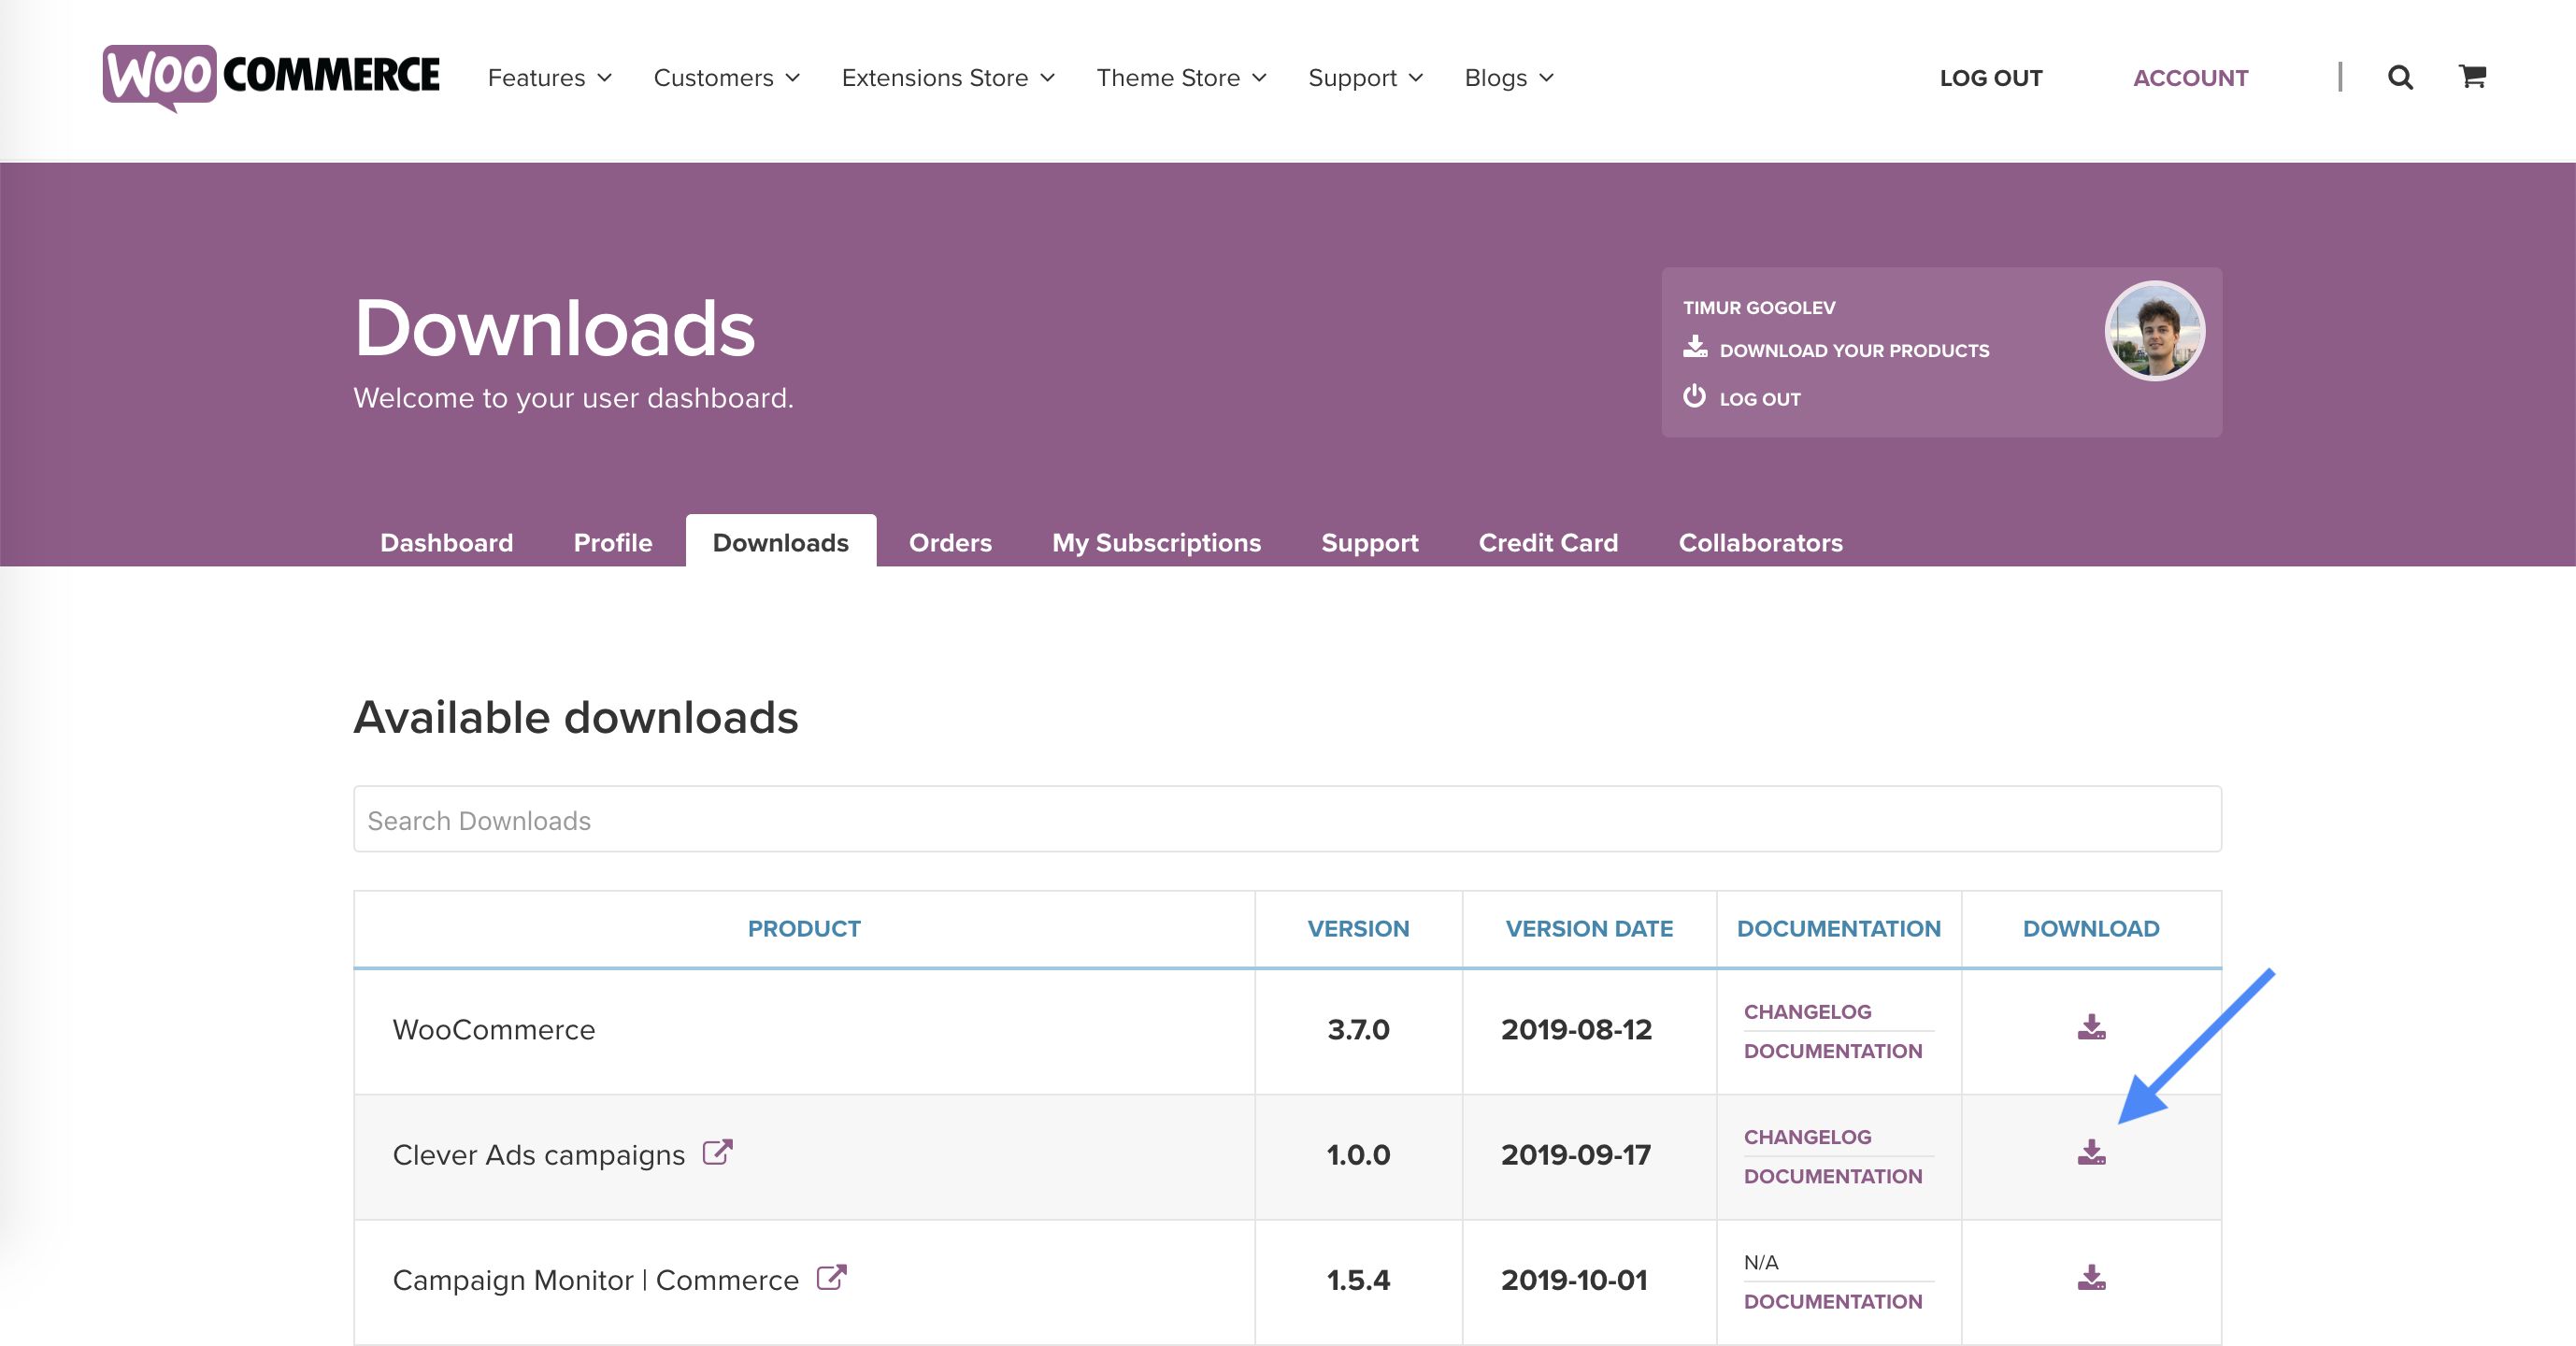
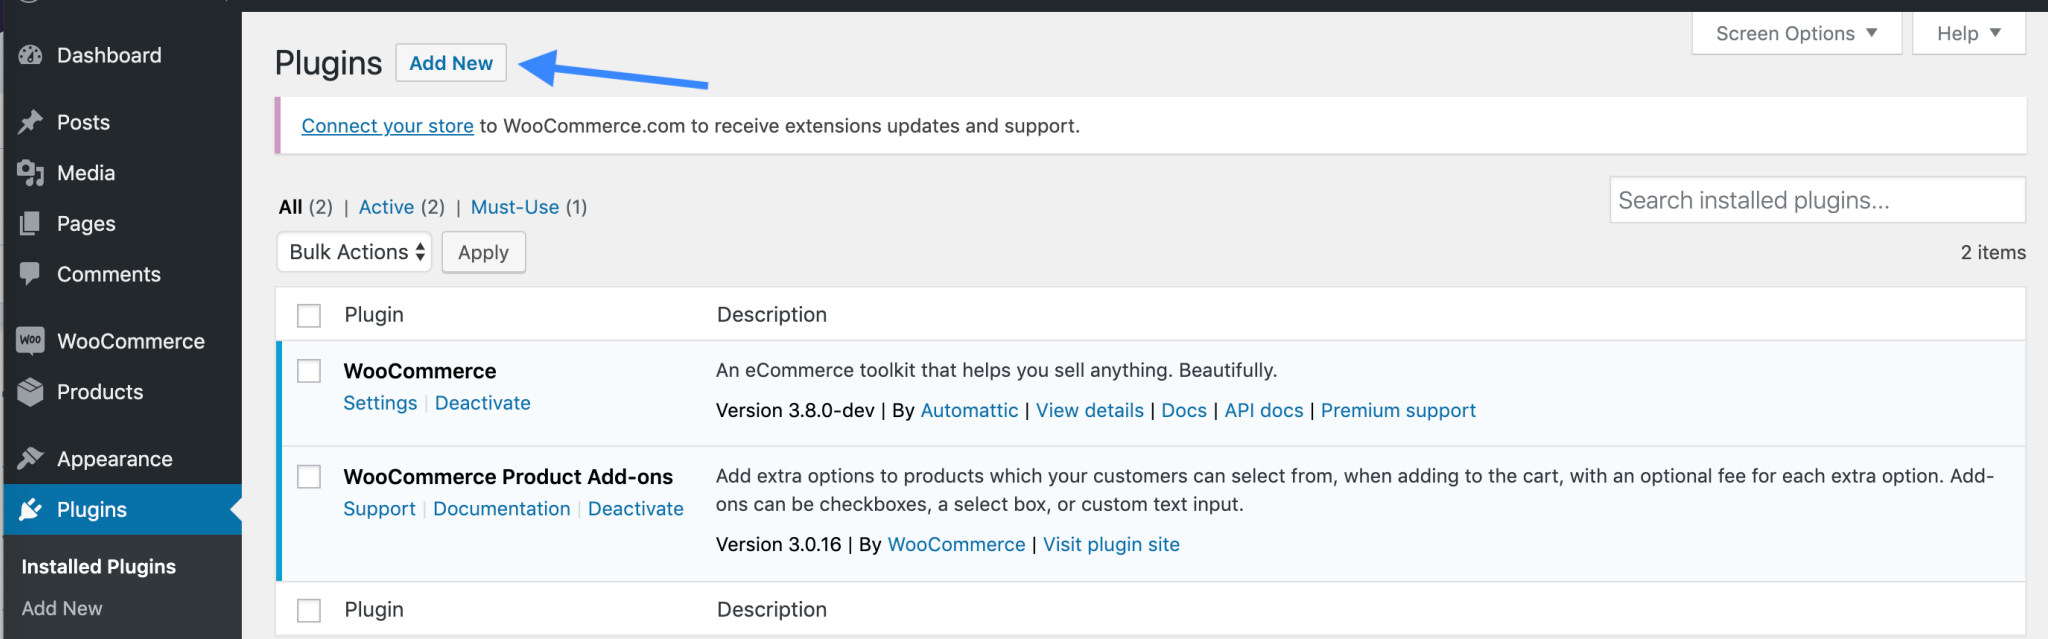
- Download the zip file of the product you’d like to install and go to the Plugins section of your store. (WP Admin > Plugins).
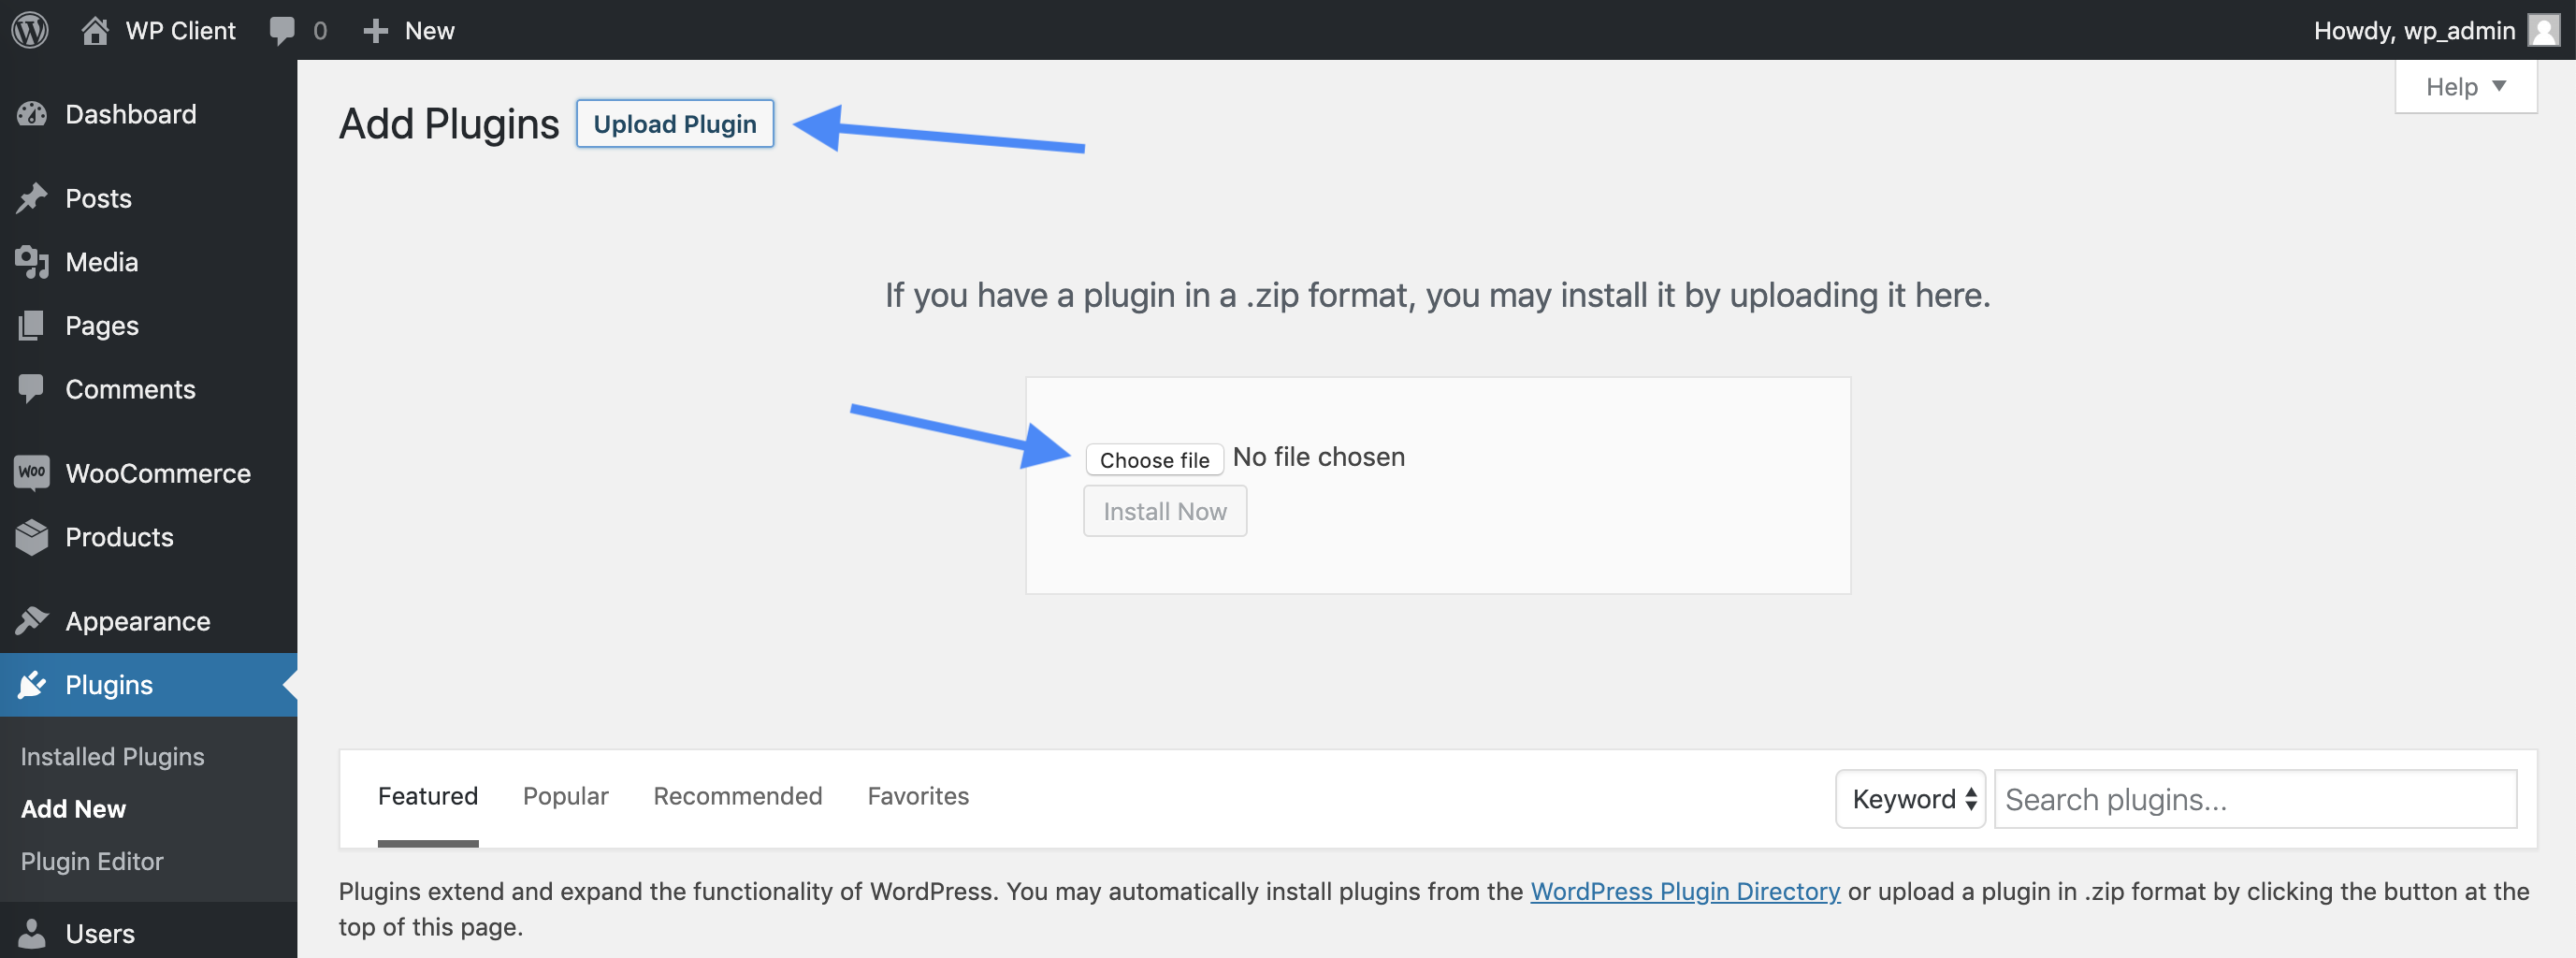
- Select Add New, Upload Plugin and upload the zip file to your store.
- Select Activate Plugin and you are all set!
Automatically install extensions and themes
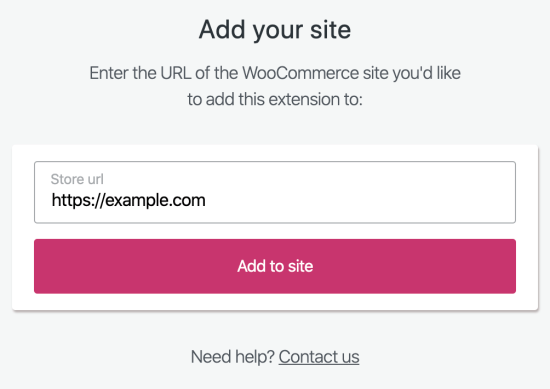
Purchased product can be installed automatically to your store from order confirmation page. You should see Add to site button on the order confirmation screen.

If you haven’t connect any site yet, it will ask you to enter your store URL.
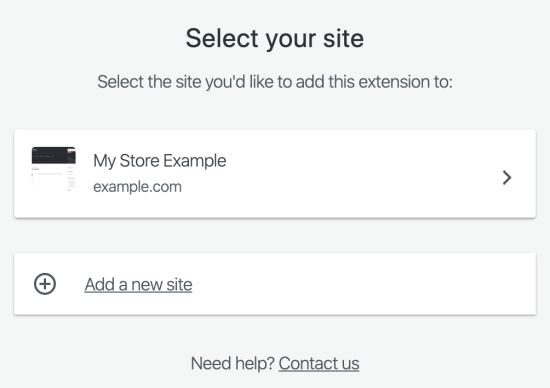
If your store supports auto install (WooCommerce 3.7+), it will ask you to connect your store to WooCommerce.com.

Clicking Connect Store button will open your store admin page in a new tab. Once connected, it will start installing the product to your store. For your next purchase, you can select your connected store and it will auto install the product to your store.
Troubleshooting auto-install
REST API
To enable auto-install, your store needs the WordPress REST API enabled.
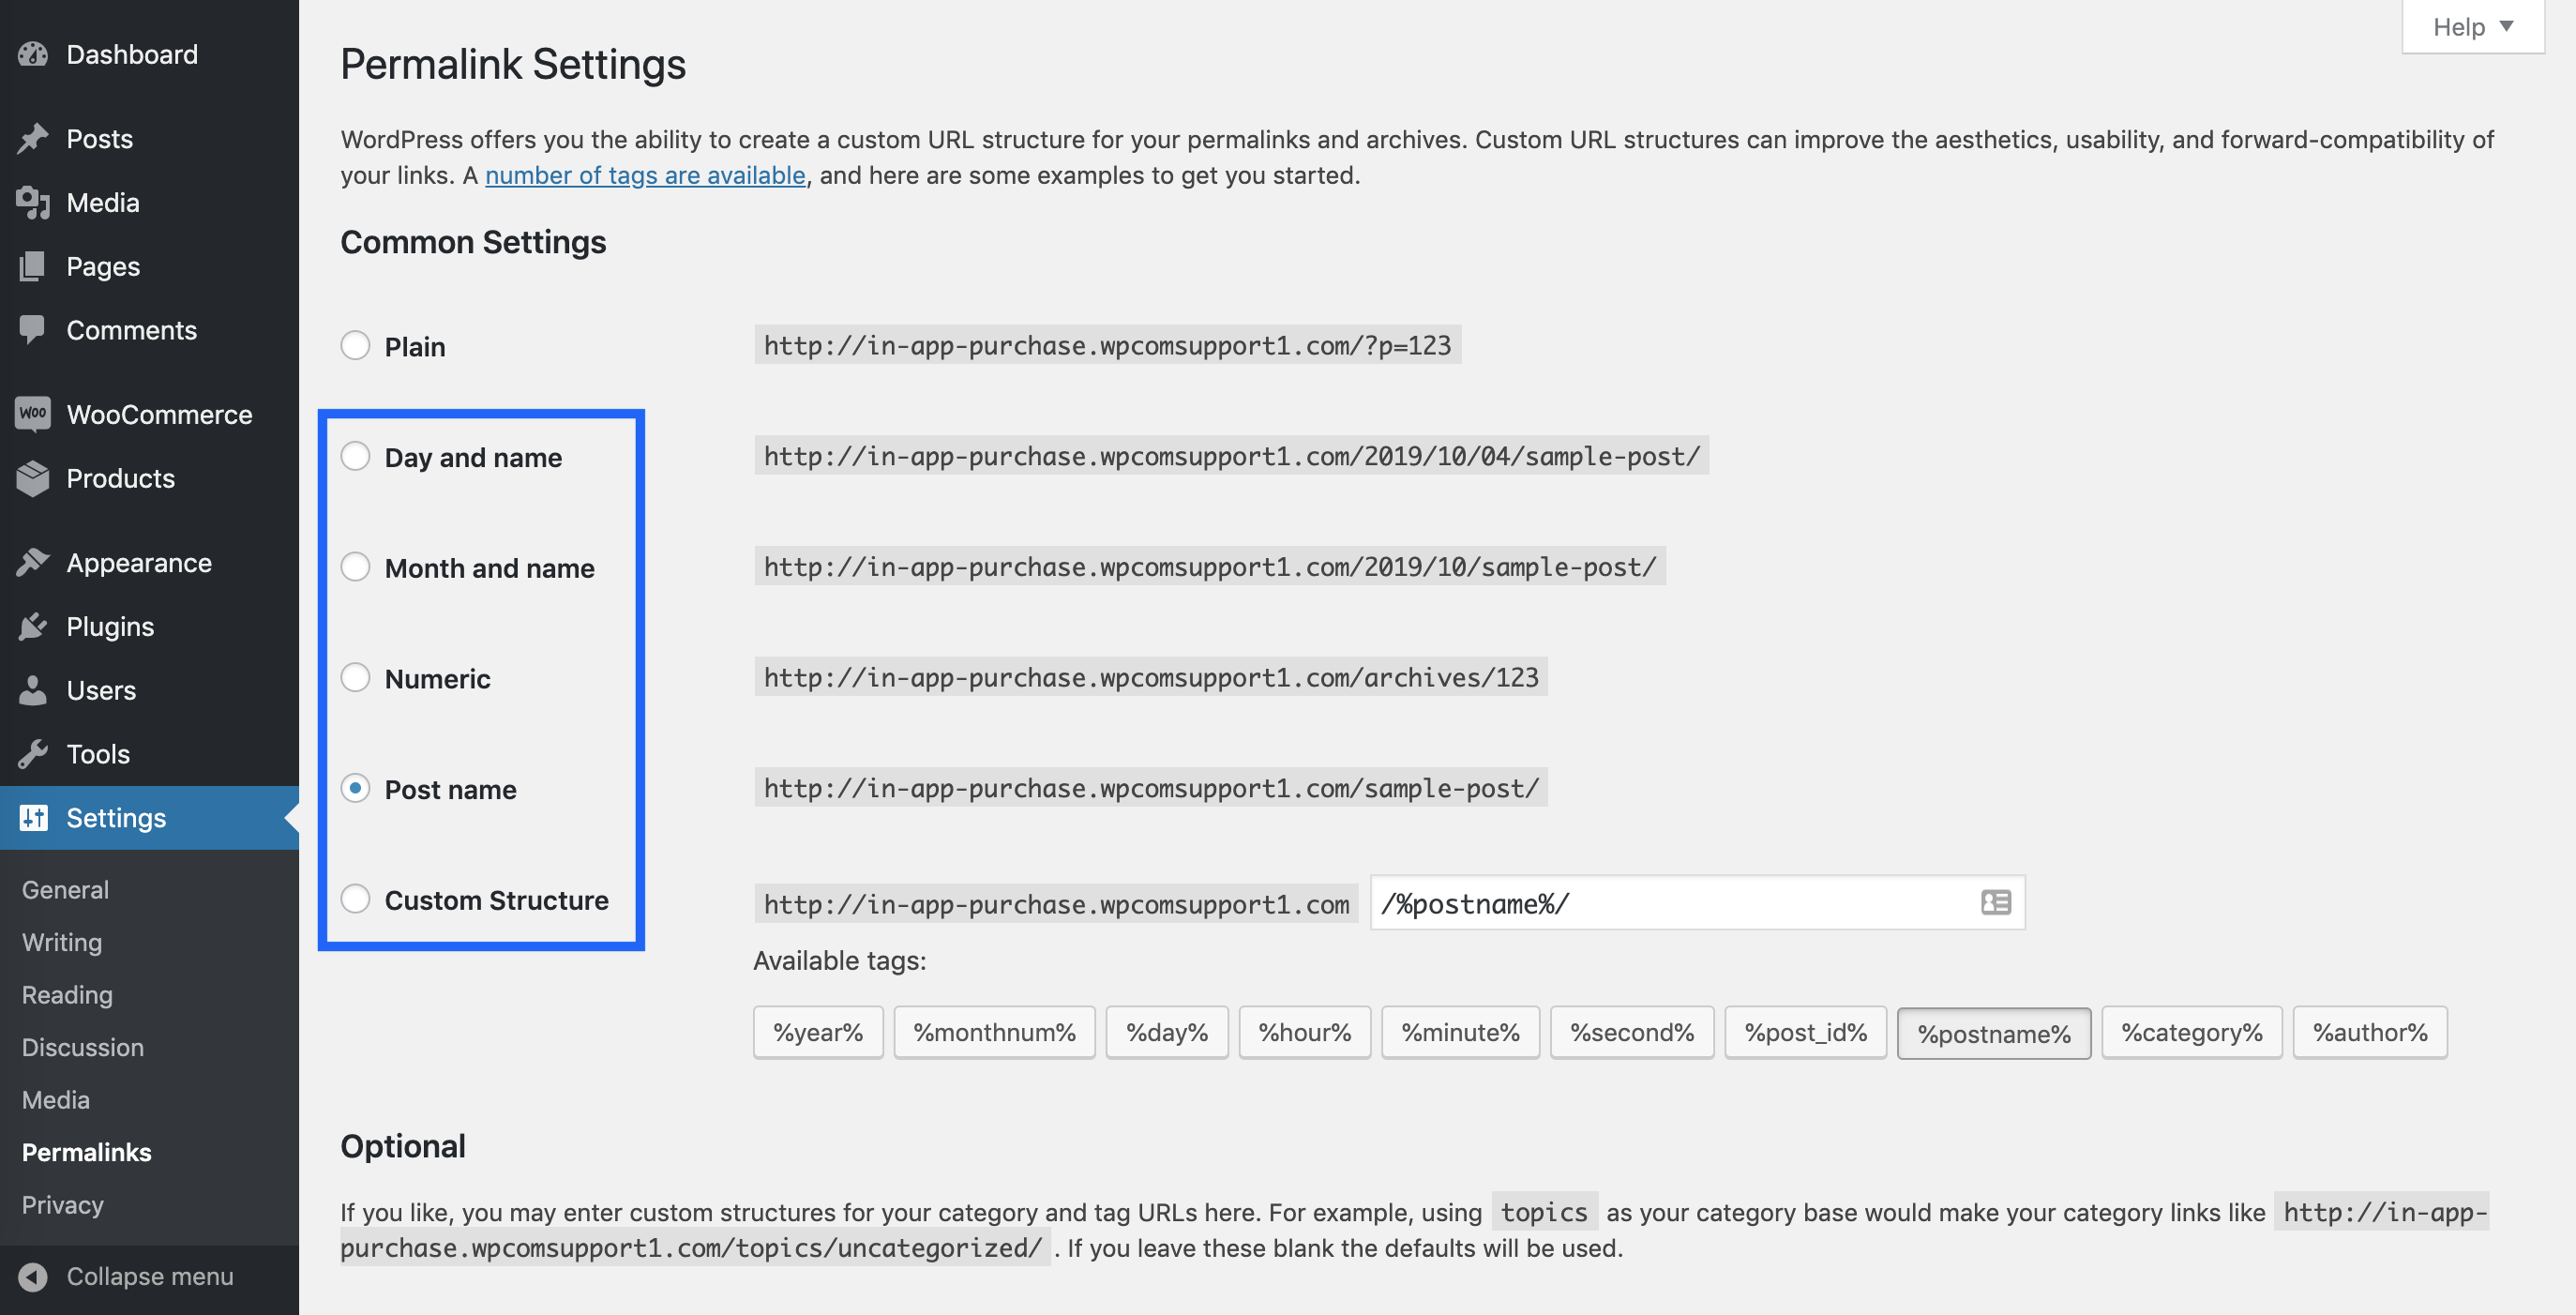
The REST API doesn’t support Plain permalinks. Select one of the other permalinks options WP-Admin > Settings > Permalinks to enable auto-install.
In some cases, WordPress sites disable their REST API or restrict access to it by allowing only logged in users to access it. This is usually done either by using plugins or custom code.
How to ensure your site’s REST API is working
To test your REST API just open http://yoursite.test/wp-json/ (replace http://yoursite.test/ with your site’s domain). If the link you opened shows your site’s name, description, etc. this means your REST API is working.
If you get a message similar to Only authenticated users can access the REST API., this means your site’s REST API is restricted to logged-in users only. To fix this simply login to your site and try again.
How to enable your site’s REST API
If the above step doesn’t resolve your issue there is a chance your site’s REST API is disabled. Check your site’s plugins and make sure you don’t use any plugins that are specifically made for blocking the REST API.
If you are using a security plugin check your settings to make sure REST API is enabled.
In some cases, site owners add custom code to the site to disable the REST API. This code should be removed or modified to allow REST API access to all /wp-json/wccom-site/ endpoints. If you are not sure where this code can be, try searching your site’s plugins and theme files for the message, returned by /wp-json/.
Refresh connection to WooCommerce.com
Auto-install relies on your store’s connection to your WooCommerce.com account.
If auto-install isn’t working, try to refresh a connection to WooCommerce.com by clicking the Update button in WooCommerce > Extensions > WooCommerce.com Subscriptions.
Enable WordPress cron
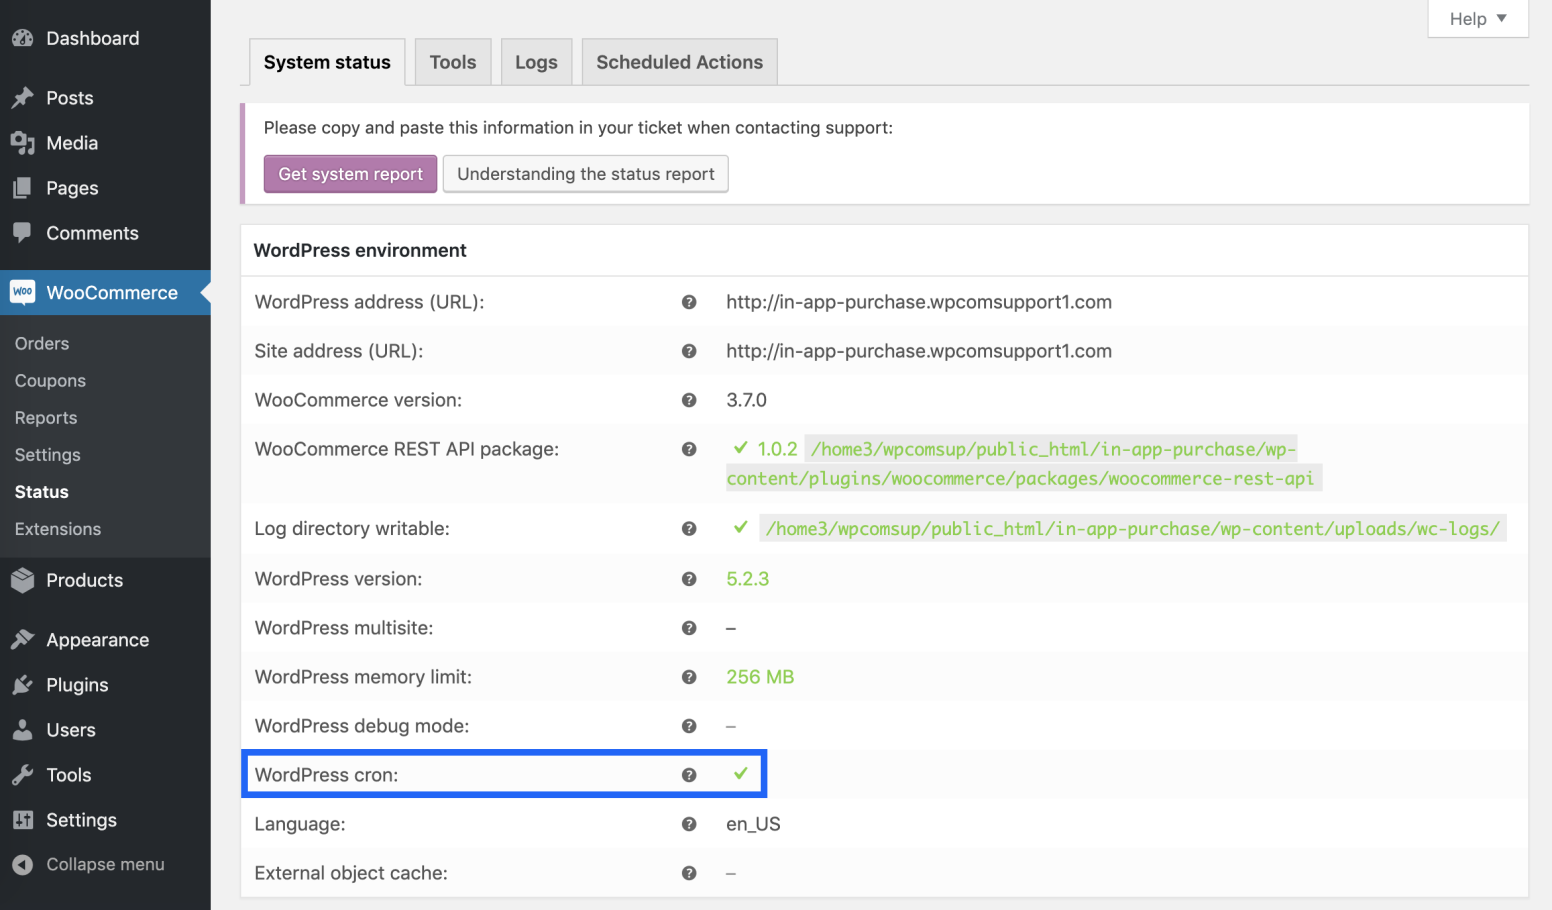
Auto-install uses WordPress cron to install plugins. Ensure it is enabled on your site.
You can check if cron is enabled in WooCommerce > Status > System status > WordPress cron.
 If cron is disabled, you should check whether there is the following line in wp-config.php file in your main WordPress folder:
define( 'DISABLE_WP_CRON', true );
If it is present, remove or comment this line to enable WordPress cron on your site.
If you don’t want to activate WordPress cron for some reason, you may use a real cron job instead. Check How to Replace the WordPress Cron with a Real Cron Job Tutorial by SiteGround.
Transfer a subscription
Transferring is used to hand over an extension to a new owner. It includes both ownership and billing. Specific use cases would be:
- Consolidating purchases across multiple WooCommerce.com accounts.
- Handing over a site to a client once the site/store development is finished.
- Transferring ownership of an extension purchased on behalf of someone a company or agency.
How to transfer an extension/key
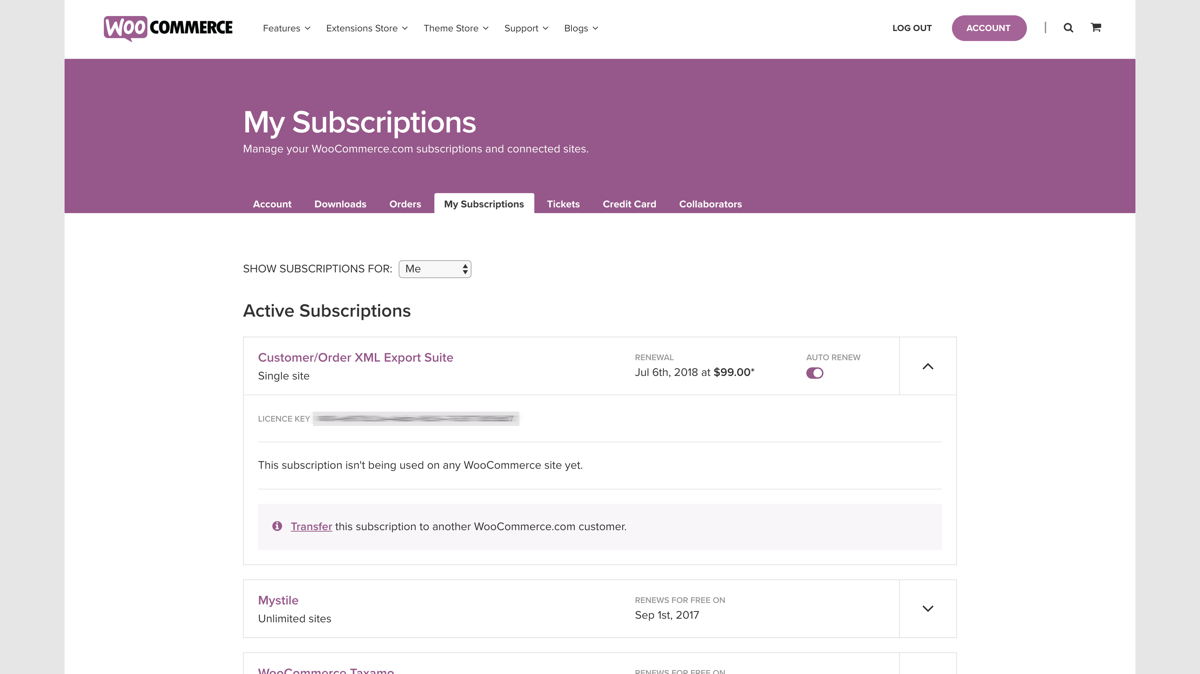
- Log in to your WooCommerce.com account and go to My Subscriptions.
- Select the extension you want to transfer and click the Transfer link.
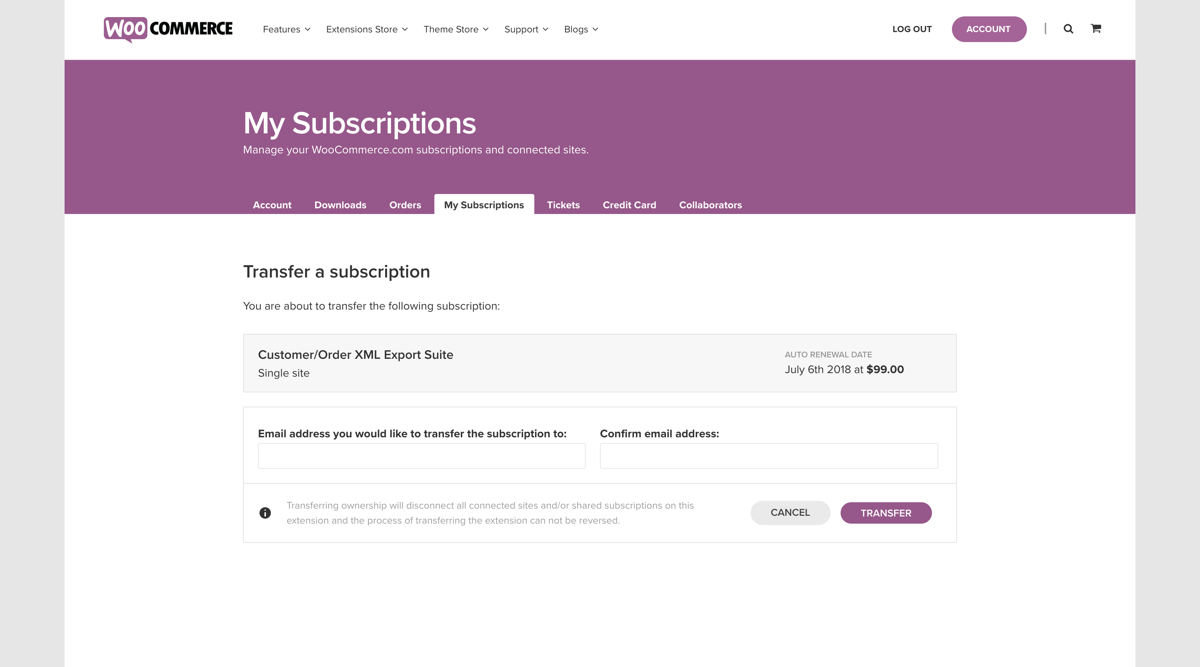
- On the next screen, you can see the subscription you are about to transfer
- Enter the email address of the WooCommerce.com account you want to transfer the extension to.
- Confirm the email address.
- Click the Transfer button.
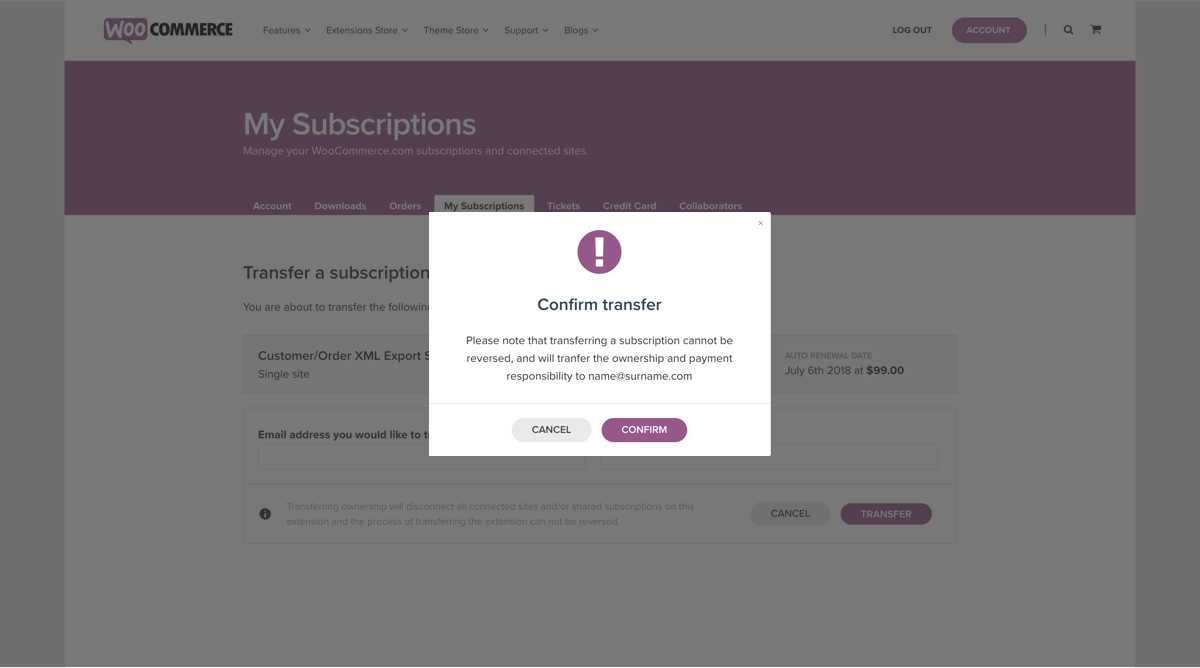
- On the next screen, a prompt asks you to confirm the transfer of this extension. Please note that this transfers both ownership and billing to the new owner.
- Click the Confirm button if you are happy to proceed.
What happens next
- A notification is sent to the email address you entered, asking them to accept the transfer.
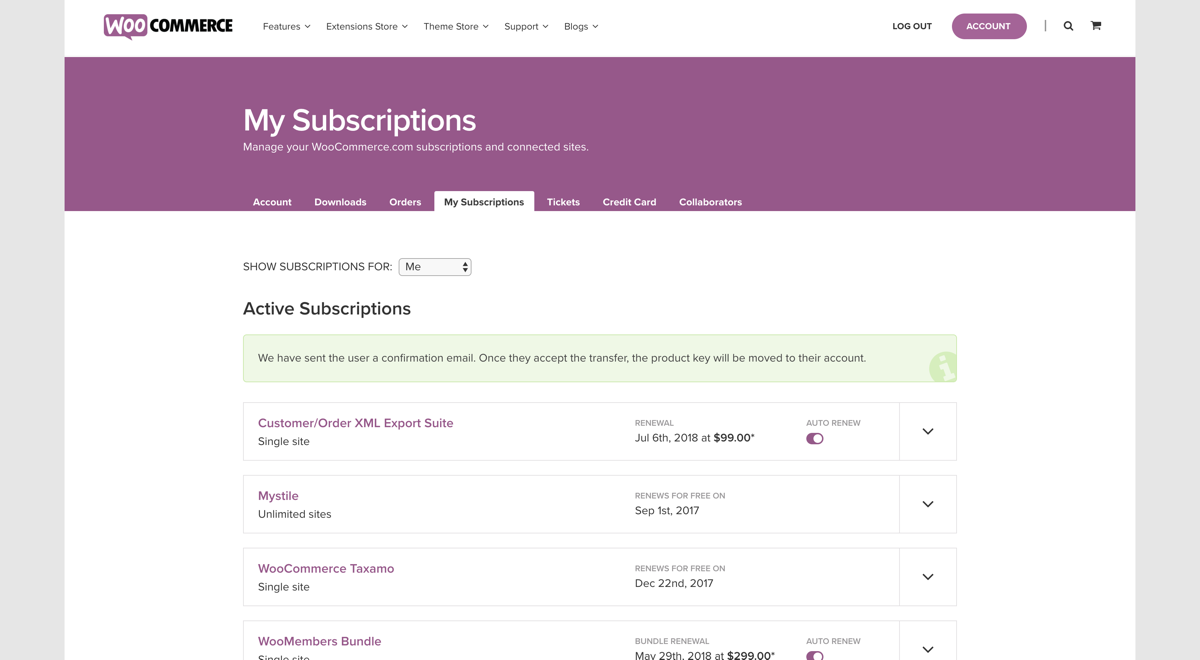
- A notice appears that the extension transfer is pending acceptance in My-Account of the person who initiated the transfer.
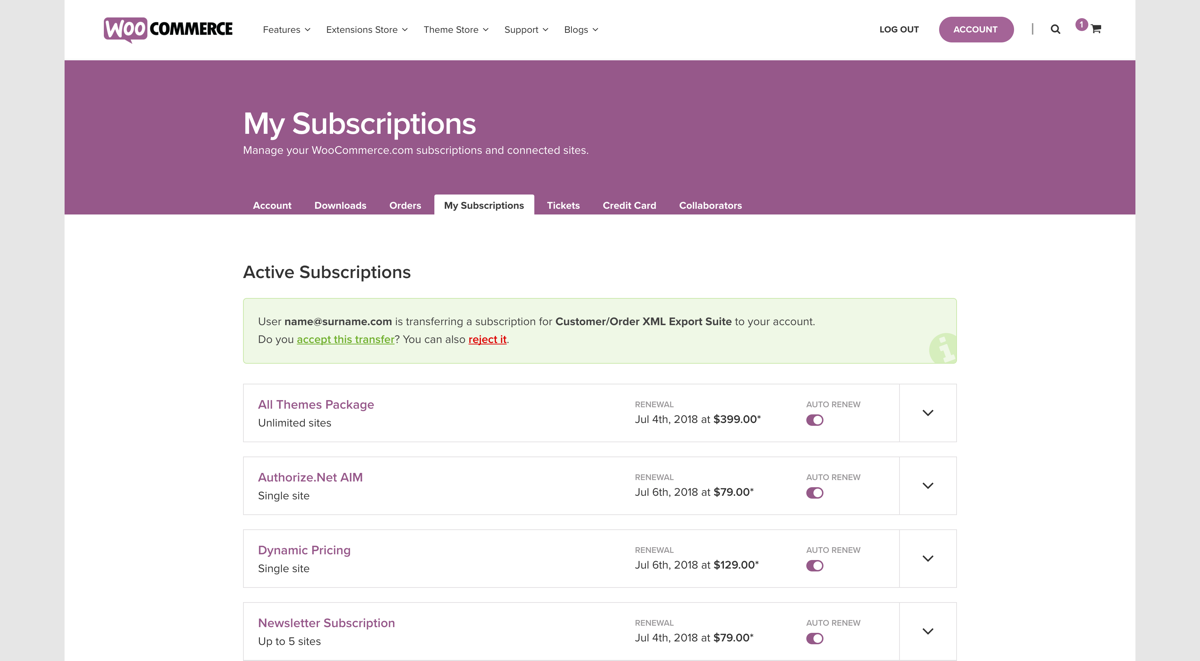
- In My-Account of the person receiving the transfer, a notice indicates that they have an incoming transfer pending, and it can be confirmed or canceled.
Once the transfer is accepted, the extension is moved from the original owner’s account to the new owner’s account.
How to transfer one key of a multi-site subscription
In the past we offered 5- and 25-site subscriptions. It’s not possible to “break off” parts of a 5-site and/or 25-site subscription and transfer those keys to individual clients. Why? Because the key number belongs to the full package.
It is also not possible to link two different WooCommerce.com accounts to the same site as a way to share the ownership of extensions on one site.
You would need to purchase a separate subscription/key for every client or have them purchase it themselves on their own WordPress/WooCommerce account if they want ownership of the extension. Or you can share a single key in a multi-site subscription using the sharing feature by following these steps; in this case, you retain ownership.
Questions
Need assistance? Get in touch with a Woo Happiness Engineer via the Help Desk.
Share a subscription
Sharing is used to give someone else access to the extension that you purchased. The original owner of the extension retains both the ownership and billing of the extension. Sharing would be used to allow a store builder to purchase a subscription for use on their client’s site.
How to share an extension/key
- Log into your WooCommerce.com account, and go to My Subscriptions.
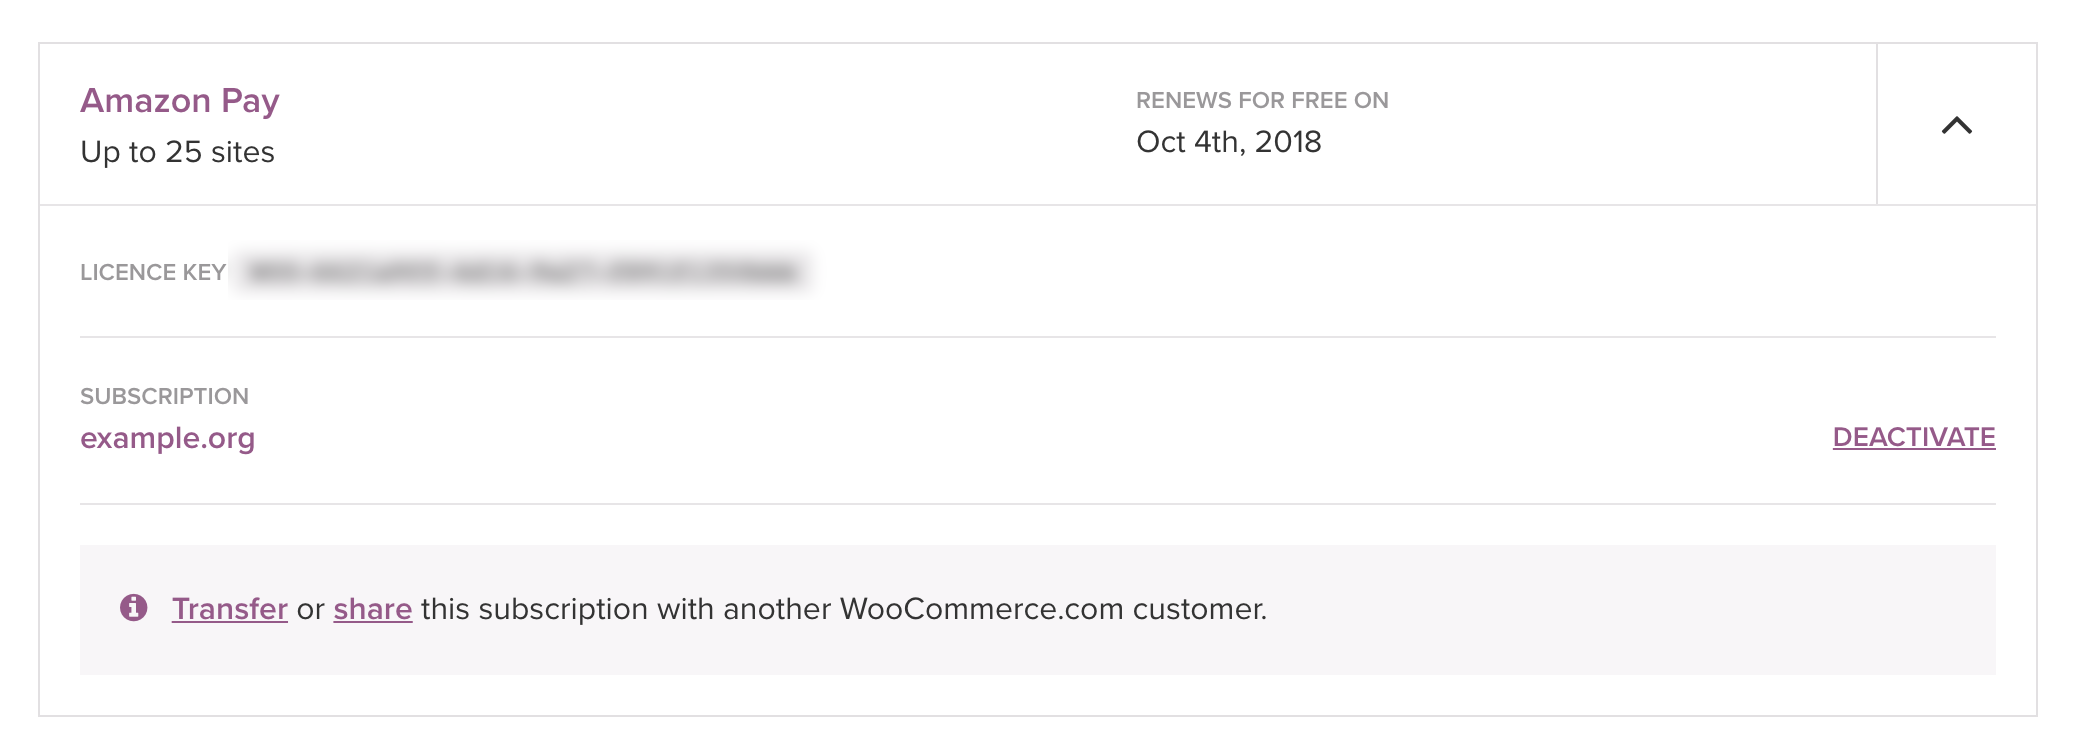
- Select the extension you want to share, and click the Share link.
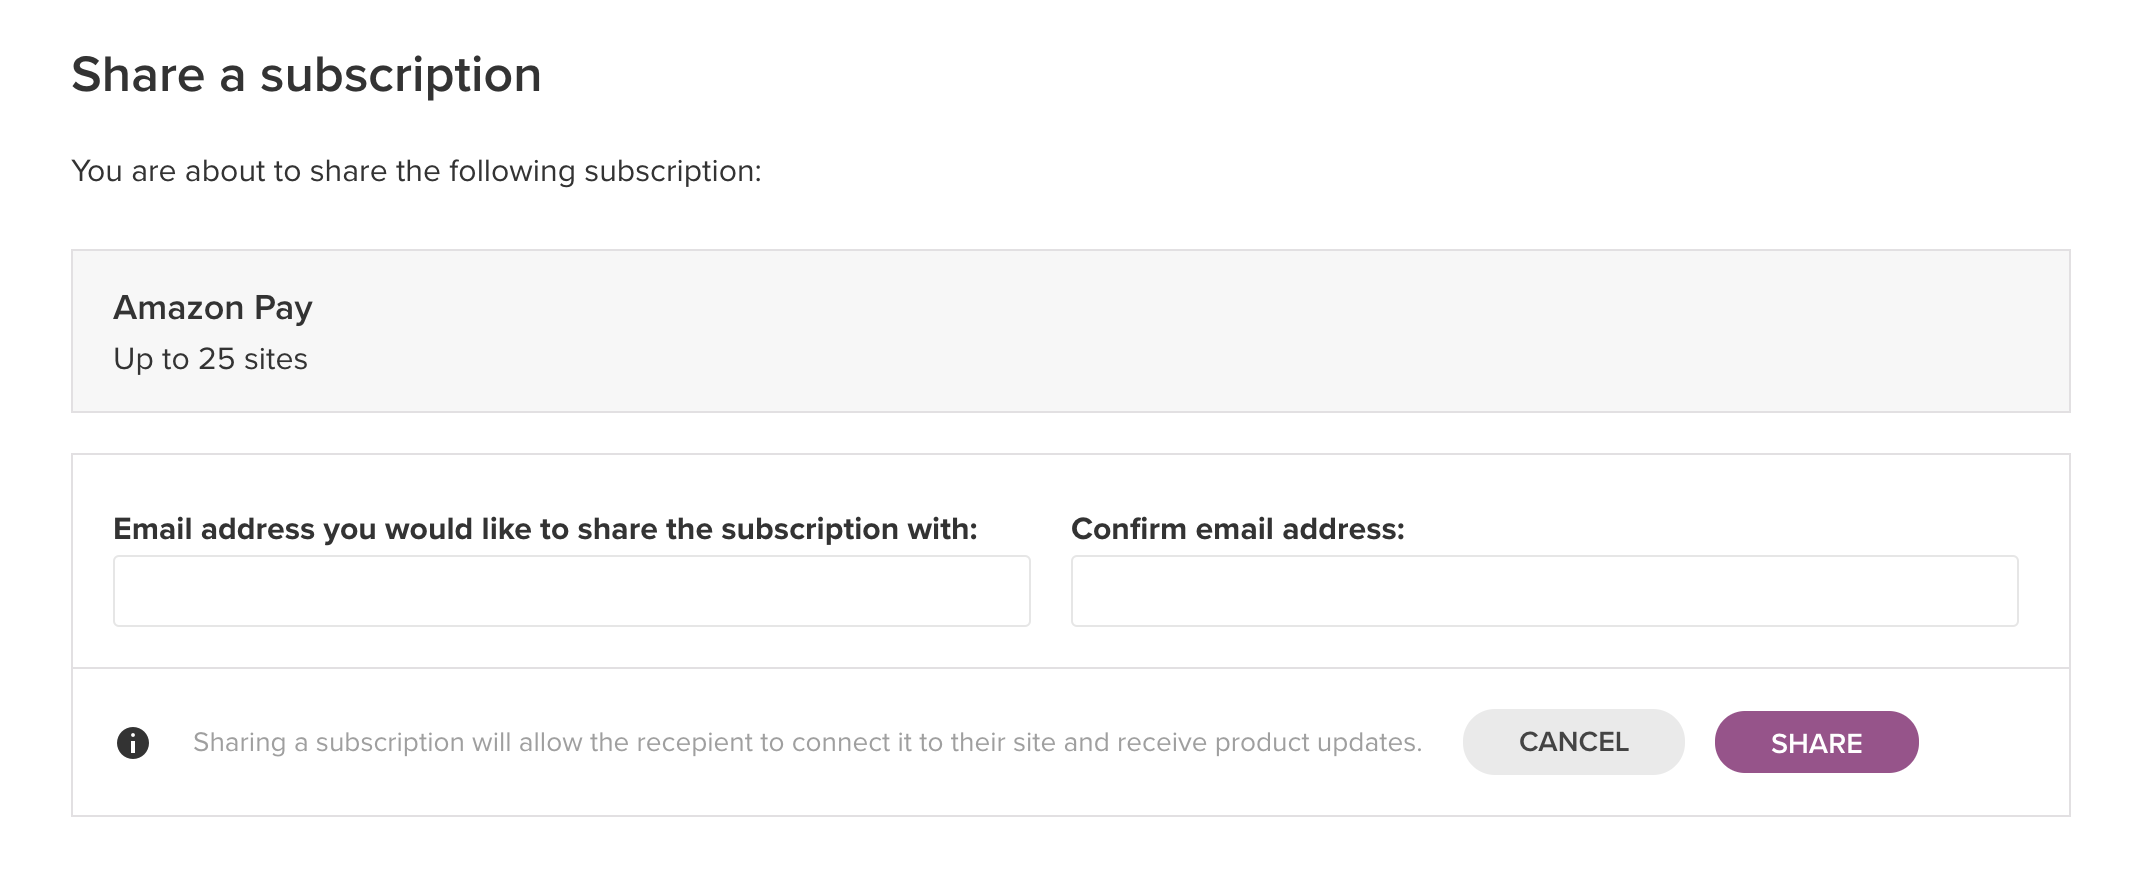
- On the next screen, you can see the subscription you are about to share.
- On the next screen, you can see the subscription you are about to share.
- Enter the email address of the WooCommerce.com account you want to share the extension with.
- Confirm the email address.
- Click the Share button.
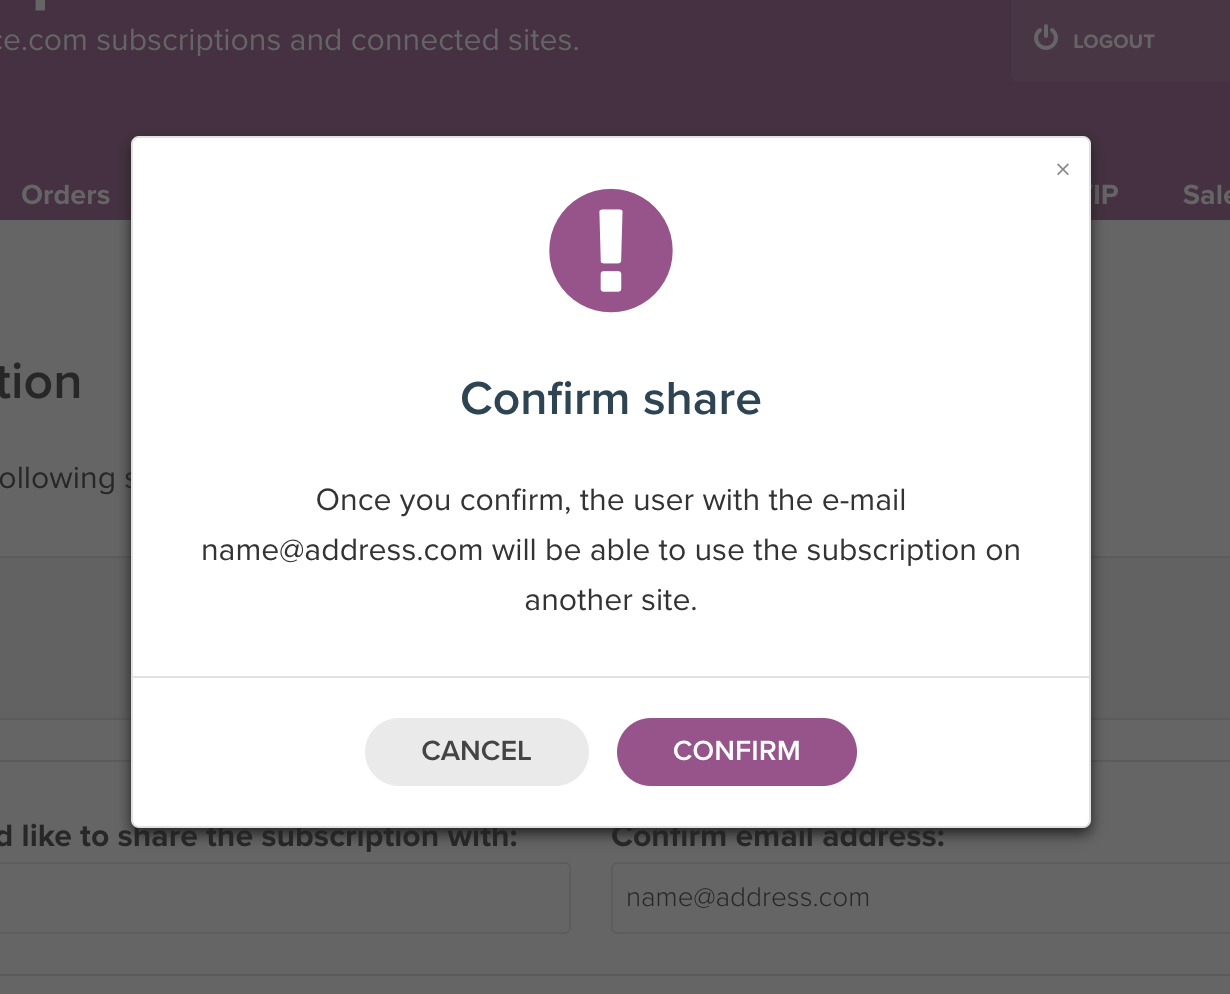
- On the next screen, a prompt asks you to confirm the sharing of this extension. Note that this only shares use of the extension; both the ownership and billing remain with the original owner. If you prefer to transfer the extension – you can do so by following the steps above.
- Click the Confirm button if you are happy to proceed.
What happens next
- In My-Account of the customer who is receiving the shared extension, they are able to see the shared extension listed, and the email address of the person who shared that extension with them once the extension is activated. Both sharing and transferring if disabled on shared extensions for the person with whom the extension is shared.

- In the connected WooCommerce.com Subscriptions tab within WooCommerce Core, the shared extension is now visible. This extension can then be download and installed, and updates are available as long as the original subscription remains active. If you need assistance connecting your WooCommerce site to your WooCommerce.com account, follow these steps.

- In My-Account of the person who shared the extension, they can see the email address and the site URL on which the extension is being used. They can also deactivate the connection if they wish and also remove the share if wanted.