To view all bookings that have been created, go to Bookings in the Dashboard. A list of bookings appears in reverse chronological order.
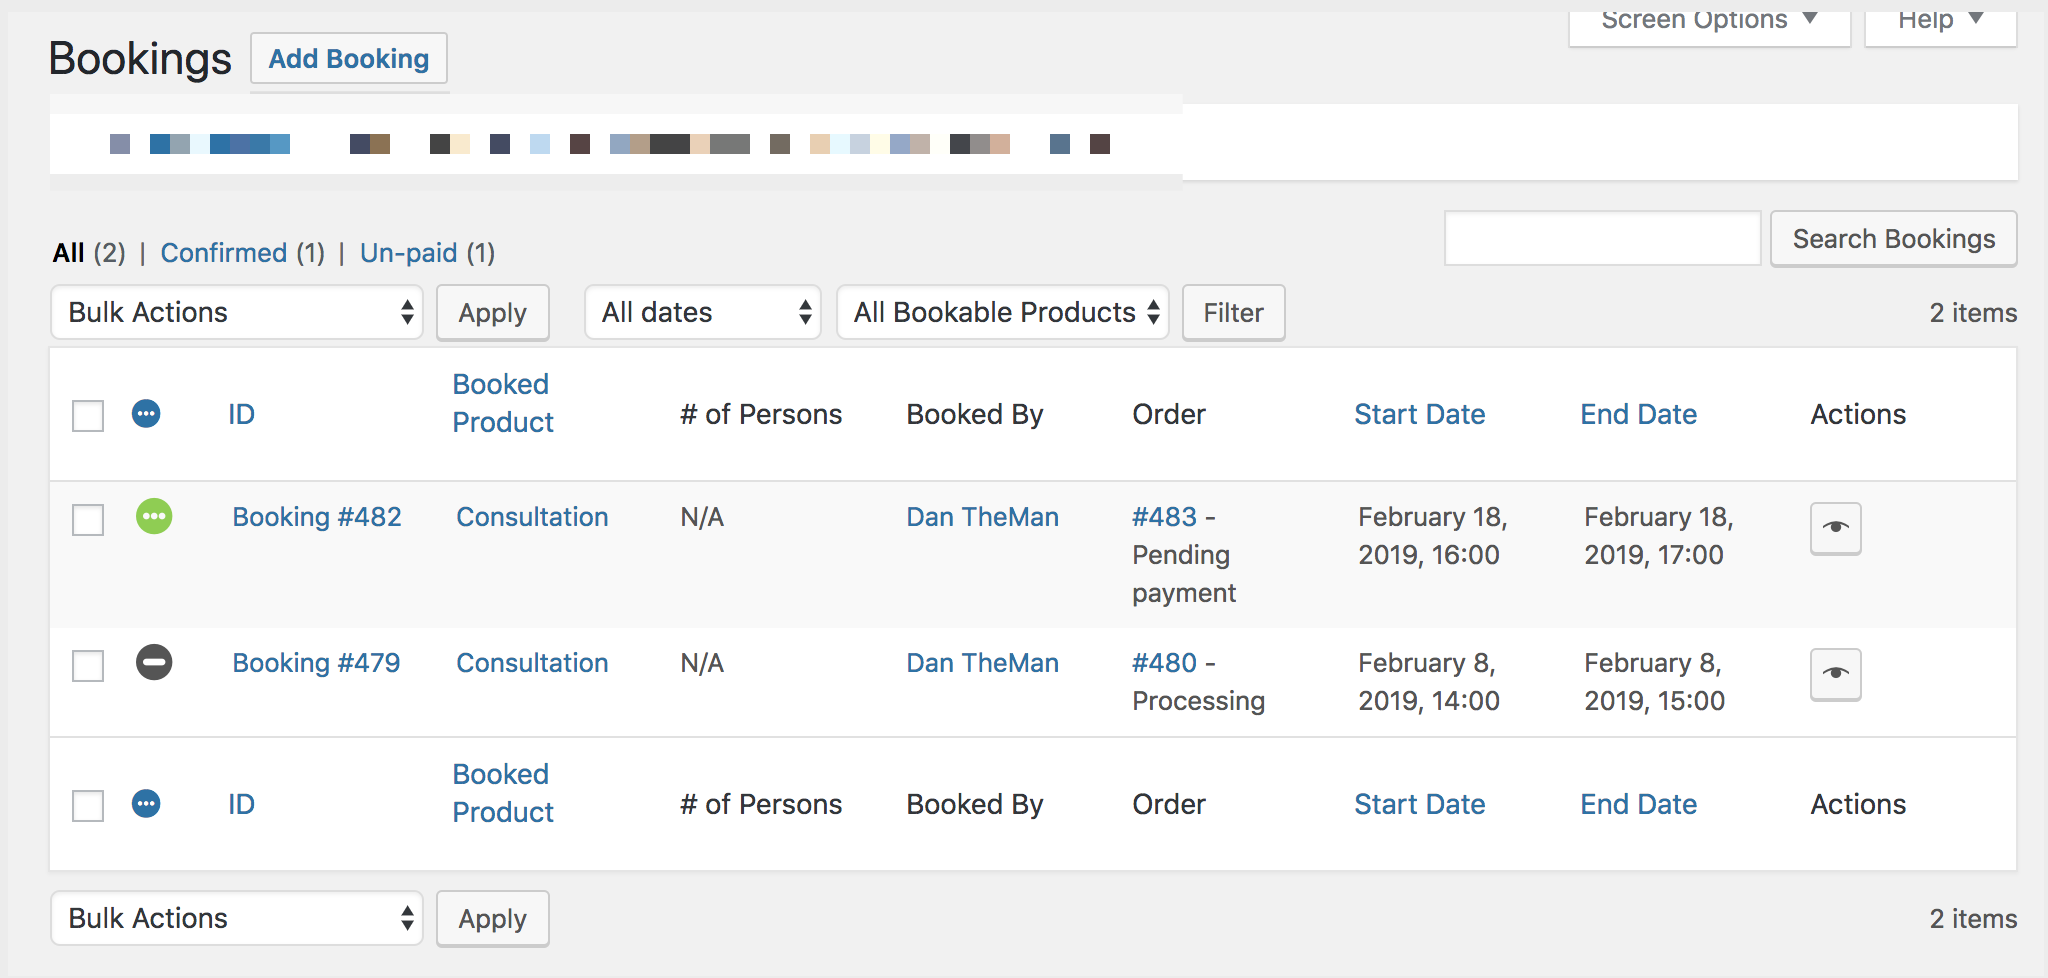
To filter bookings, select options from a familiar menu at the top.
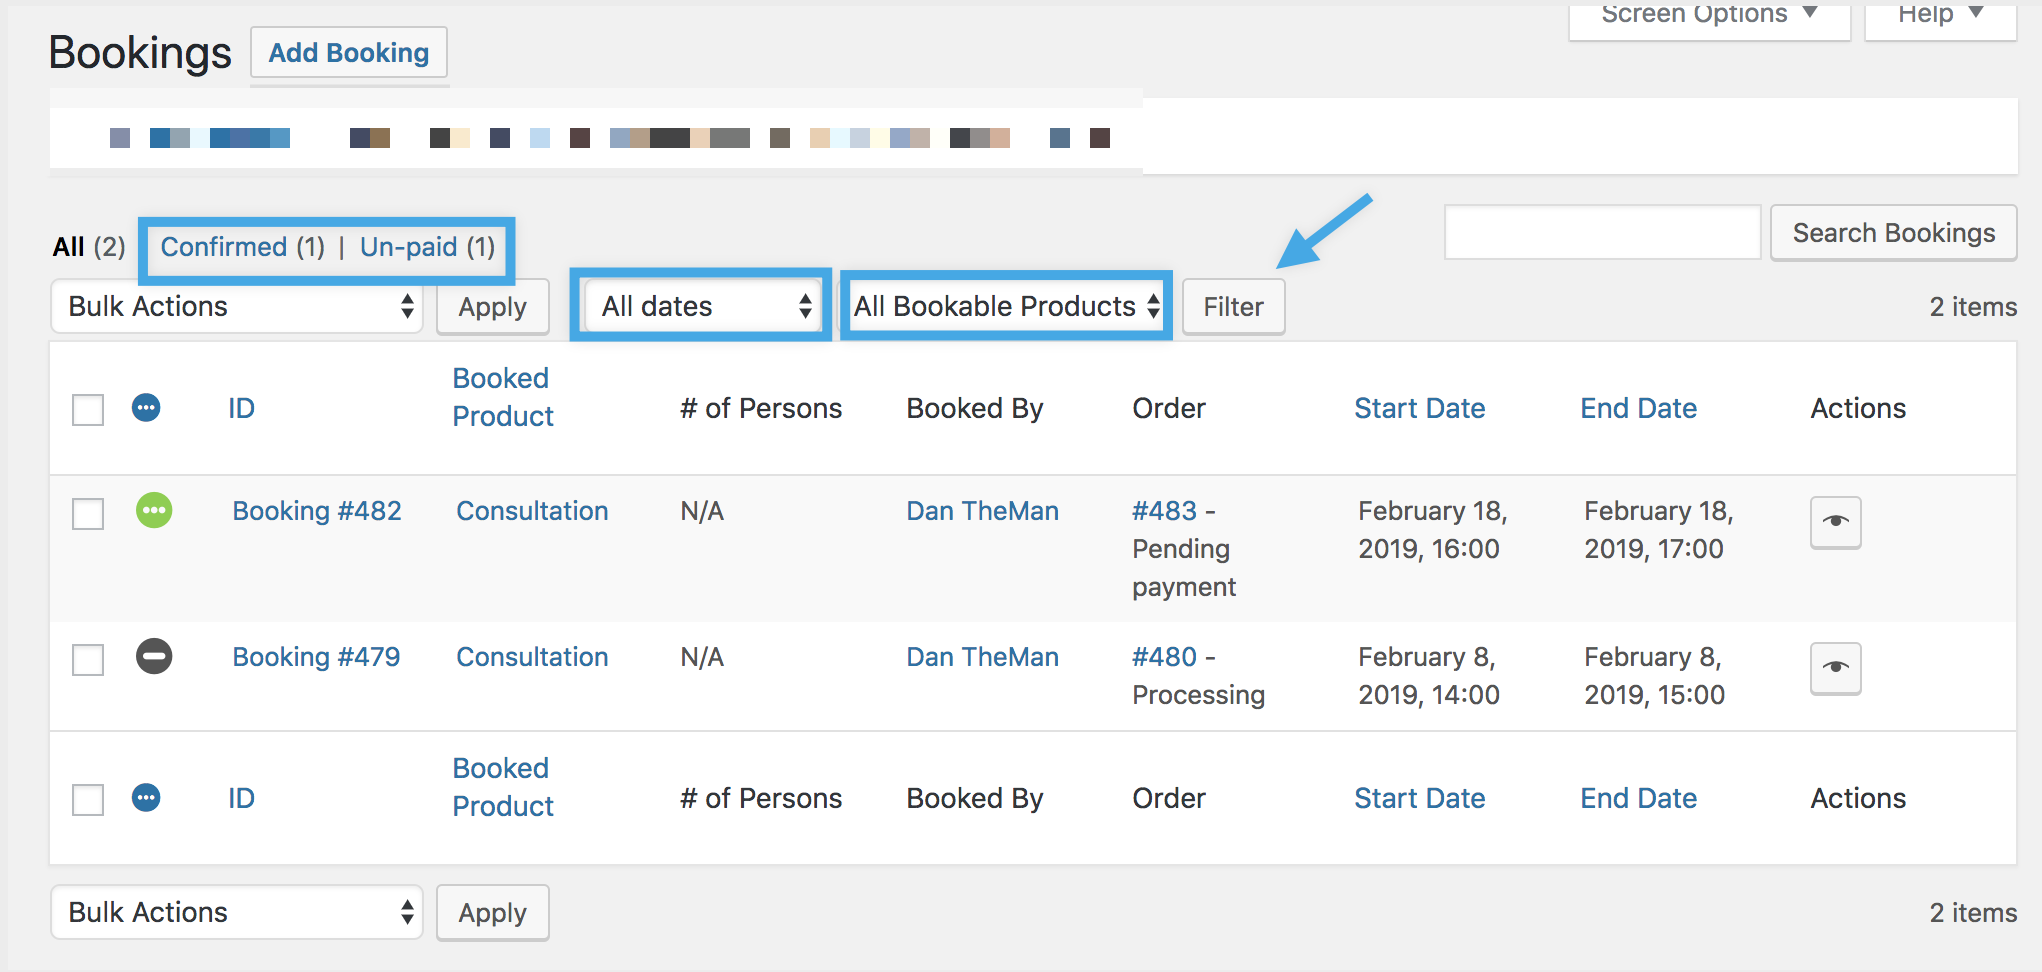
Filter by:
- Status
- Date
- Product/Resource
To use bulk actions, select an action from the dropdown and Apply.
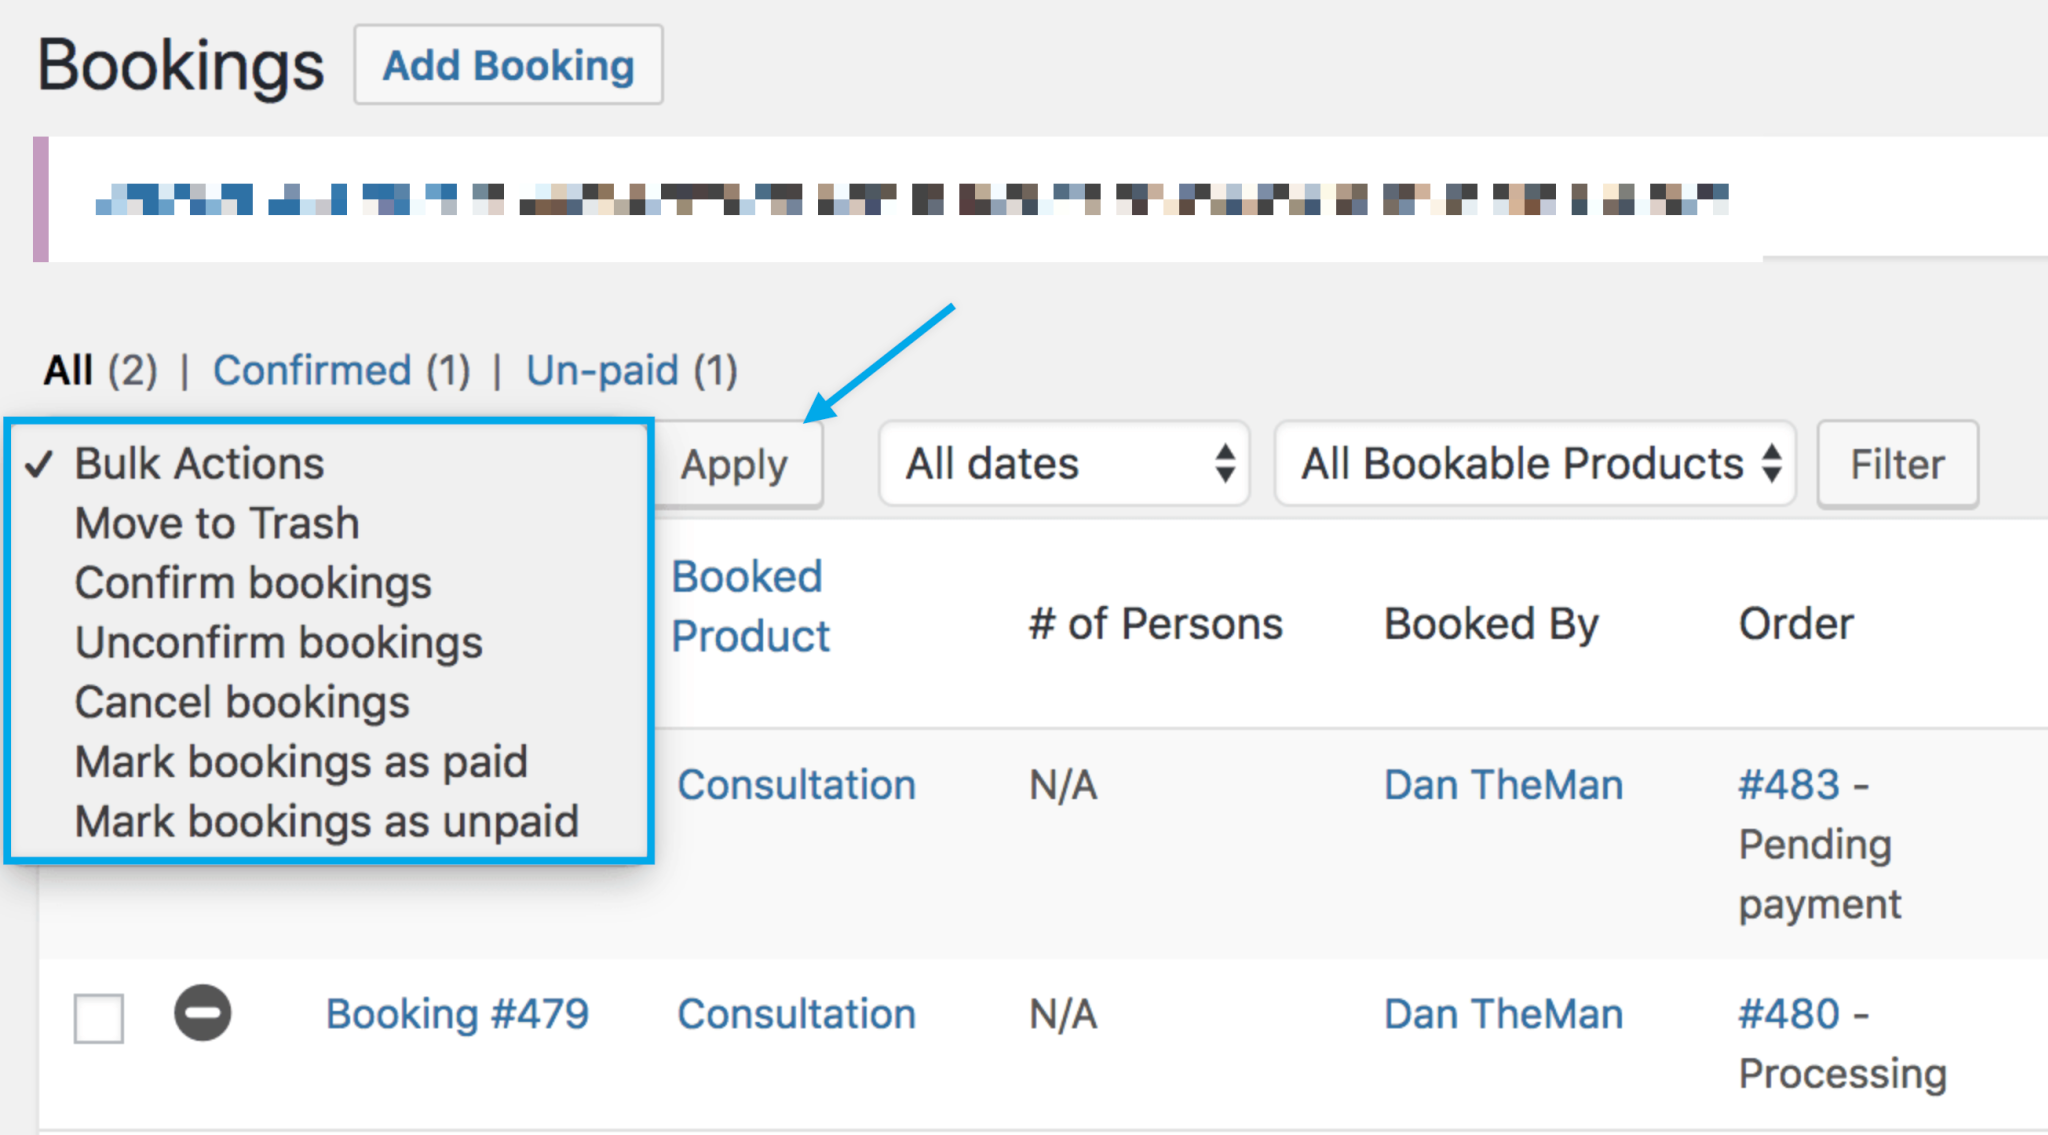
- Move to trash
- Confirm bookings
- Unconfirm bookings
- Cancel bookings
- Mark bookings as paid
- Mark bookings as unpaid
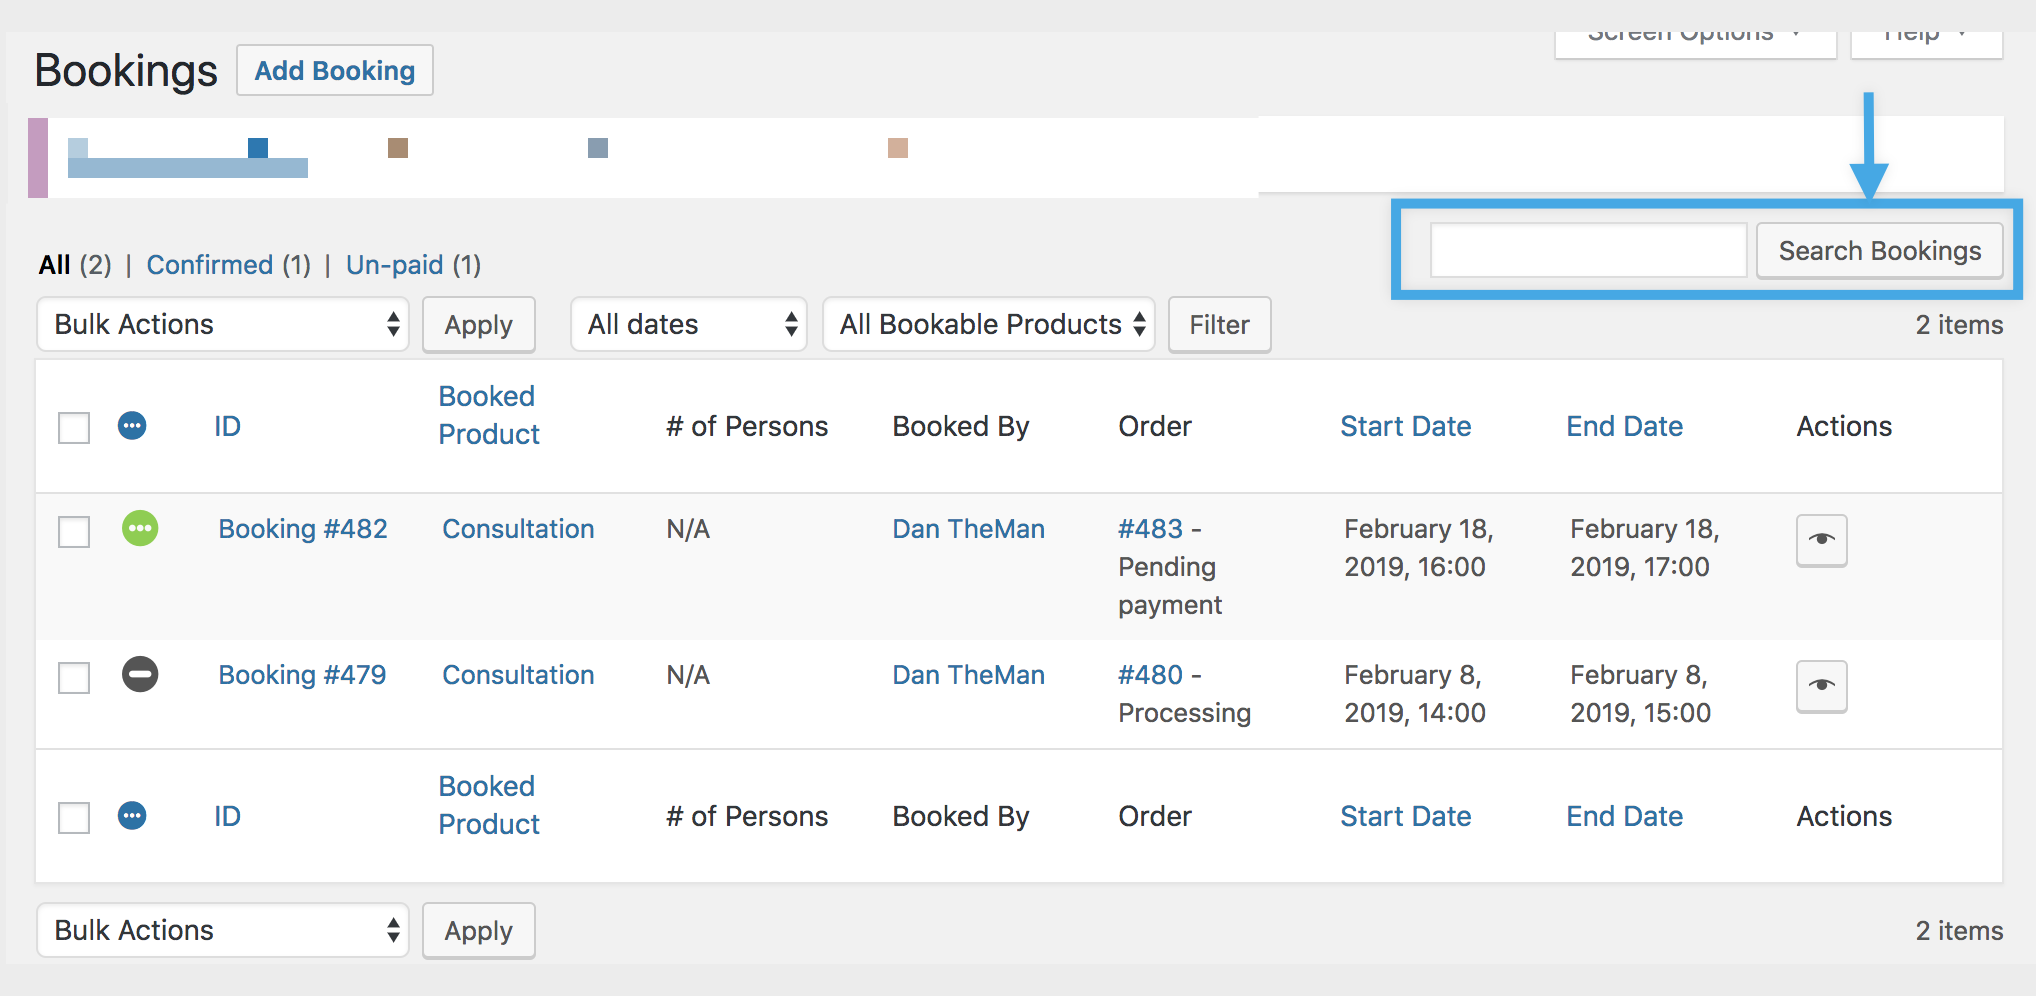
To search bookings, use the upper right search box and select Search Bookings.
On individual bookings, you have the option to perform two actions.
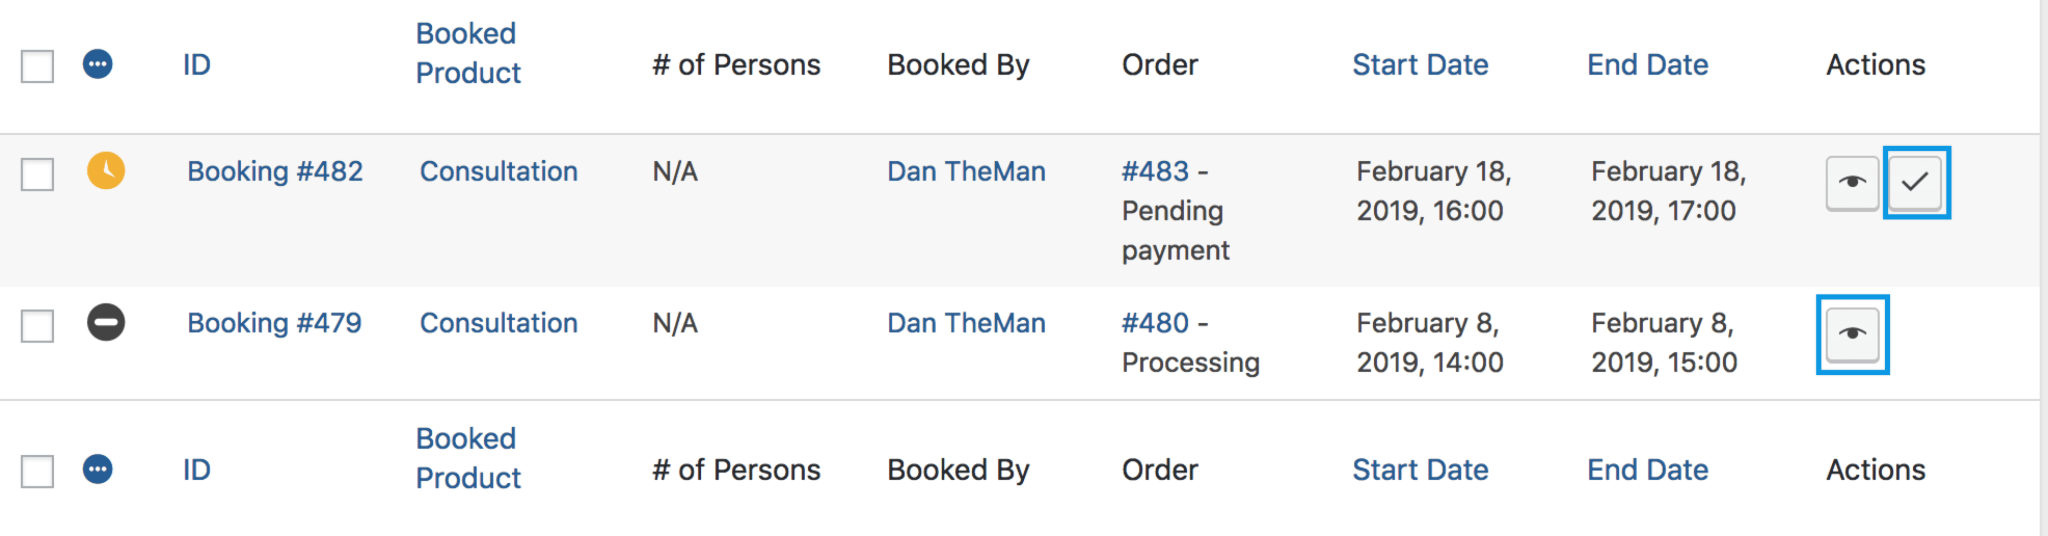
- Check mark: Allows you to confirm a pending booking and email the user. If you confirm in error, use the Unconfirm Booking bulk action.
- Eye: View booking details.
The next sections explain these actions in more detail.
Approve Bookings
To approve a booking that requires confirmation:
- Go to Bookings. Any booked products that require confirmation will display Pending Confirmation.
- Select Confirm (check mark) to approve the booked product.

Once approved, the user receives an invoice via email to pay. The customer can then pay on their My Account page. The link to their My Account Page is included in the email they receive.
View a booking
To view a booking, the Eye takes you to the Edit/View Booking page. This works similar to other admin pages such as Edit Order, except it is for booking data.
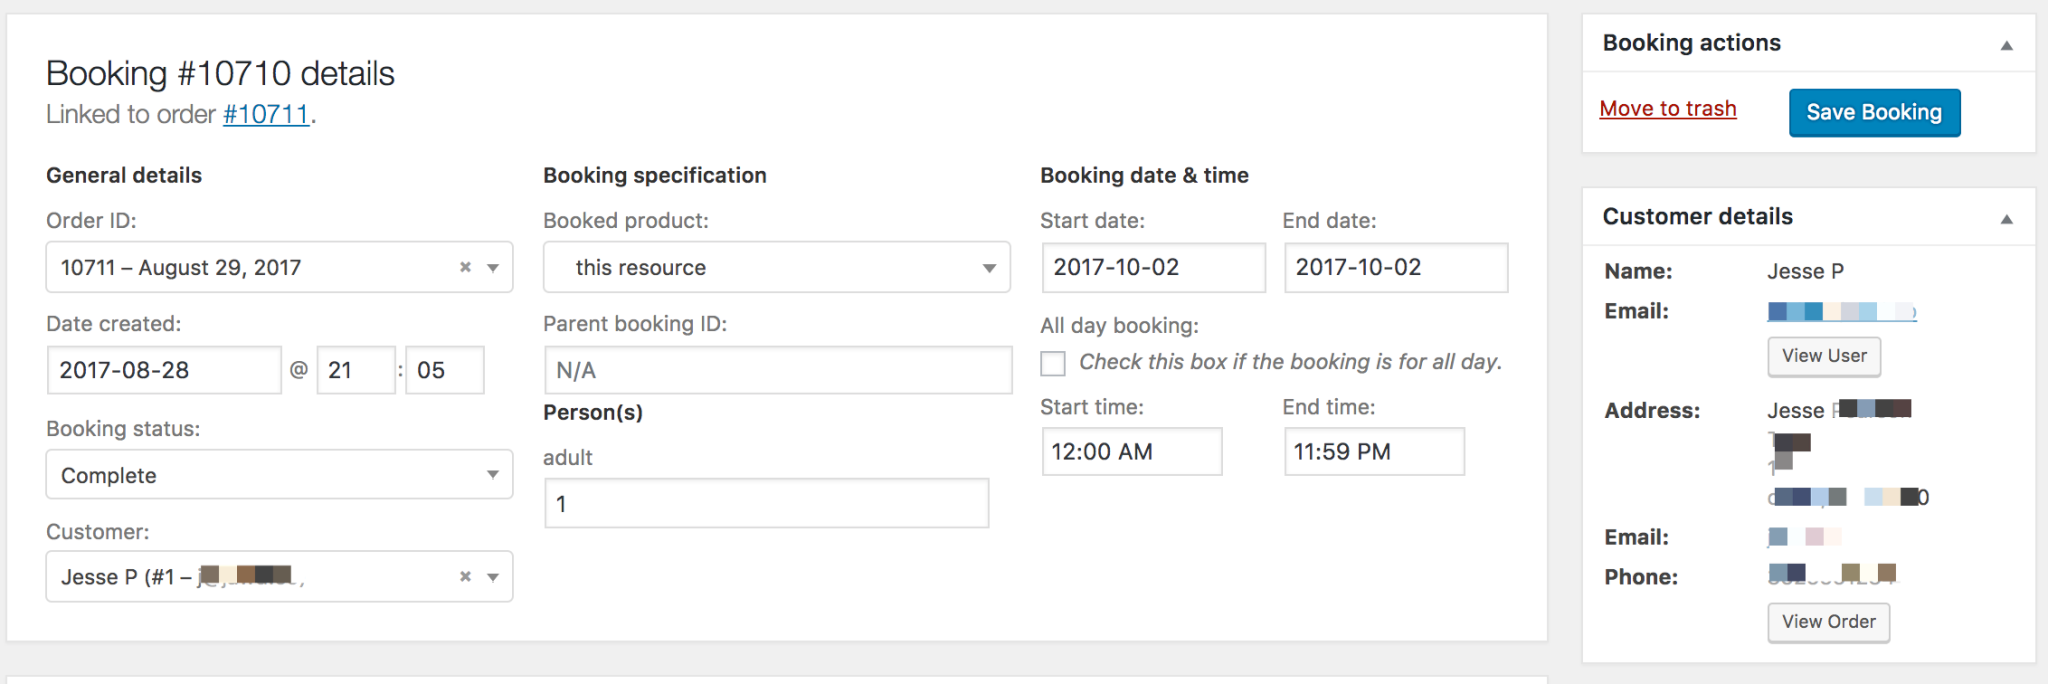
These details can be edited, then saved when you are done.
Be careful when changing start and end dates and times. Be sure that the start date is always more recent than the end date. Note that the customer will not receive an automatic email with any changes.
Booking Status
- Unpaid: Booking requires payment. Order has not been paid.
- Pending: Booking awaiting Admin approval. See Approving Bookings.
- Confirmed: Booking is confirmed after it was set as Pending. Still requires payment.
- Paid: Booking has been paid for.
- Cancelled: Booking has been canceled.
- Complete: Booking is paid, and the date is in the past. The assumption is that the experience/service was delivered.
- In Cart: Booking has been added to a customer cart. If not purchased, it is deleted within 60 minutes.
View bookings on a calendar
For a calendar view, go to Bookings > Calendar. By default, it shows a Day-based view with Filter options on the left.
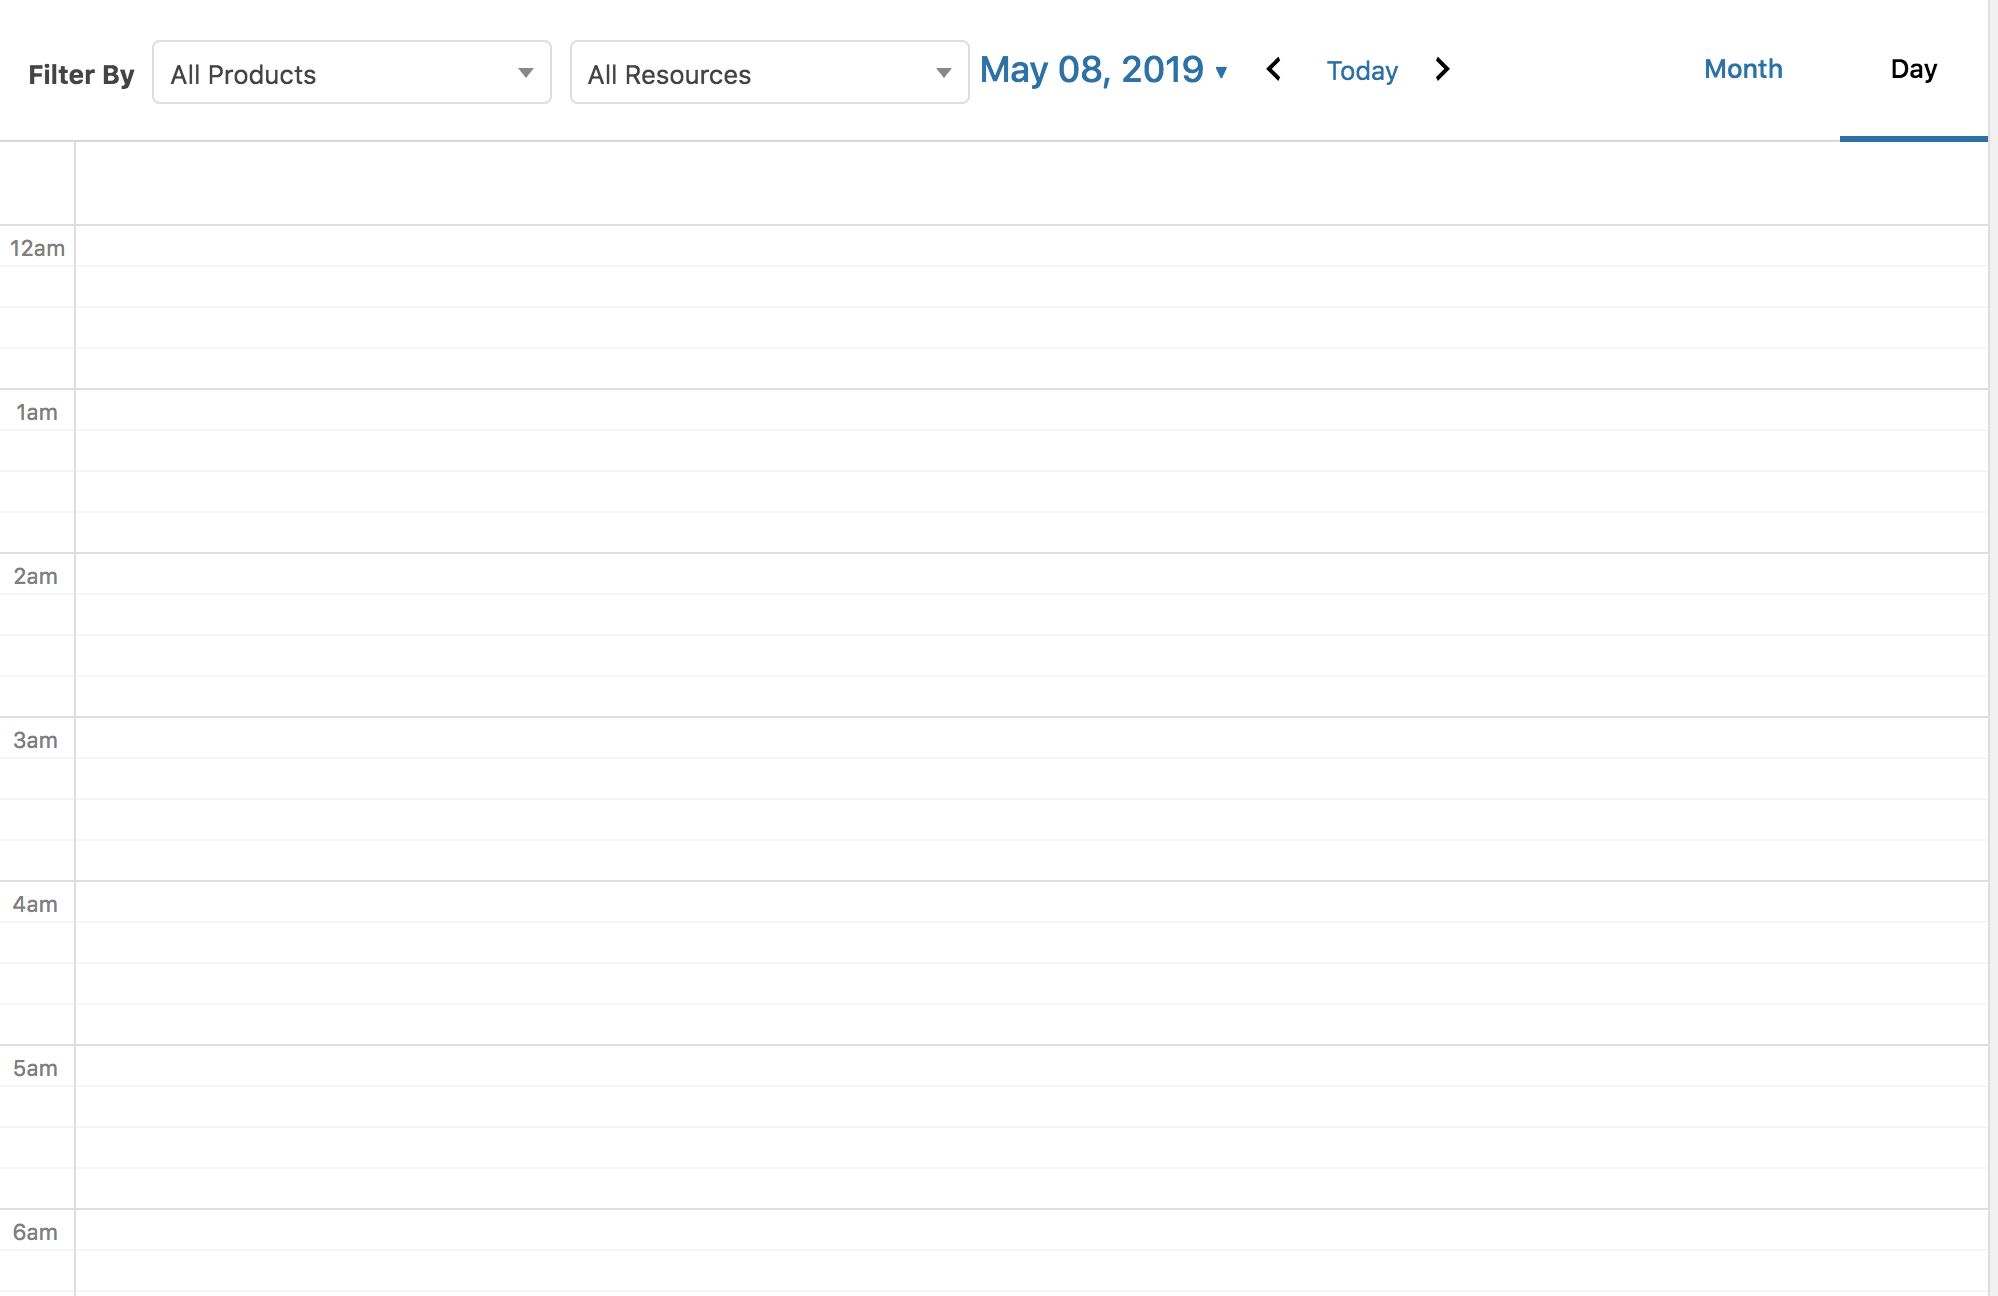
By Day
A Day-based view can be used to view all bookings in a day:
When using Day view, select a booking to view/edit it, or hover to view a summary of details.
By Month
Select Month to show a Month-based view with Filter options on the left.
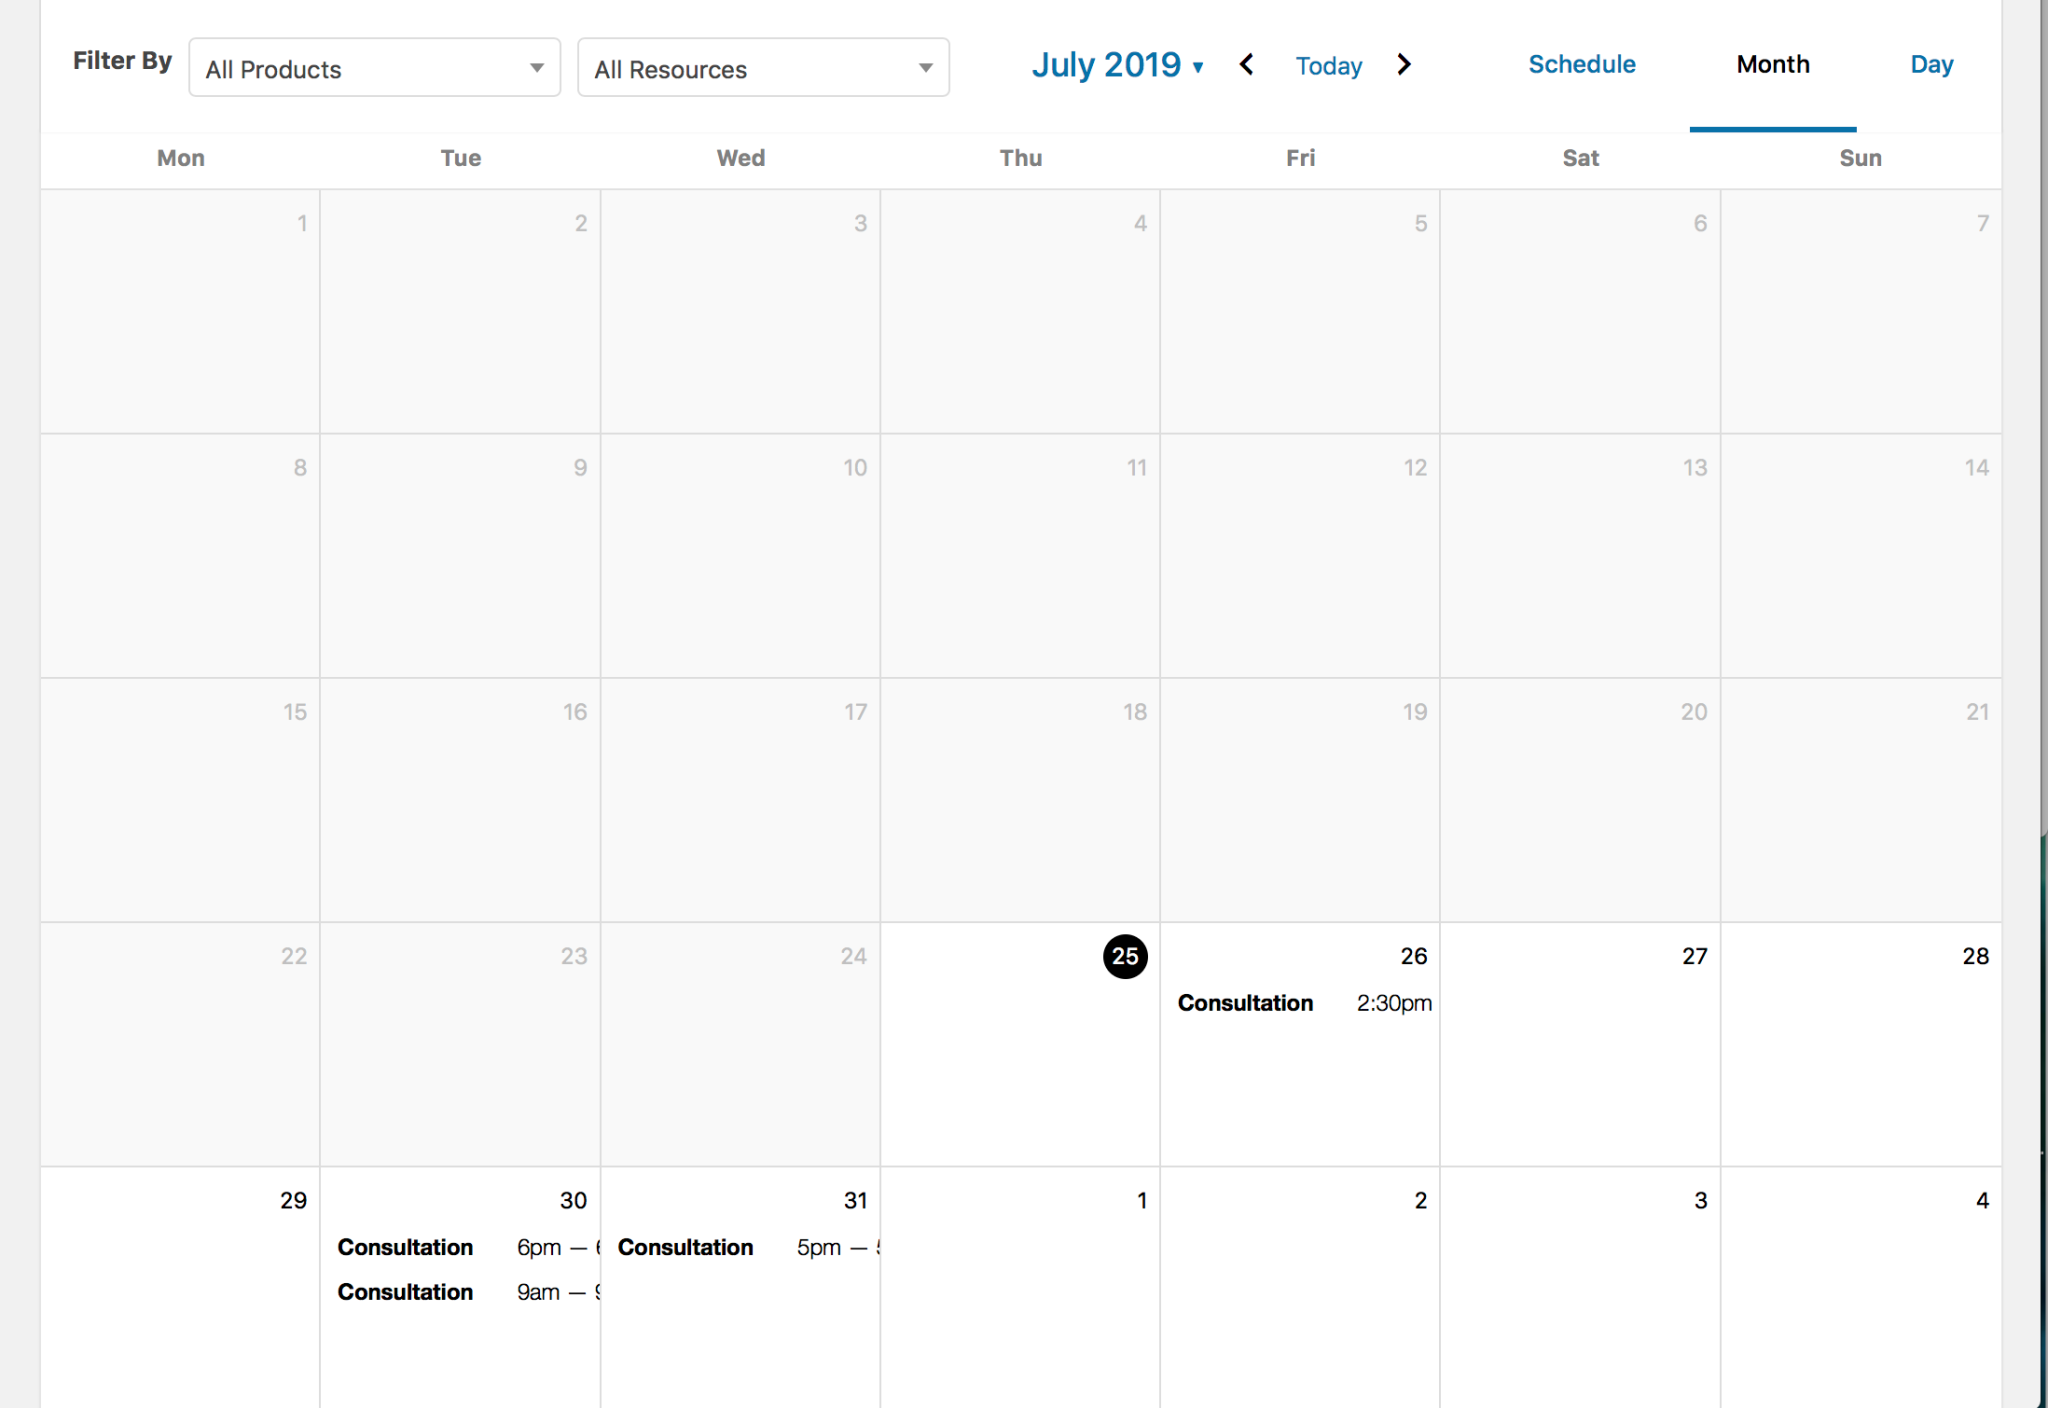
Select a booking to view details.
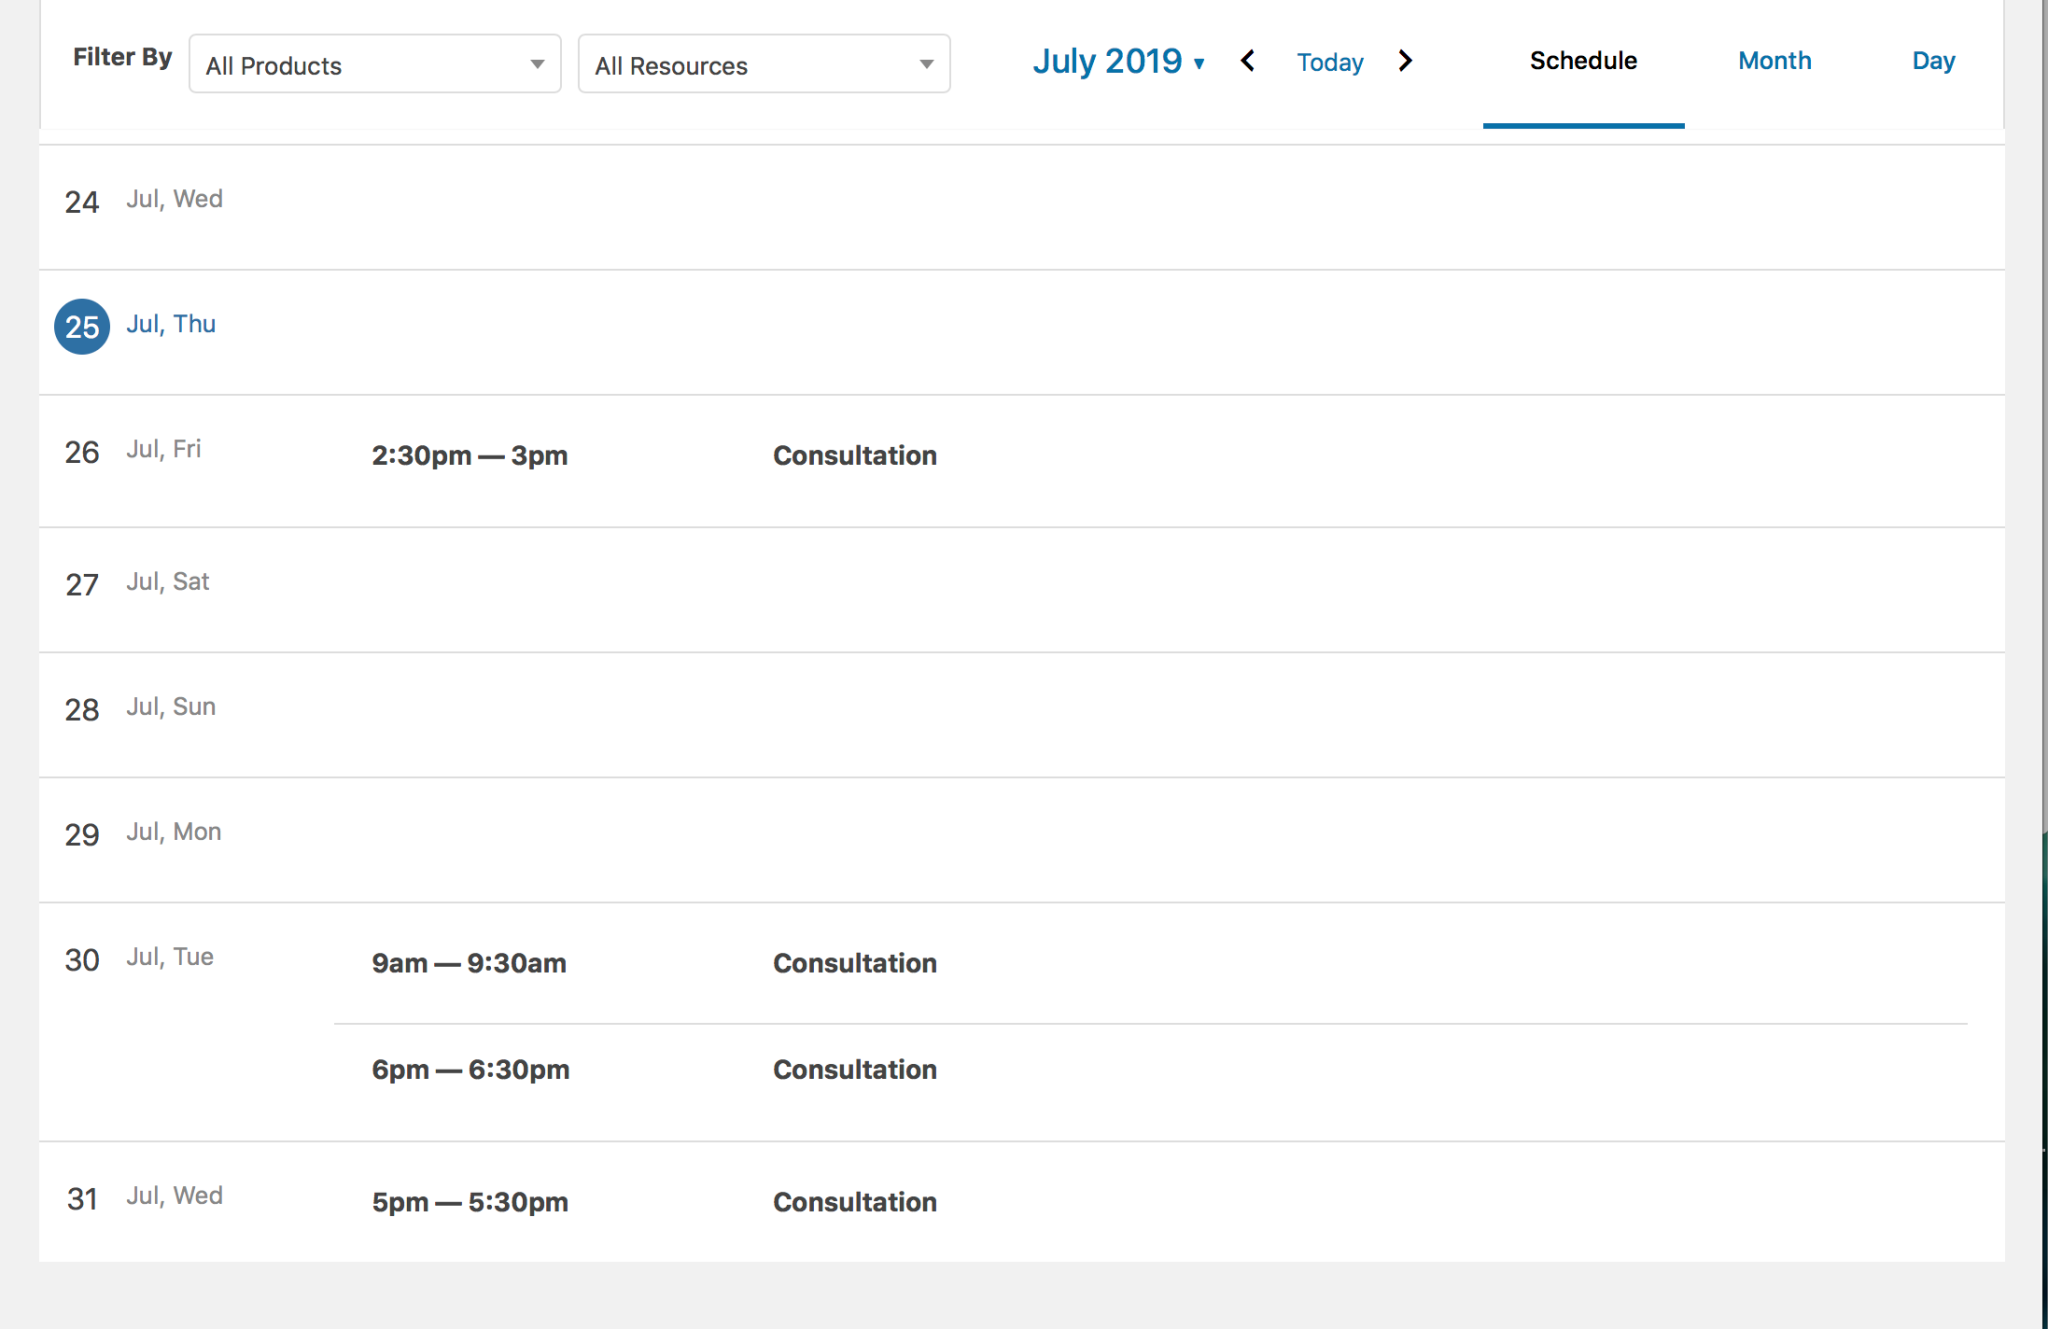
By Schedule
Select Schedule to show a scrollable overview with the current day highlighted and Filter options on the left.
Create Bookings Manually
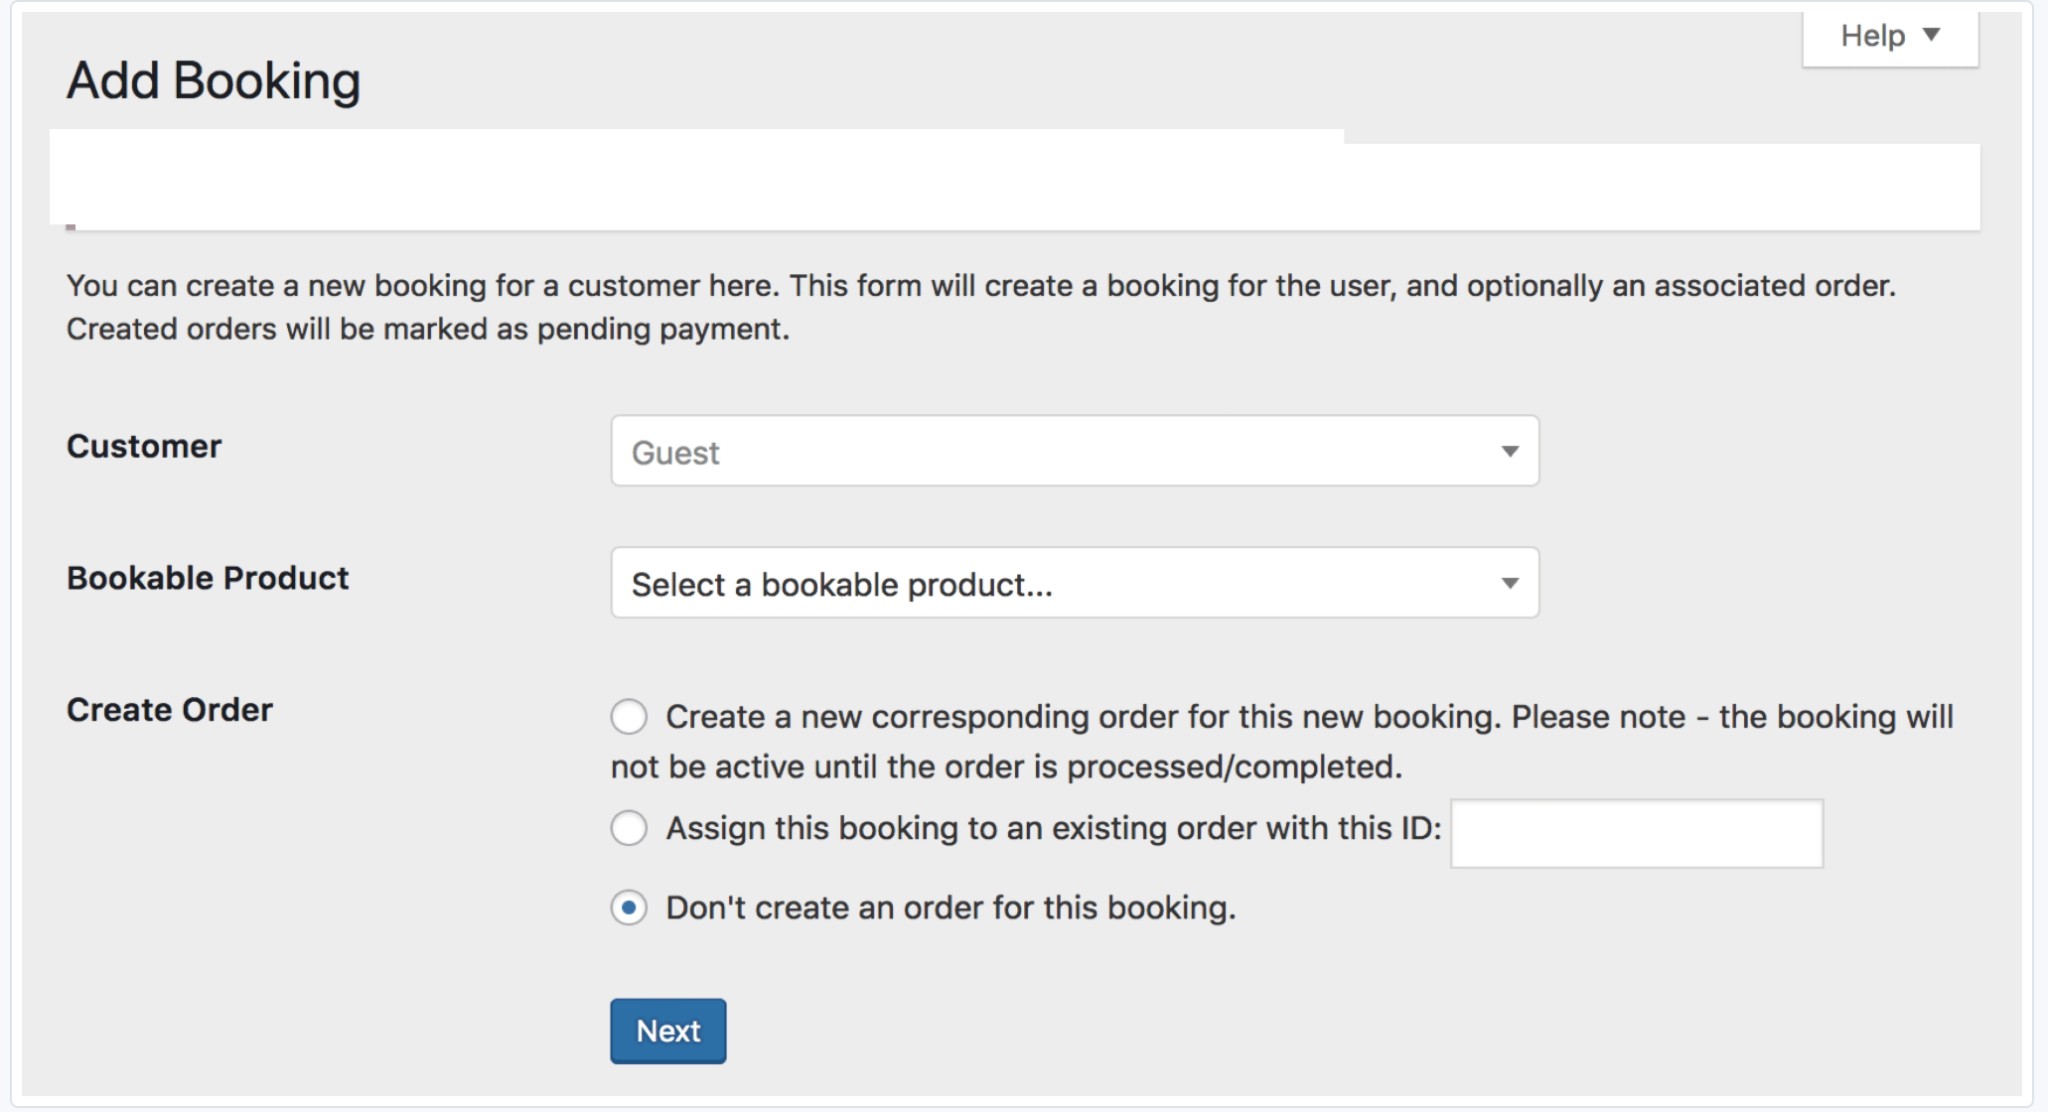
To manually create a booking for a customer:
- Go to: Bookings > Add Booking.
- Search for a customer by entering a name or other term. Or leave as Guest.
- Select a bookable product from the dropdown.
- Create booking
- New: Create a new order, which you must process and complete before it is active.
- Addition: Add the order to an existing booking, and enter that ID.
- No order: Create booking only.
- Next. The Bookings calendar displays.

- Select a date/time.
- Add Booking.
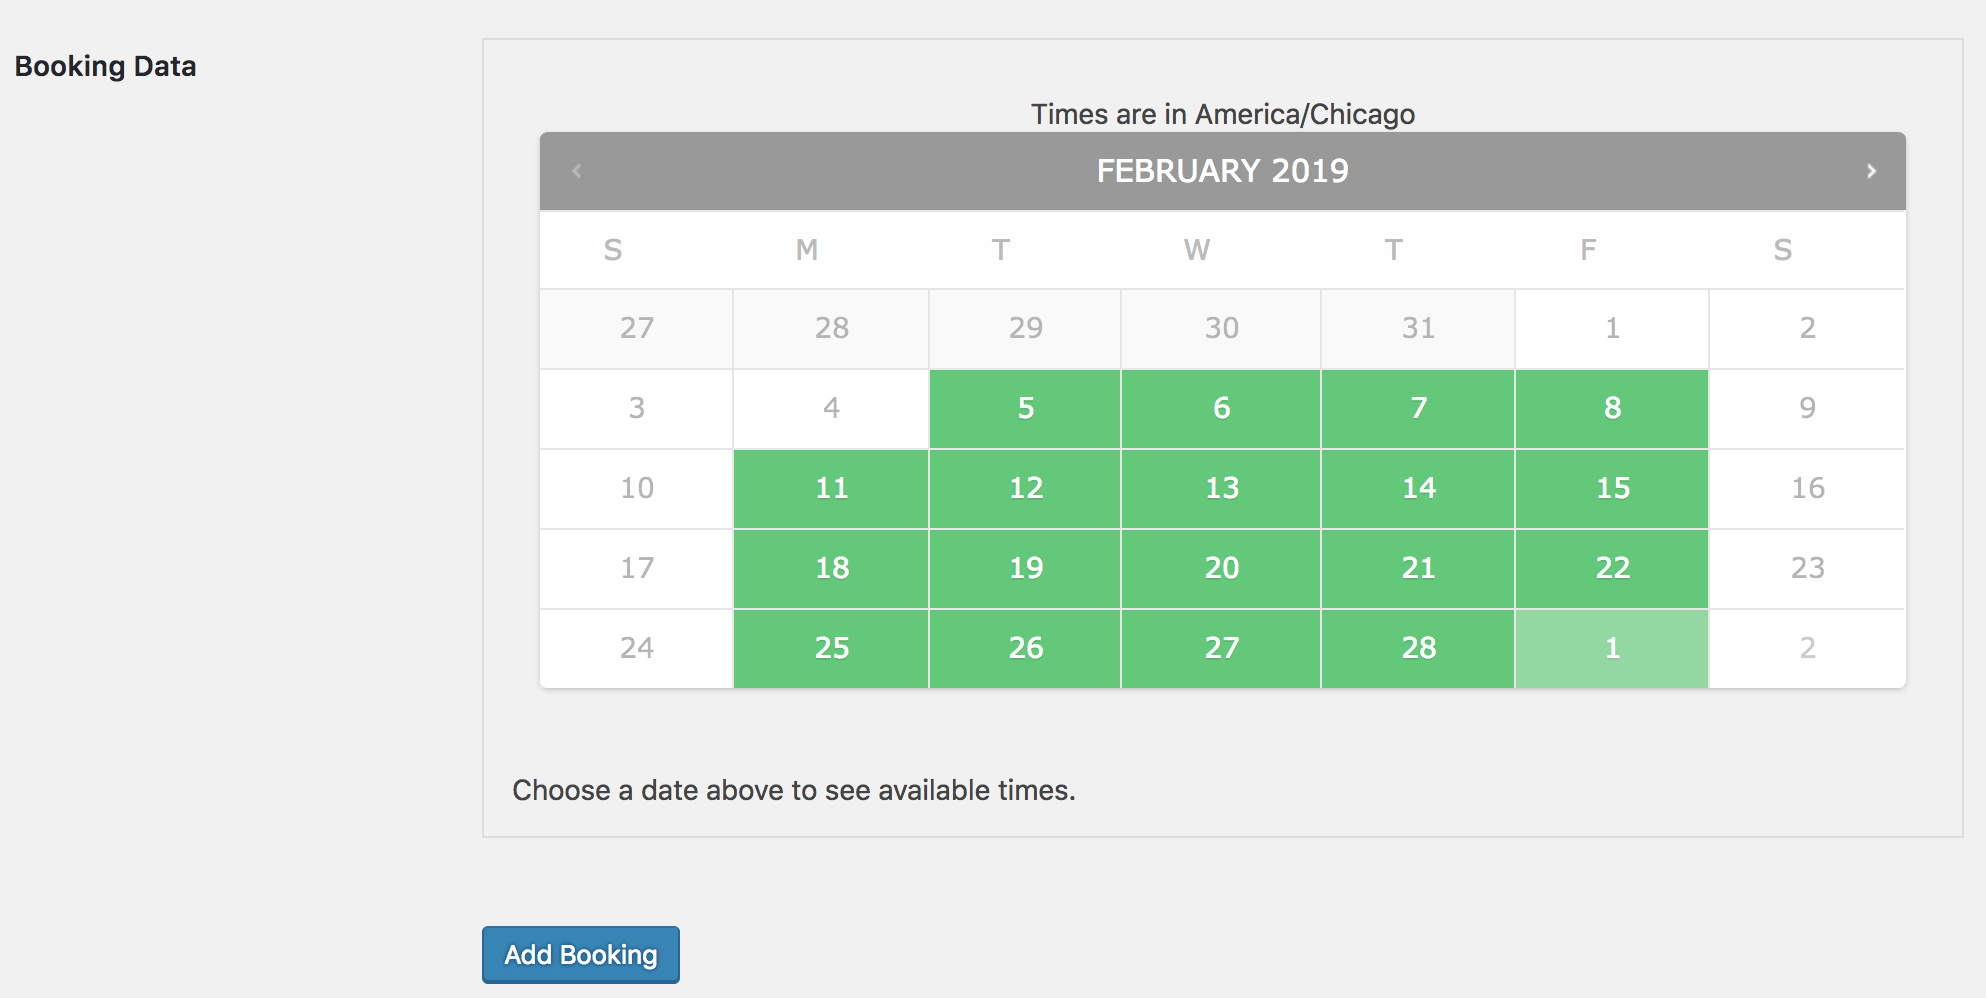
You are then redirected to the new booking or the Order screen, depending on your selection(s).
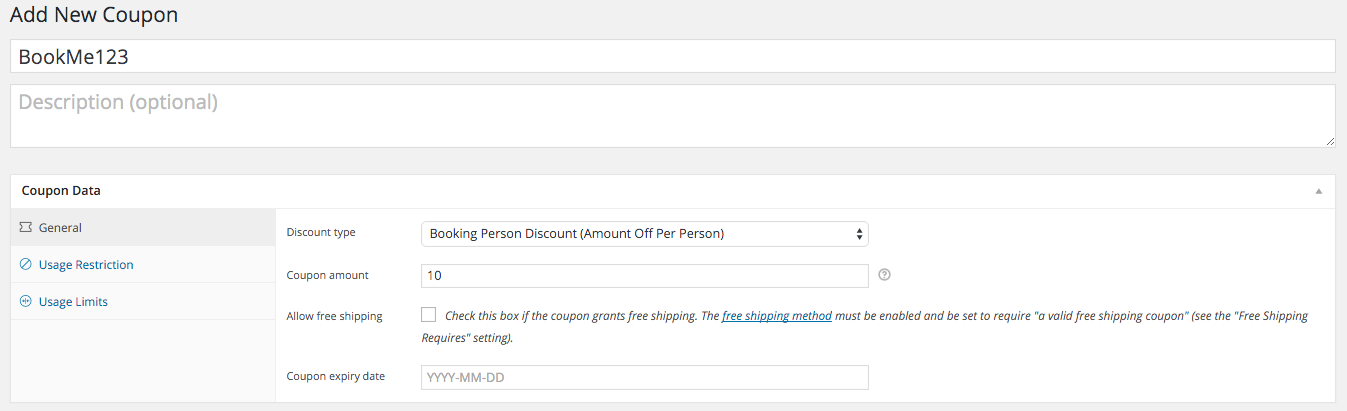
Per Person Discount with Coupon
You can offer a coupon code to customers that gives a per person discount for bookings with multiple people.
Google Calendar Integration
WooCommerce Bookings can be integrated with a Google Calendar, with one or two-way synchronization. For more information, see Calendar Connection and Google Calendar Integration.