Odoo for WooCommerce now brings powerful integration with your business management software.
Installation:
- Download the .zip file from your WooCommerce account.
- Go to: WordPress Admin > Plugins > Add New and Upload Plugin with the file you downloaded with Choose File.
- Install Now and Activate the plugin.
Creating an Odoo account:
If you already have an Odoo account set up, feel free to skip this step.
- Click here to sign up and activate your free trial.
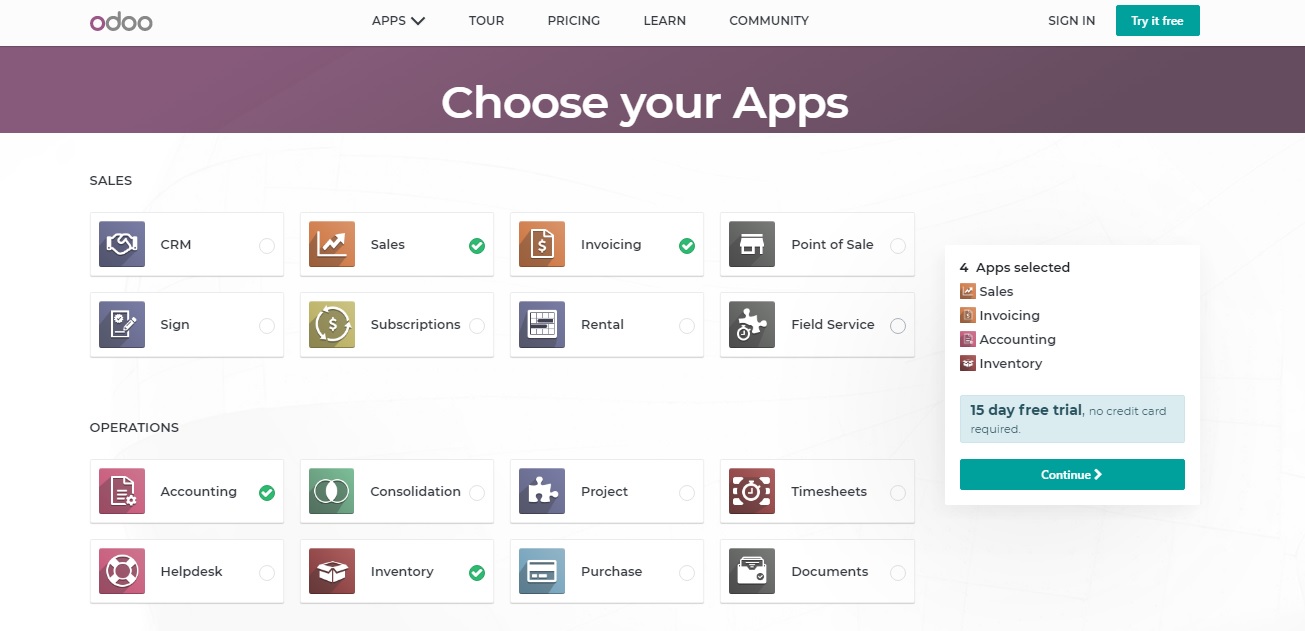
- Select your apps for your WooCommerce store: Sales, Invoicing, Accounting, and Inventory are essential apps. Click Continue.

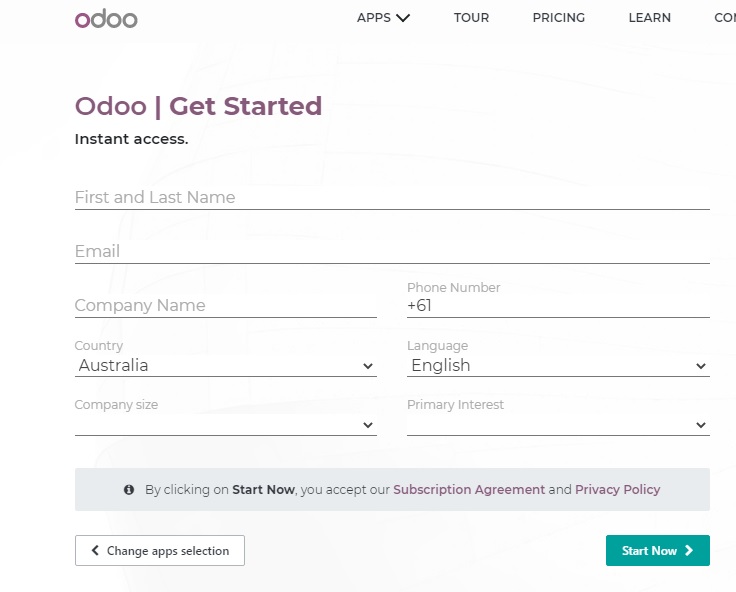
- Fill up your credentials and click Start Now.
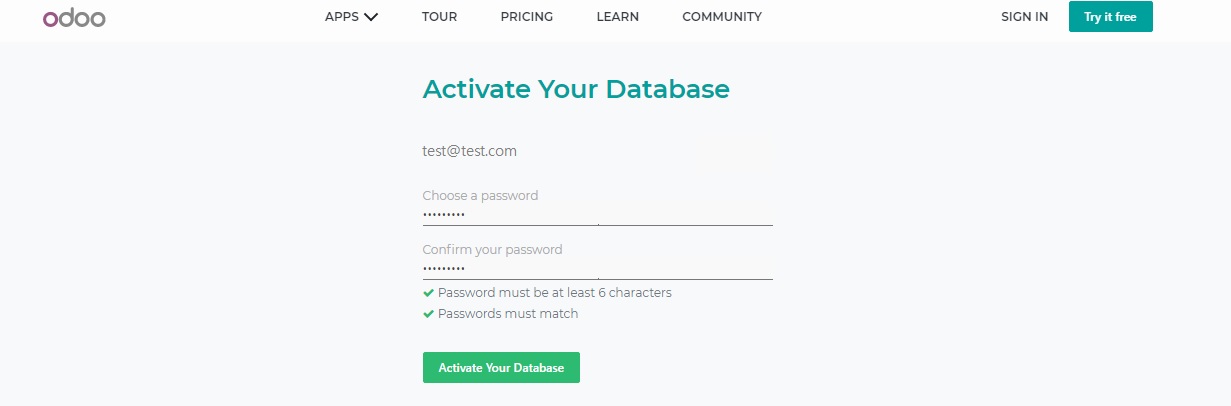
- Respond to the confirmation email, set password and click Activate Your Database for account activation.
Accessing the Plugin Settings
You can access the plugin using the below-mentioned method:
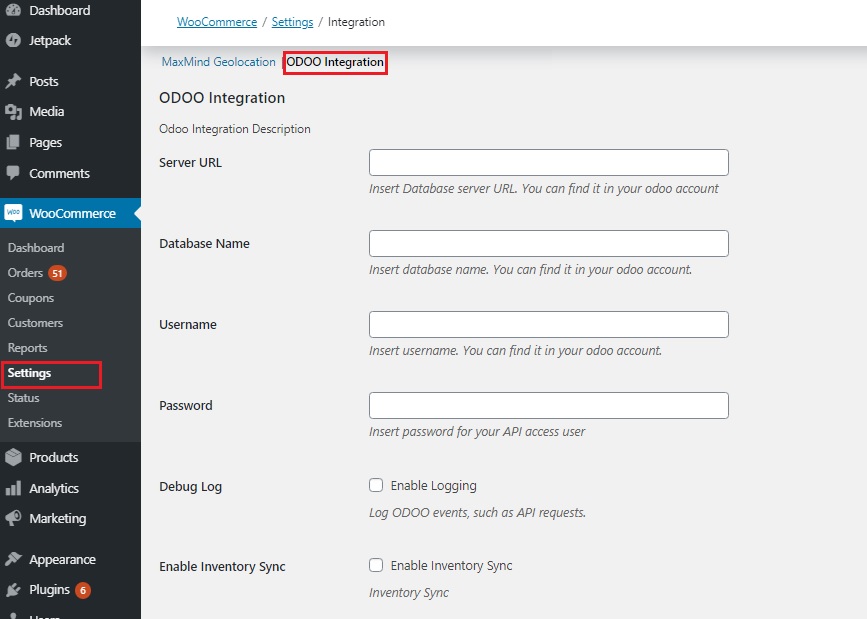
- In your WordPress admin page, click on the WooCommerce>Settings.
- Click on the Integration tab and select ODOO Integration to connect your website with Odoo account.
Setup and Configuration
Configure your settings:
Server URL
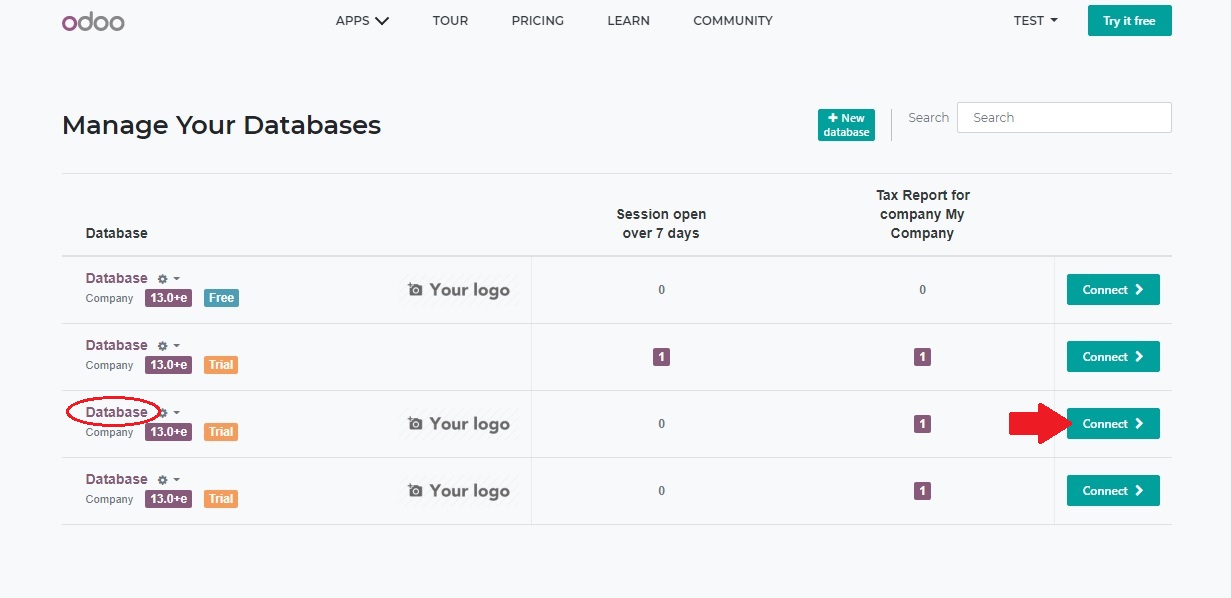
- For Server URL sign in to odoo account select the name of your company displaying at the top right corner and click on My Databases.
- Select Connect in front of the Database you want to connect with your website.
- Copy the URL of the page, for example, https://xyz. odoo.com
- Paste it in Server URL tab.


Database Name
- Goto: Odoo website > My Databases page.
- Insert database name in Database Name tab associated with Server URL.


Username
You can find the username here.
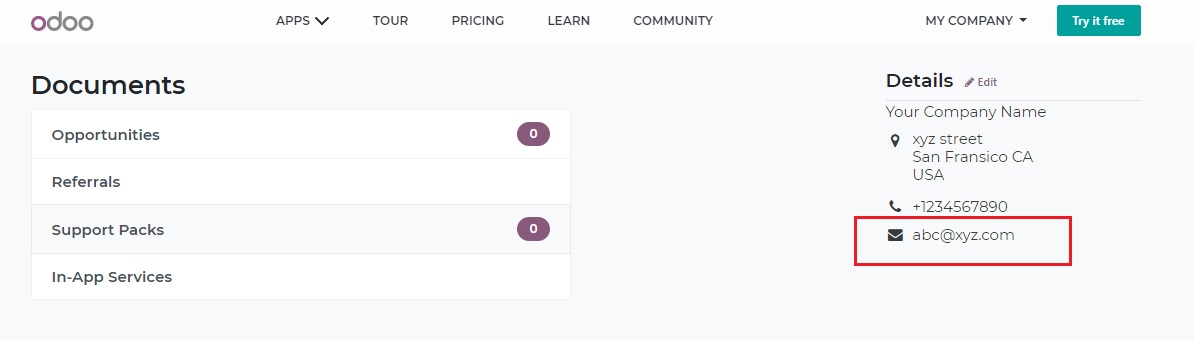
Copy and paste the username associated with your odoo account.

Password
Insert password of your Odoo account for API access in Password tab.

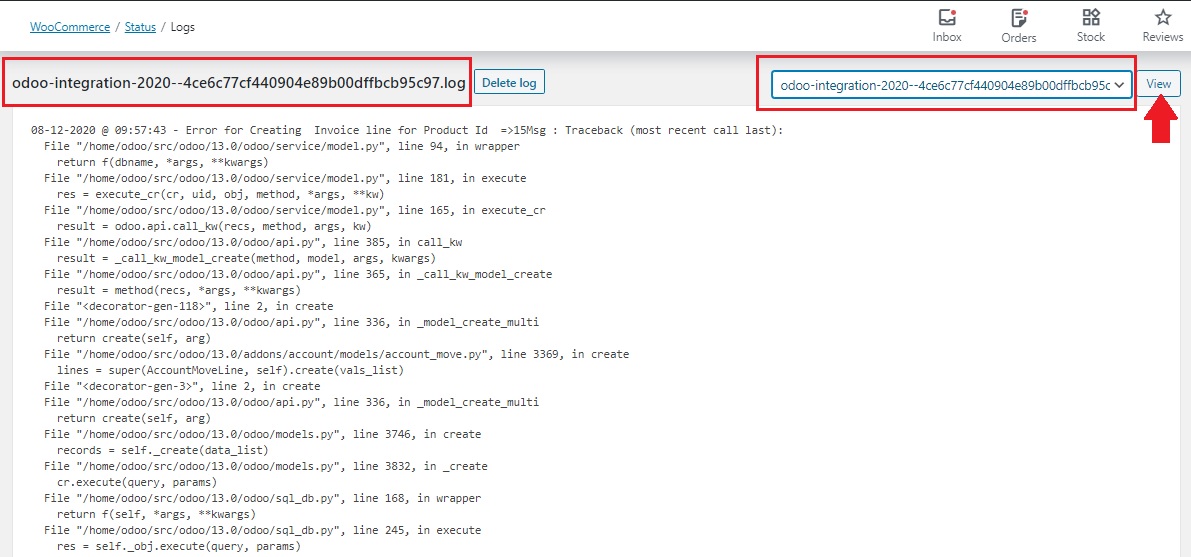
Debug Log
Enable logging if you want to log ODOO events.

Logged file can be found at WooCommerce > Status > Log
Enable Inventory Sync
By checking Enable Inventory Sync, your wooCommerce product inventory is synched into your odoo inventory app according to the time set with Cron Frequency.

Note: Inventory is only synced when the checkbox is checked in the plugin settings to enable inventory sync.
Cron Frequency
Cron Frequency is the time interval after which your products get synced with your odoo account. Product data is also synced based on their SKU’s from Odoo to your WooCommerce store.
Frequency of the cron can be set for Every Hour, Twice a Day or Once a day.

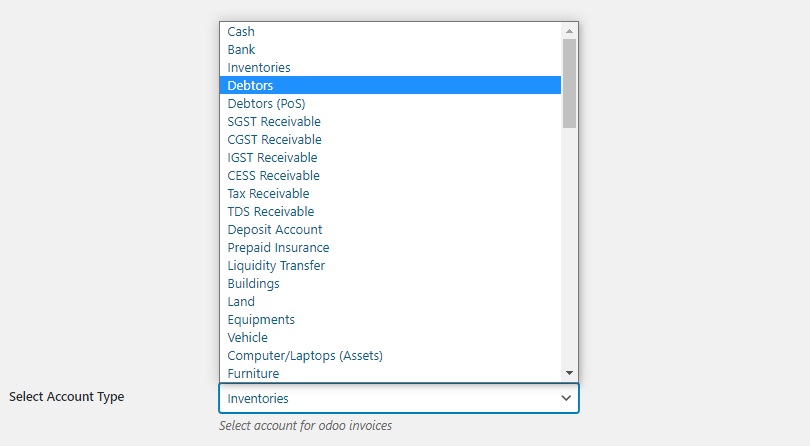
Select Account Type
Select an account type for your customers buying at your WooCommerce store according to your suitability for your odoo account.
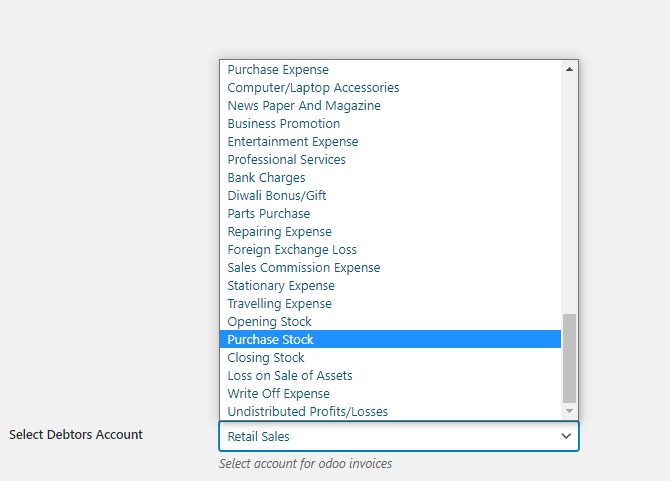
Select Debtors Account
Select debtors account for your odoo account based on the intent of your customers and products or services you are providing.
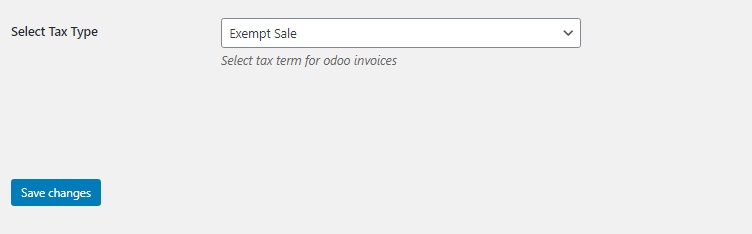
Select Tax Type
Based on the country or state you are dealing in, taxes are imported from your odoo account and you can select the from the dropdown menu according to your need. And click Save changes.
How products are synced to odoo accounts?
Product data is synced based on their SKU’s from Odoo to WooCommerce. For this, we have a setting in the plugin for a frequency of cron and inventory sync for products.
How customers are synced?
Customers are synced based on their email addresses as they are unique for an account from WooCommerce to Odoo when order is created.
How this plugin sync orders?
Orders are synced directly to the Odoo account when they have been processed by the customers. When an order is synced, the invoice is generated automatically in Odoo. There are certain settings for orders in the plugin settings such as Select Account Type, Select Debtors Account and Select Tax Type.