
POWR Ratings & Reviews is the easy way to display star ratings and collect user feedback on your site.
You’ll find the main settings under Content > Posts, where you can choose to display star ratings and comments, comments only, allow replies, voting, anonymous comments, and much more!
The Design tab is where you can customize the look of your Ratings & Reviews plugin.
POWR Ratings & Reviews can let you know when a new review or rating is posted with Email Notifications, so you never miss a new comment!
Turn On Email Notifications
- Go to the Content tab
- Click Email Notifications
- Click Add email
- Enter your email address in the field provided
What to Expect
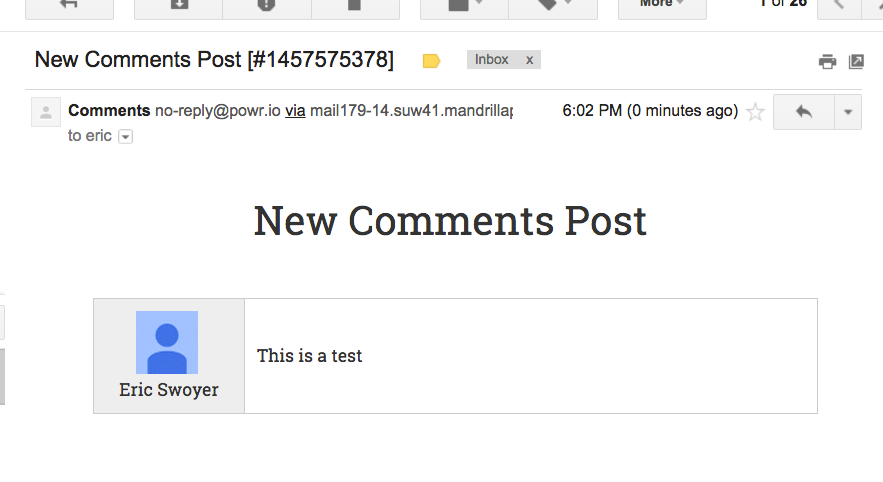
When someone posts a comment or rating, you’ll receive this email from no-reply@powr.io. We recommend adding this address to your email contacts in advance.
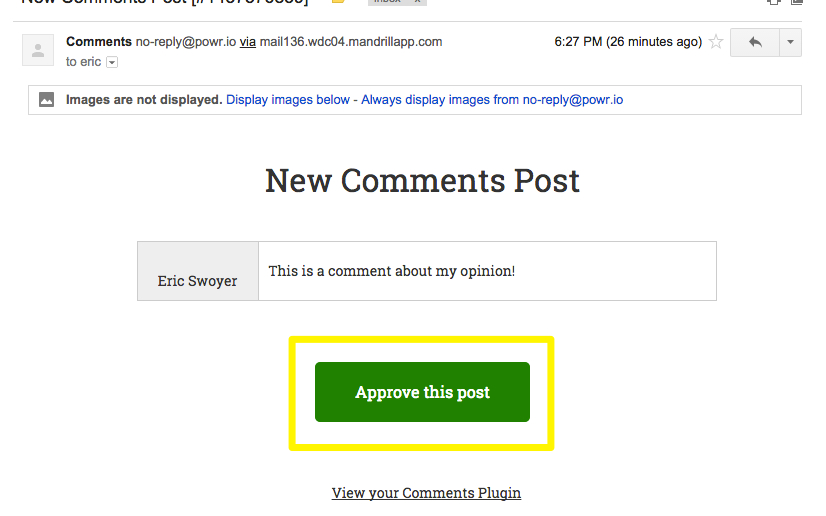
Manual Approval
If you’ve enabled manual approval for new comments and ratings under Posts > Require my approval before comments are posted, you can approve new posts directly from your email inbox.
How to Install POWR Ratings & Reviews on WooCommerce
- Find POWR Ratings & Reviews in the WooCommerce Extensions Directory and click Install.
- Download the files.
- Go to Plugins > Add New > Upload > Select your POWR zip
- Click on Activate Plugin
- You will automatically be authenticated on POWR. Approve access to continue.
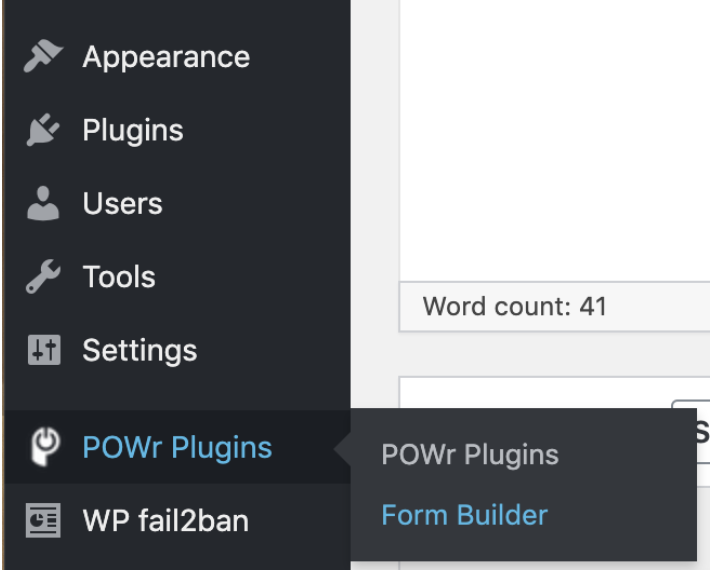
- You will now see a POWR Plugins item in the left-hand navigation and you will be able to access all POWR Plugins for WooCommerce.
How to Add POWR Plugins to WooCommerce
- In the POWR Plugins navigation menu, click on your chosen plugin:
- Create your plugin in the POWR Editor.
- When you’re ready, click the blue ‘Add to Site’ button on the top right of the POWR Editor.
- Copy the HTML snippet and paste it wherever you would like to add your POWR plugin.
How to Add your POWR Plugin to WooCommerce Products
Option 1: Adding to Product Data
- You will see a new section appear under Product data called POWR Plugins.
- Click POWR Plugins and you will see a default form.
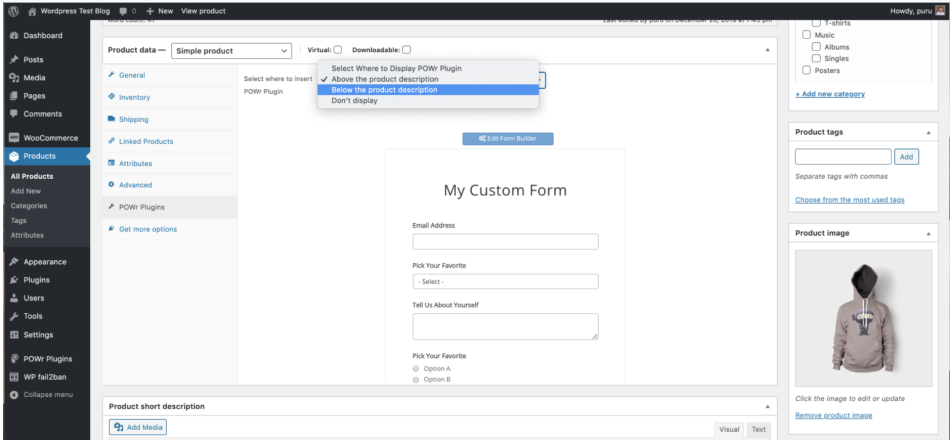
- At the top of the form preview on the right-hand side you can select whether to display the form above or below your product, or not display it at all:
To edit the content of the form, click on Edit Form Builder.
This will open the POWR Editor in a pop-out window where you can make any necessary changes:
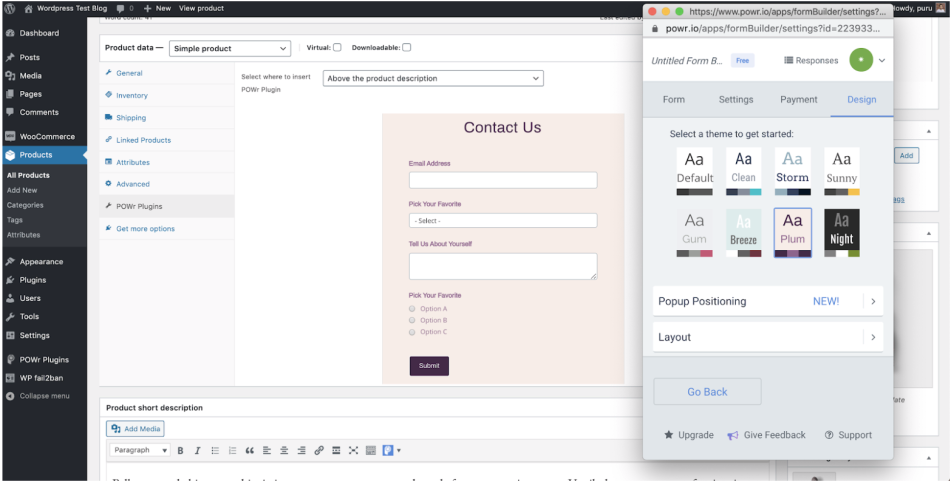
When you’re happy with your changes, close the POWR Editor.
Click Update in the Publish panel on the top right :
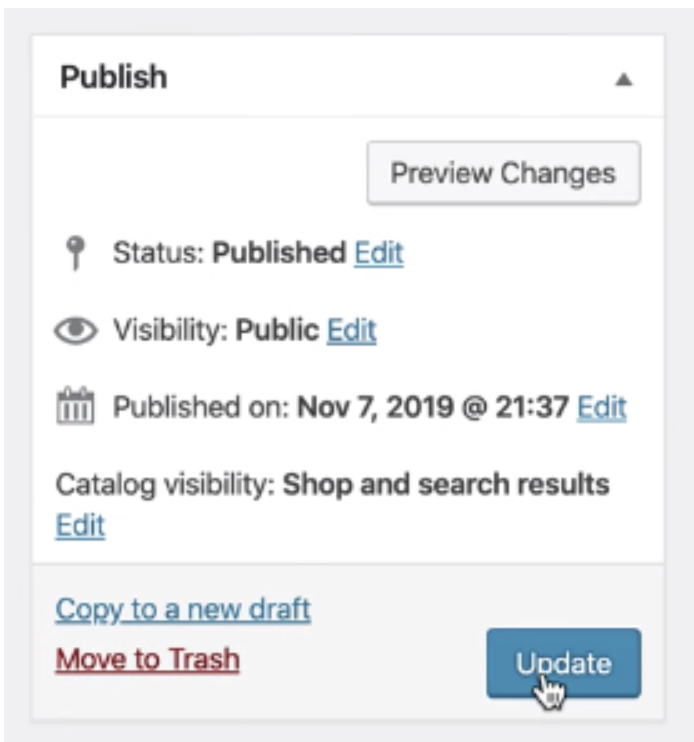
To check how it looks, click Preview Changes.
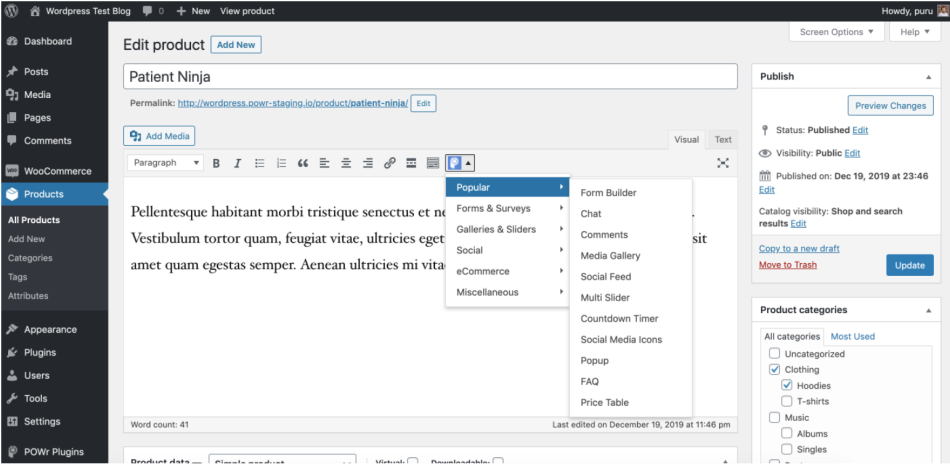
Option 2: Adding to Text Sections
- Go to Products.
- Select your product and click Edit.
- You will now see an option to add POWR plugins in all sections that contain a text editor. Select your preferred plugin and the code snippet will be added to the text sections automatically.
Click Update and then Preview Changes on the right-hand side.
Customize your plugin live on your site!
![]() Congratulations on installing your POWR plugin on WooCommerce!
Congratulations on installing your POWR plugin on WooCommerce! ![]()