
POWR Social Feed is the easy way to automatically show posts from social media on your website. Combine posts from Facebook, Twitter, Instagram, Pinterest, YouTube, Vimeo, and more in a single gallery.
Connect a Feed
When you create a new Social Feed plugin, the first thing you’ll need to do is connect it to a social media account, so it knows what feed to display. If no feeds are connected, you’ll see a message covering your POWR Social Feed that says:
No feed connected. Connect a feed in the POWR Editor.
To connect a feed, open the POWR Editor and go to the Connect menu. You can connect to the following types of feeds:
- Facebook – any event or business page. You cannot connect to a personal Facebook profile
- Twitter – any @handle or #hashtag.
- Instagram – any @user or #hashtag.
- Pinterest – any Pinterest board.
- YouTube – any user, channel, or playlist.
- Vimeo – any user or channel.
- Flickr – any Flickr account.
- DailyMotion – any user.
- RSS – any RSS feed.
Important: Your account needs to be set to public, or else POWR won’t be able to display your posts.

Common Questions
- How often will my Social Feed update new posts?
- Can I follow #hashtags with POWR Social Feed?
- Nothing is showing up in my Social Feed. What’s wrong?
- Can I manually approve or reject posts?
How to Install POWR Social Feed on WooCommerce
- Find POWR Social Feed in the WooCommerce Extensions Directory and click Install.
- Download the files.
- Go to Plugins > Add New > Upload > Select your POWR zip
- Click on Activate Plugin
- You will automatically be authenticated on POWR. Approve access to continue.
- You will now see a POWR Plugins item in the left-hand navigation and you will be able to access all POWR Plugins for WooCommerce.
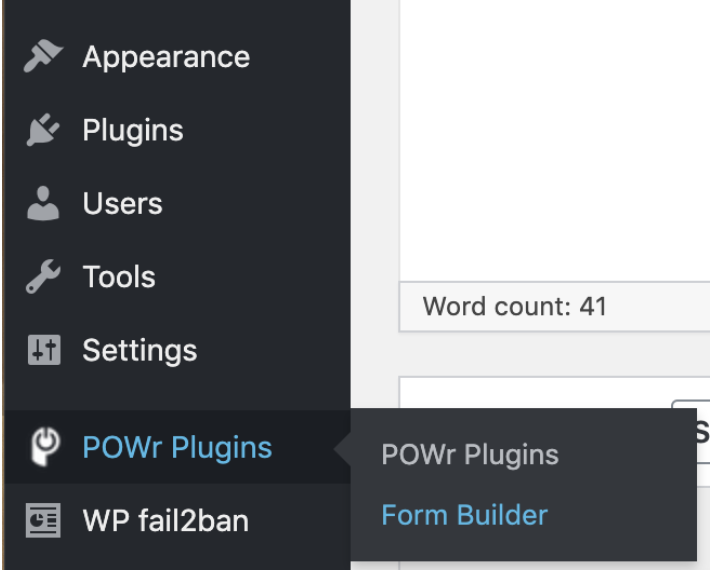
How to Add POWR Plugins to WooCommerce
- In the POWR Plugins navigation menu, click on your chosen plugin:
- Create your plugin in the POWR Editor.
- When you’re ready, click the blue ‘Add to Site’ button on the top right of the POWR Editor.
- Copy the HTML snippet and paste it wherever you would like to add your POWR plugin.
How to Add your POWR Plugin to WooCommerce Products
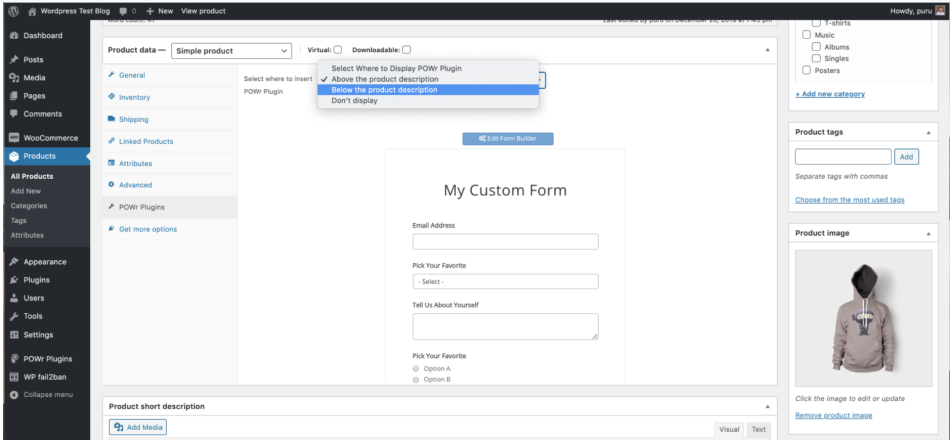
Option 1: Adding to Product Data
- You will see a new section appear under Product data called POWR Plugins.
- Click POWR Plugins and you will see a default form.
- At the top of the form preview on the right-hand side you can select whether to display the form above or below your product, or not display it at all:
To edit the content of the form, click on Edit Form Builder.
This will open the POWR Editor in a pop-out window where you can make any necessary changes:
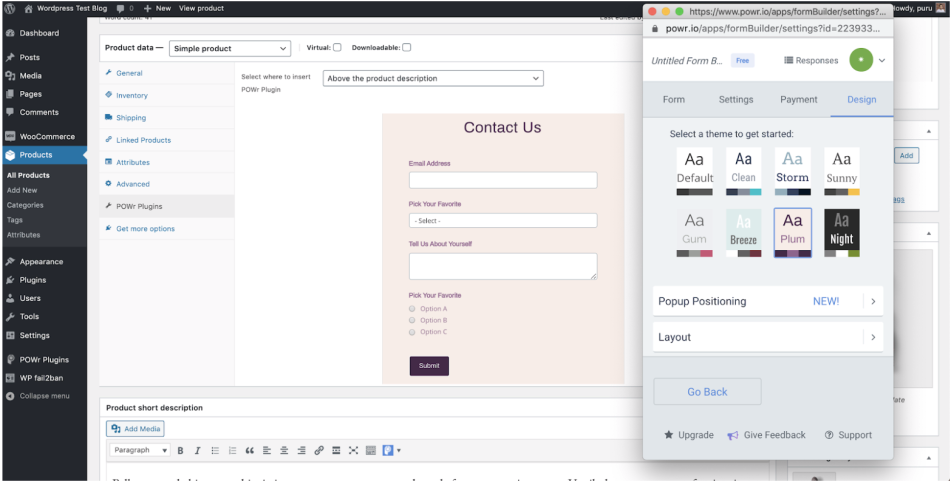
When you’re happy with your changes, close the POWR Editor.
Click Update in the Publish panel on the top right :
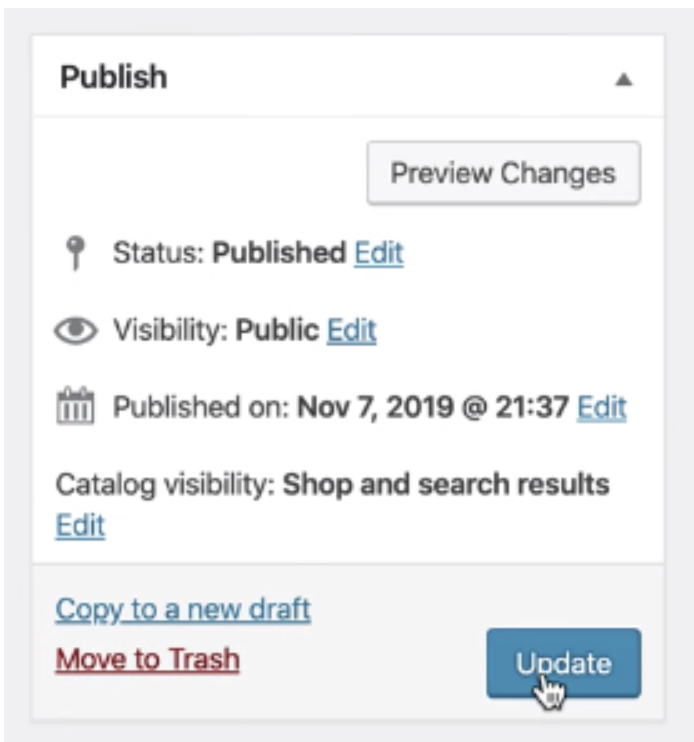
To check how it looks, click Preview Changes.
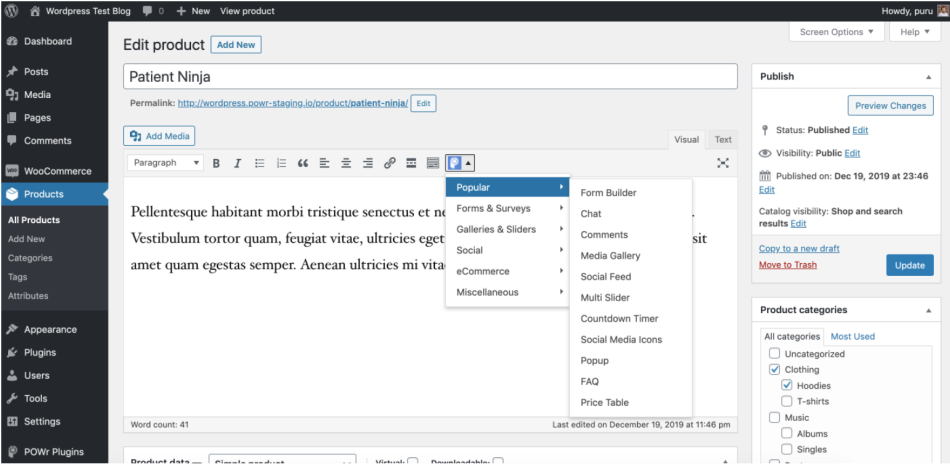
Option 2: Adding to Text Sections
- Go to Products.
- Select your product and click Edit.
- You will now see an option to add POWR plugins in all sections that contain a text editor. Select your preferred plugin and the code snippet will be added to the text sections automatically.
Click Update and then Preview Changes on the right-hand side.
Customize your plugin live on your site!
![]() Congratulations on installing your POWR plugin on WooCommerce!
Congratulations on installing your POWR plugin on WooCommerce! ![]()