Scenario
You’ve always wanted to roast your own beans. You love the smell of coffee in the morning so much that you’ve started a store selling your coffee creations. Now you want to offer a subscription of your fresh roasts to the world. Here’s how to do it with WooCommerce.
First let’s talk about what we’re working with. We’re running our store on WooCommerce, with the WooCommerce Subscriptions extension. To round things out, Storefront helps make our site look great.
Products used for this use case
- WooCommerce (free)
- WooCommerce Subscriptions (purchase)
- Storefront theme (free)
Set up your store
1. Install WooCommerce.
Your WordPress site now has functionality to be an online store. More at: Installing WooCommerce.
2. Install WooCommerce Subscriptions.
- Download the extension from your WooCommerce dashboard.
- Go to Plugins > Add New > Upload and select the ZIP file you just downloaded.
- Click Install Now, and then Activate.
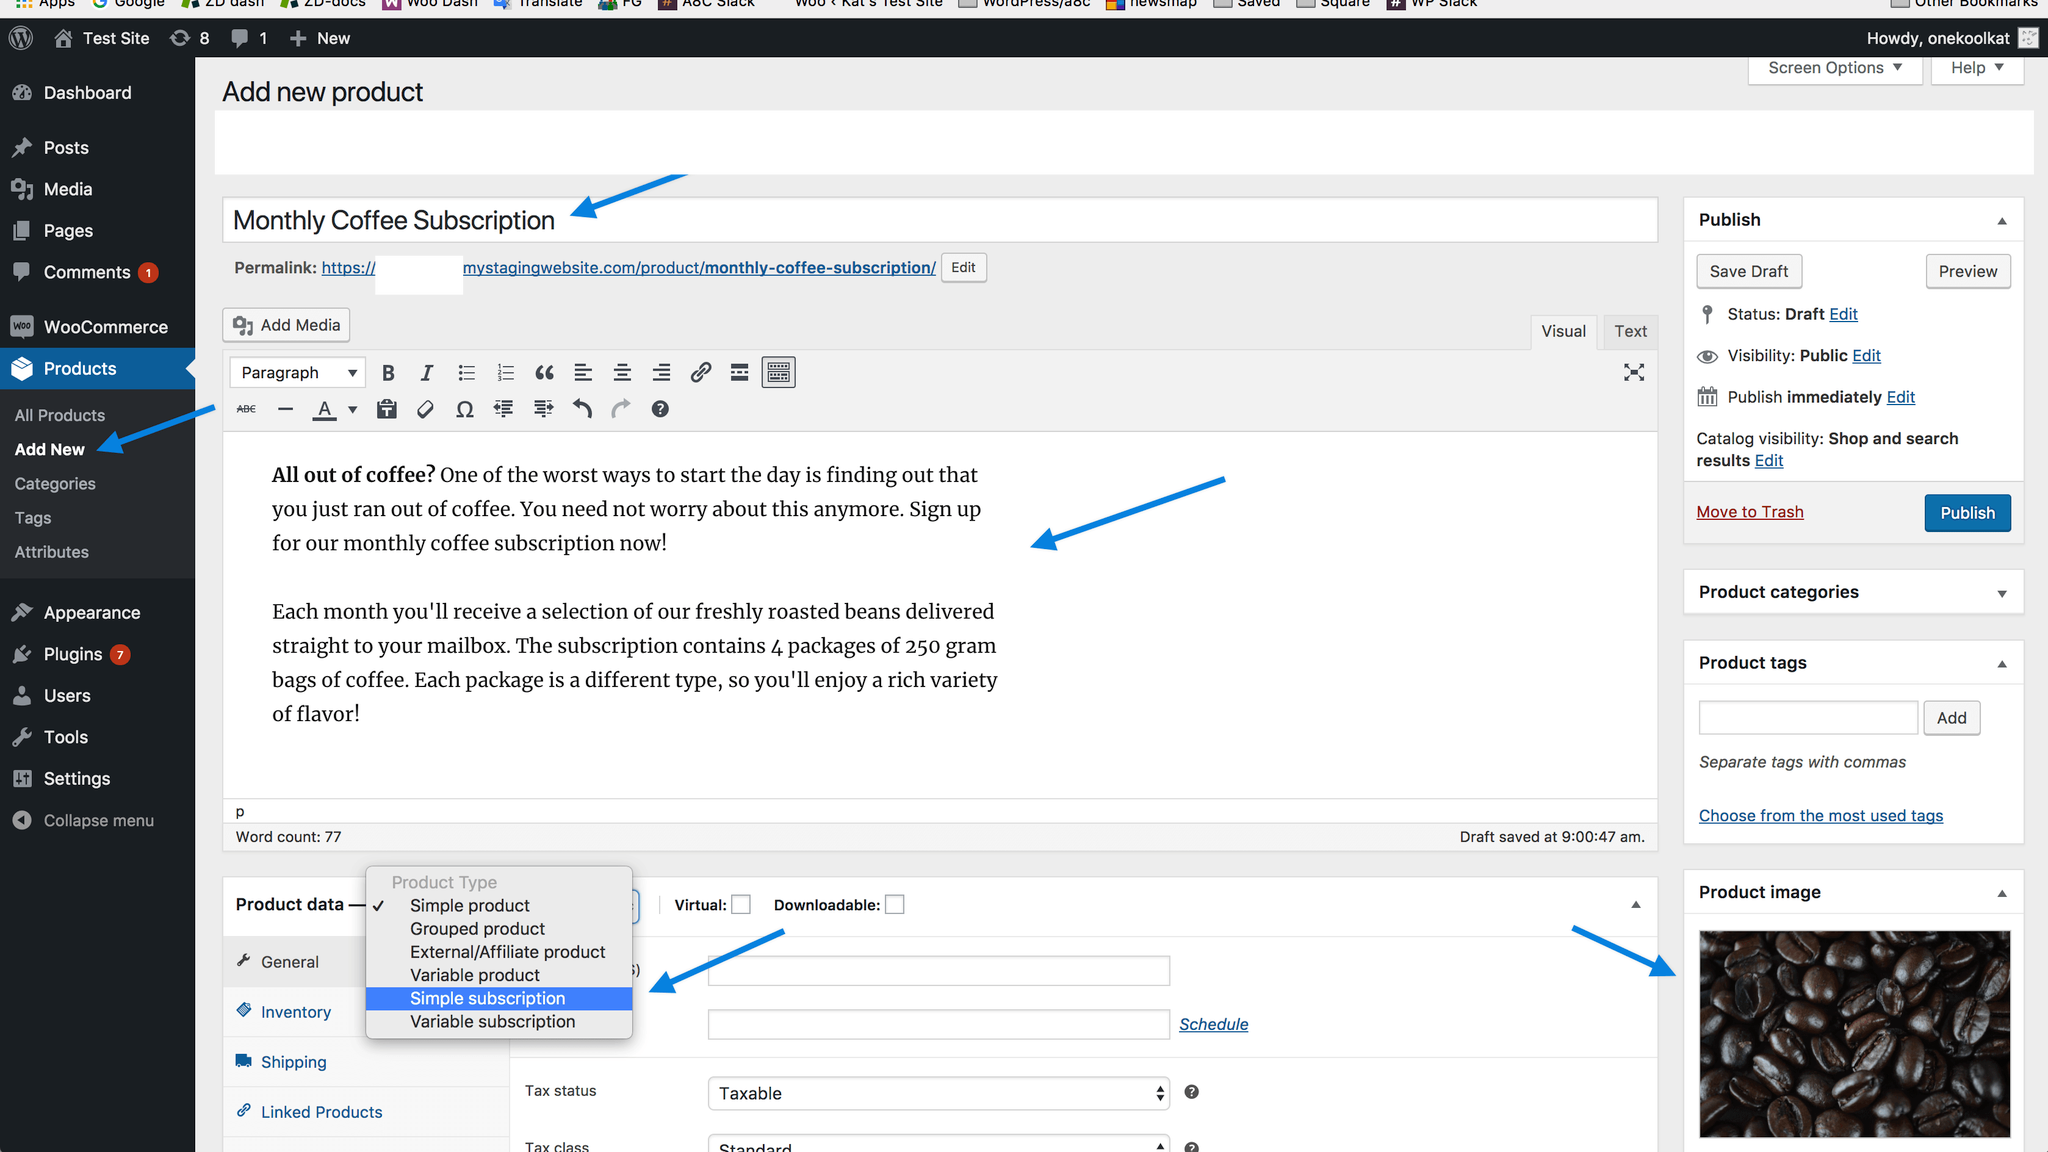
3. Create a Subscription product.
- Go to: Product > Add New.
- Give your product a name, description and product image.
- Choose Variable Subscription as the product type if you wish to offer different types of coffee packages (as in our example). For example, we’ll give the option between ground beans and whole beans. Choose Simple Subscription, if you don’t want to let your customers choose between anything.
More at: Subscriptions Store Manager Guide.
4. Set up product basics.
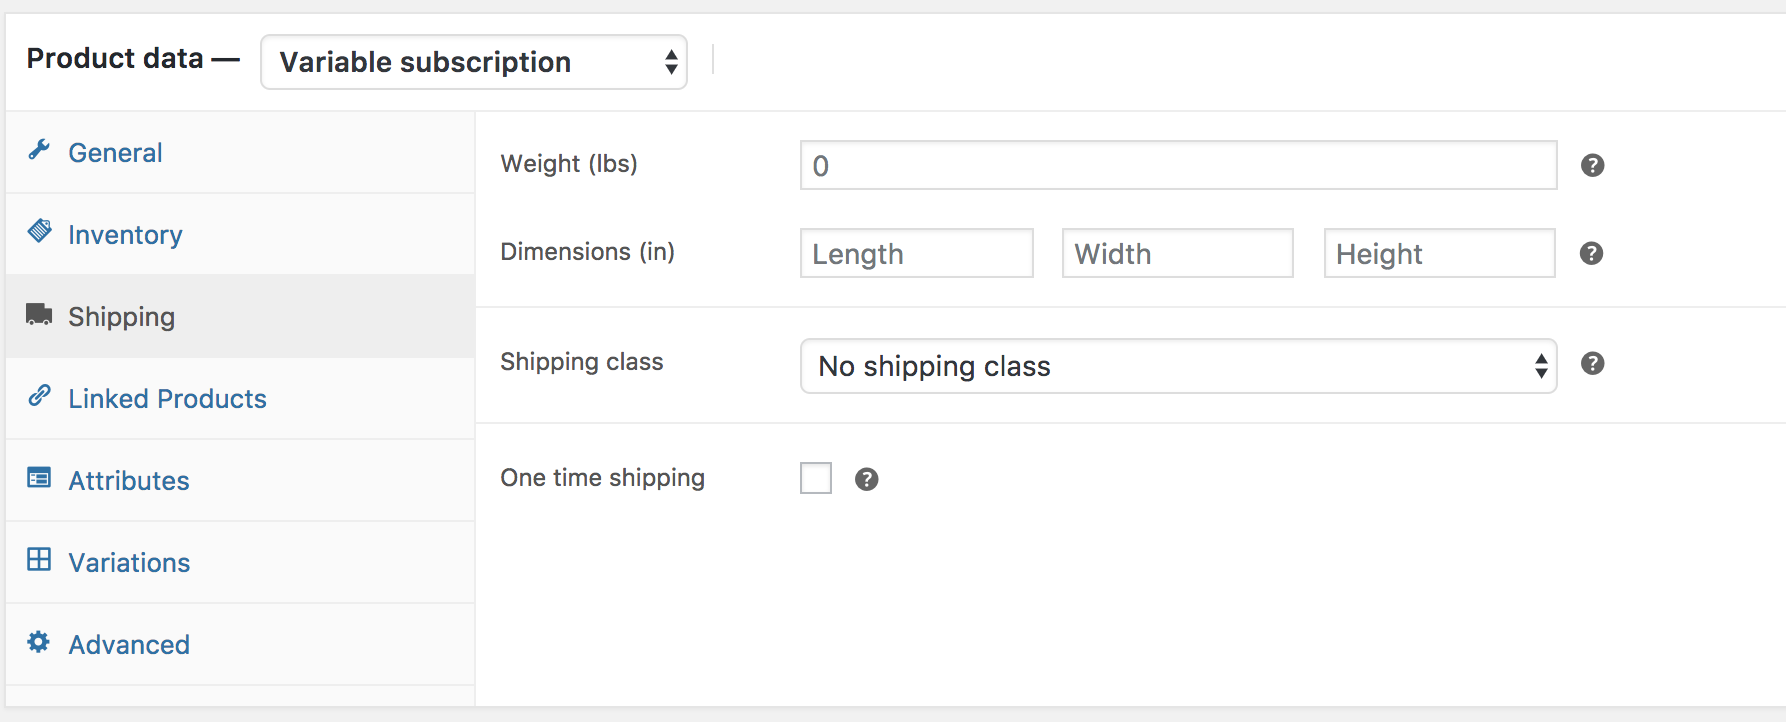
Now set up other product basics. You’ll see that the sections running down the left of the Product data metabox change slightly.
- Leave the General tab and Inventory tab to the default settings.
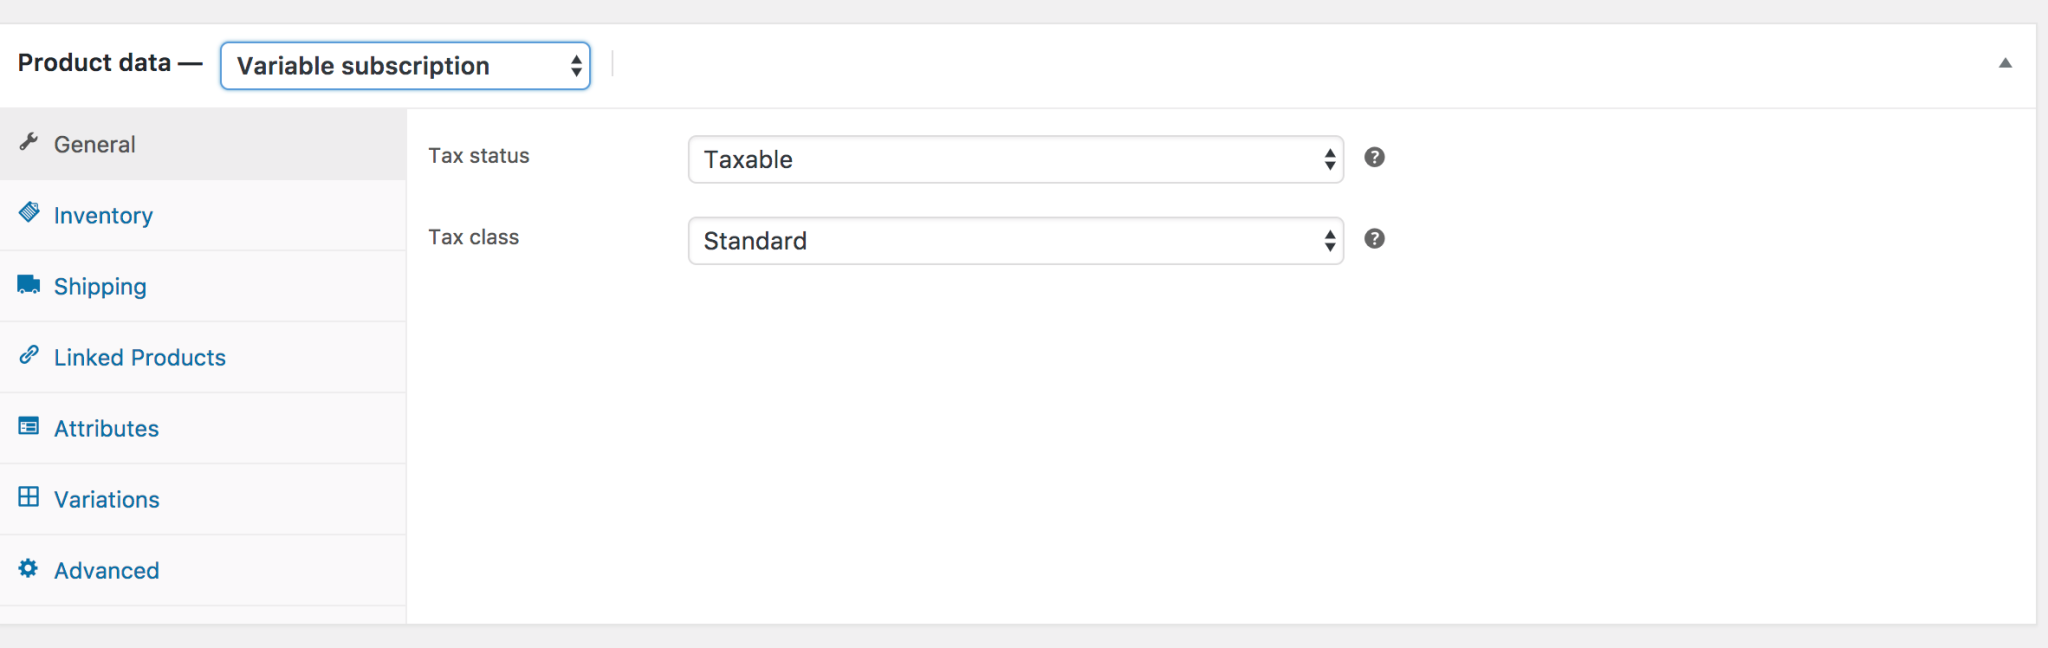
- Enter dimensions and weight in the Shipping tab.
5. Create product attributes.
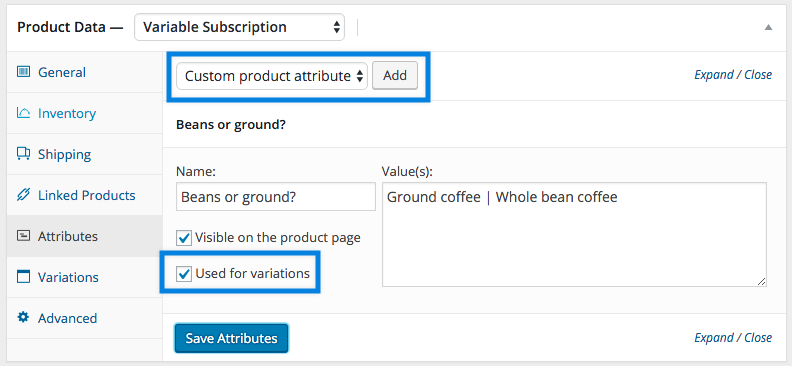
To create options for your customers to select, you must first create those options in the Attributes tab before setting them up in the Variations tab. Since the product is variable, we need to decide what the variation is.
- In Attributes, next to Custom product attribute, select Add. A few new fields will now appear.
- Choose a Name for your attribute, such as, Beans or Ground.
- Add Values. The values are separated by a pipe (“|”). You can select as many as you need but for our store we only need two.
- Select Used for variations.
- Save Attributes.
6. Create product variations.
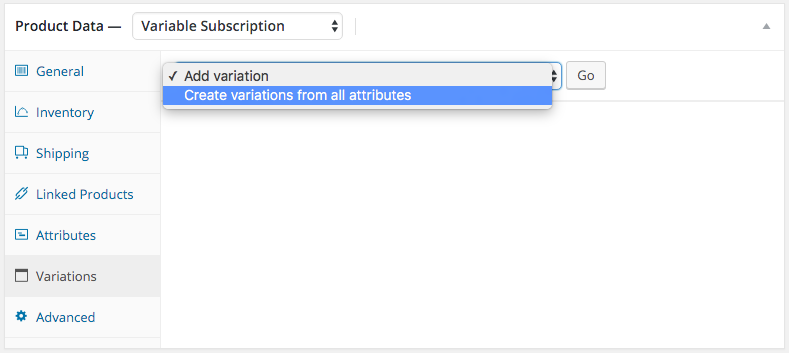
In the Variations tab:
- Select Create variations from all attributes and then select Go. A pop-up window asking if you are certain you want to do this will appear.
- Select OK. WooCommerce will create two variations for you.
7. Set up product variations
- Set the Default Form Value to Whole bean coffee as we want the customers to already see a default option.
- Click Expand in the top right of the Variations tab to see all variations and see where to edit the variations.
- Give each variation a different image and SKU.
- Enter an administrative sign-up fee and a subscription price. In the example below, we’ve entered £5 and £30.
- Save Changes.

8. Publish the product to offer your subscription for sale.

Start selling!
Recurring payment option
To offer the option for customers to automatically pay for subscriptions without billing them each cycle, you need to set this up.
- Select a payment gateway that supports automatic recurring payments at the Subscriptions Payments Guide.
- Sign up with the payment gateway. Which payment option is right for me?
- Enable the option on your site.
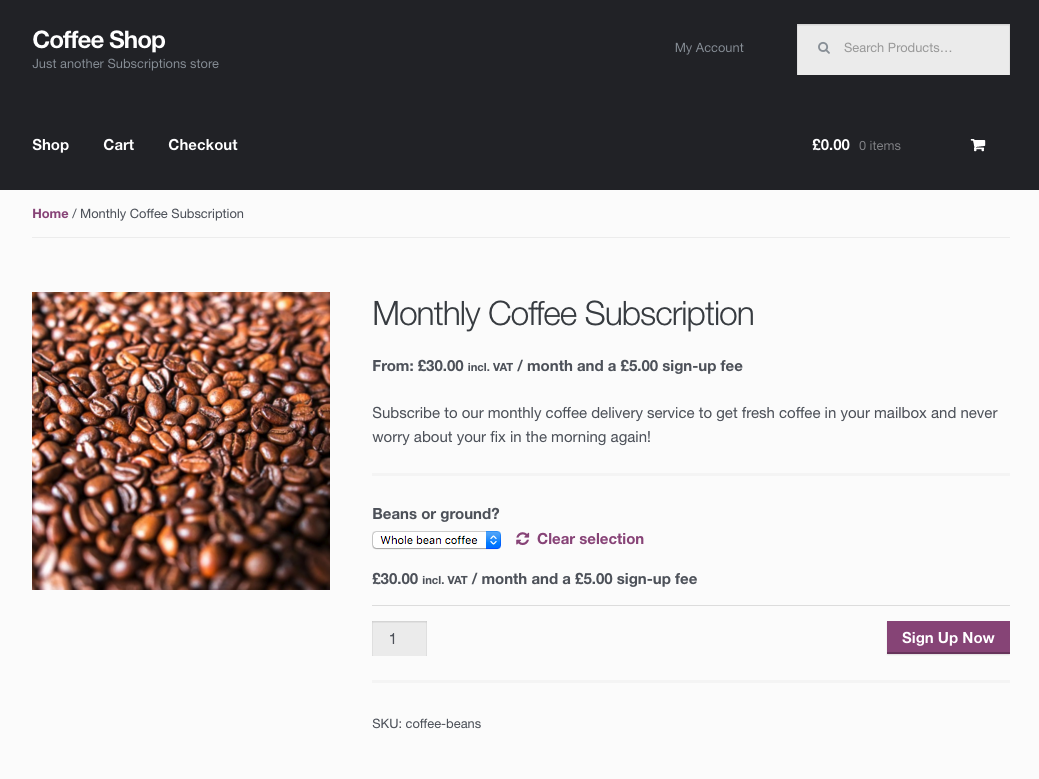
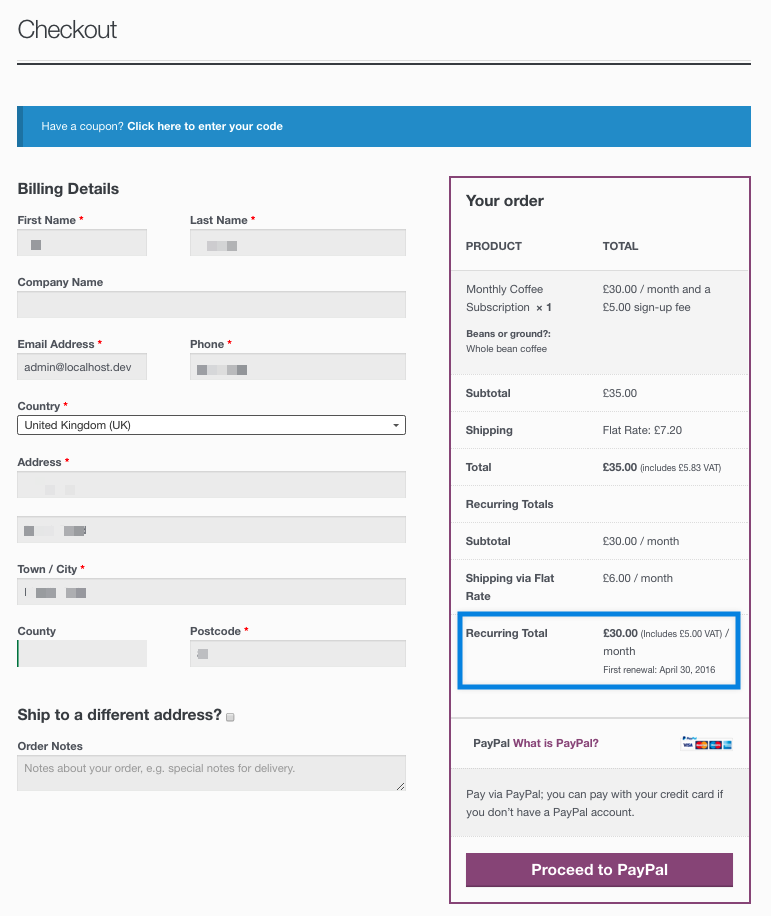
Customer view
Your customers can now sign up for a delicious coffee subscription. Below are two screenshots of what they see: The product page and the checkout page. You’ll see that on the checkout page there is information about the first payment, but also about the recurring amount.